

November 19, 2020
Oven Repair
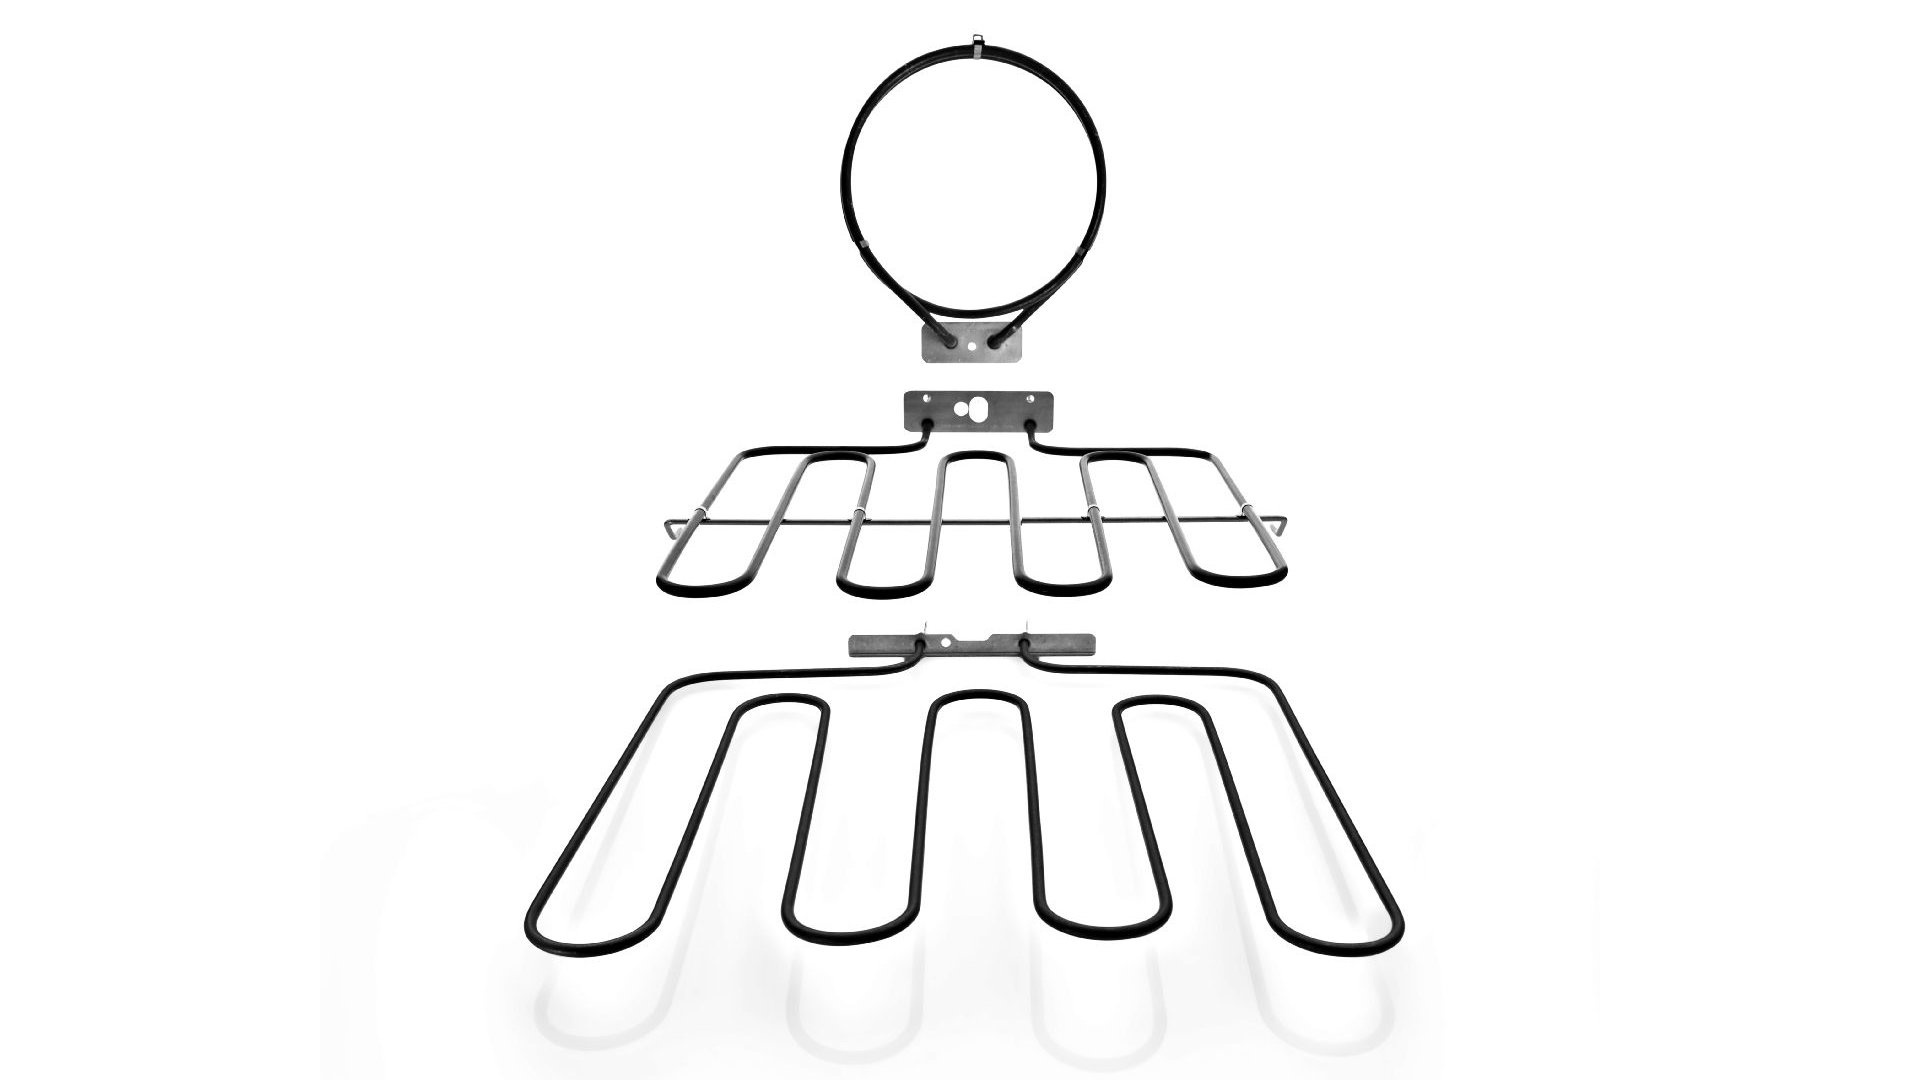
Your oven relies on a few essential pieces. The chamber keeps the heat in. The timer makes sure you don’t burn a recipe. But the most important part of your oven is –of course– the heating elements. There are two heating elements in most ovens, one on top and one on bottom. The top is the broiling element, used to toast the top of things or help items cook all the way through. The bottom is the baking element, heating pans from the underneath and is the primary element.
Either heating element can burn out or become damaged or old. Heating elements can become “splotchy” in which a half or only parts of the element heat up. This results in an underpowered oven and uneven cooking. When the time comes, the replacement method is the same whether you are replacing the top, bottom, or both elements.
The Tools and Supplies You Need
The first step is always to gather your supplies. With everything laid out and ready, you can complete your repair from the beginning without having to look for anything in the middle. What you will need is in the following list. The chip clip and the work gloves are particularly important, do not leave them out. The needle nose pliers may be useful but are not necessary.
- Screwdriver
- Needle Nose Pliers (optional)
- Chip Clip
- Work Gloves
Replacement Heating Element
In addition to the listed supplies you will also naturally need the replacement heating element. Find your oven’s brand and model number so you can look up the correct part replacement number. This will help you order the right heating element or elements.
Preparing and Taking Safety Precautions
The safety precautions for this repair are unusually detailed. Not only do you need the oven to be disconnected from electricity, you also need to lightly warm the elements before you begin.
Warm the Oven and Let it Cool
Oven heating elements are made from metal that is designed to convey electricity evenly into heat. However, the process makes them brittle to force over time. If warmed, the metal becomes solid again. But when cold, it can shatter into sharp pieces in your hands.
To warm your oven, heat it to the lowest setting and let it warm for five to ten minutes. Then allow it to cool until it is only warm to the touch, not hot. Now it is safe to work with the elements without shattering them.
Unplug the Oven
With the heating element warmed, you should now unplug the oven. This ensures that you cannot get a shock and the oven cannot heat while you are working with it.
Clear the Oven Cabinet
The next step is to empty the oven so that you have room to work with it. You can also take this step before you warm the oven and unplug it, the order is irrelevant as we are not yet working with electricity or the elements.
Open the Oven
Open the oven door completely and leave it like this. You can also choose to remove the oven door by lifting it off the hinges if you have trouble reaching into the oven with the door open.
Remove the Oven Racks
Pull out all the oven racks. Whether you have one, two, or half a dozen, oven racks will get in your way. Set them aside or take this opportunity to soak and clean them.
Sweep Out Crumbs and Char
The bottom of your oven is likely covered in drips and charred food bits. Most people’s ovens are. Use cleaning implements of your choice to remove these crumbs and char so that you have a relatively clean workspace.
Remove the Previous Heating Element
Now we’re ready to take out that old heating element to make room for the new one. Ready your tools and approach the open oven.
Remove the Mounting Screws
Start with your screwdriver. Find every mounting screw that holds the heating element in place. There may be anywhere from six to ten, depending on the model of oven and how the element is mounted.
Release the Element Mounting Brackets
There may be additional mounting brackets attached by screws or clamps. Examine the mechanism and disconnect the brackets that hold the element in place.
Pull the Element out Gently
Now that the mounting gear is gone, the element should come loose. It may stick and you may have to tug, which is why you warmed it first. Pull firmly, but gently. Do not pull the element all the way out, you will find that it’s still attached with wires.
Disconnect the Wire Harness
You see that the wires connecting the element to the oven are attached by a clip, called a wire harness. Disconnect the clip but hold onto both sides of the harness, both sets of wires.
Clip the Wires to the Housing
Hold onto the wires that come from inside the oven. Clip them to the housing of the oven, make sure that it does not fall inside. If it falls to the other side of the oven’s back wall, you may have to open up the back cabinet space to get it back.
Remove the Old Element
Now it is safe to fully remove the old element. You can discard it or have it recycled as metal and electric scrap. We reccomend finding a local electronic or scrap recycling service.
Install the New Heating Element
You are ready to install the new heating element into your oven.
Place the Heating Element
Put your heating element in it’s place, position it so it is at or close to it’s final spot. This way, the wires can reach.
Connect the Wire Harness
Retrieve your oven wires from the clip and combine them with the wires from the element. Align the harness so the grooves match and press the two halves together until they click.
Position the Mounting Brackets
Replace the mounting brackets if they were removed or align the element with the existing brackets.
Return the Mounting Screws
Now retrieve all your mounting screws and return them to their places. Fasten the screws firmly but no need to over-tighten. Your heating element won’t be moving much.
Test Your Success
Complete the repair by reassembling the oven and testing your success. Return the oven racks, plug the oven back in, and run a sugar test. Place a baking sheet on a pan and sprinkle sugar over the entire space. Bake that sugar. If it browns evenly and if your oven reaches temperature satisfactorily, then your repair was a success.
Looking for more appliance repair guides, tips, or professional appliance repair services? Contact us today!

Apr. 09, 2024
GE Washer Not Spinning? Here’s The Fix!

Apr. 09, 2024
How to Restore Power to Your GE Dishwasher

Apr. 09, 2024
How To Reset Your GE Washer Top Loader

Mar. 06, 2024
Understanding Whirlpool Washer Error Codes

Mar. 06, 2024
JennAir Ice Maker Not Working? Here’s What to Do

Mar. 06, 2024
What to Do If Your LG Fridge Isn’t Cooling

Feb. 05, 2024
Propane vs. Natural Gas Stove: What’s Best?

Feb. 05, 2024
How Hot Does a Dryer Get?

Feb. 05, 2024
LG Dryer Flow Sense: Everything You Need to Know

Jan. 03, 2024
What to Do When Your Freezer Is Not Freezing but the Fridge Is Cold

Jan. 03, 2024
How to Solve Maytag Dishwasher Showing Error F9E1

Jan. 03, 2024
When Is a Microwave Unsafe to Use? (Warning Signs to Look For)

Dec. 11, 2023
How to Fix a Squeaky Dryer (Step-by-Step)

Dec. 11, 2023
How To Remove Ink From Your Dryer

Dec. 11, 2023
How To Fix an LG Microwave Not Heating

Nov. 06, 2023
How To Fix a Maytag Washer Not Spinning

Nov. 06, 2023
KitchenAid Refrigerator Not Making Ice? Here’s Why

Nov. 06, 2023
Whirlpool Microwave Door Error: How to Fix It

Oct. 02, 2023
13 Things to Never Put in the Dishwasher

Oct. 02, 2023
Can You Put Glass in the Microwave?
512 - 819 - 0670Give us a call!