

November 5, 2018
Oven Repair
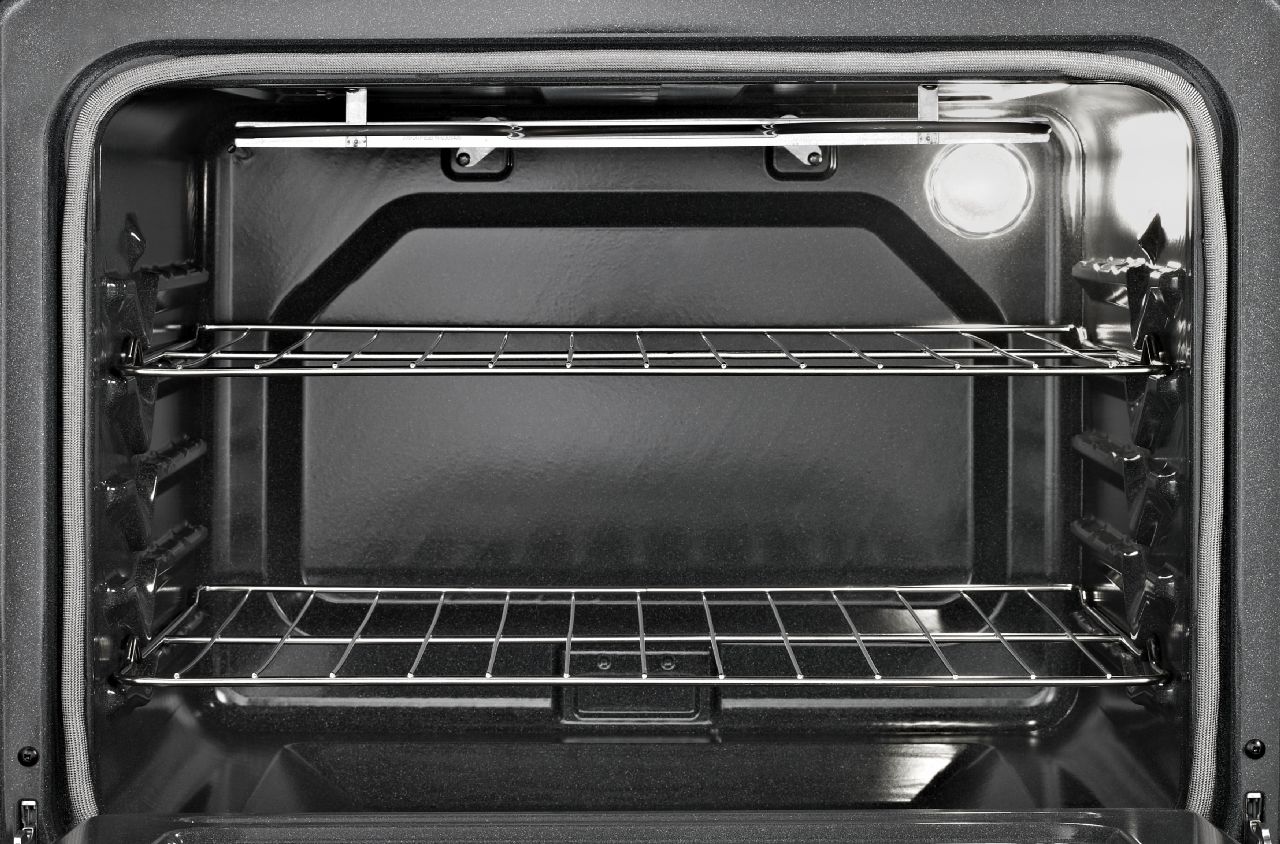
Whenever you open and close your oven’s door, there are a lot of moving parts at work. Over time, the hinges can start to get damaged. If your oven door is getting harder and harder to open, or it won’t open and close at all, the parts could be bent or broken. Troubleshoot the hinges until you know which part is broken. If the hinge receivers (where the door hinge hooks into the frame of the oven) are broken, you can replace them yourself. Order replacement part #318342400 for a hinge receiver kit that matches your Kenmore range, and consider ordering two if both hinge receivers are damaged. Then follow these steps to install them yourself.
1. Unplug the oven.
Before you start dismantling or uninstalling any appliance, make sure it’s separated from its power source. Unplug your oven or, if it’s wired directly into your house’s power, flip the circuit breaker.
You will also need to unplug the oven to more easily access the rear of the appliance.
2. Remove the oven door.
First, open the fully and lower it fully. Flip the hinge locks just inside the range body: there’s a tab to push the hinge lock forward against the edge of the circular part on each side of the door. Snap both locks forward to loosen them.
Next, close the door at a forty-five-degree angle, and then grab the sides firmly. Lift the door free of the hinges. Carefully set it aside on a flat, protected surface so the glass doesn’t break or get scratched.
Also, remove the lower drawer to get it out of the way.
3. Remove the side panels.
Remove screws holding top panel to the side panels. These are located on the interior top edge of the side panels.
Lift the top panel up slightly to locate the tabs along the front. Push them to free the top panel. Then lift the top pale slightly and set it down on top of the oven at an angle so you can find the screws along the top edge of the side panels. There are two screws per side, so you’ll have to shift the top slightly to access them all.
If you want to have more room to work and the top panel is getting in your way, you can uninstall the elements and remove the panel. Many repair procedures include this step. But it adds a lot of work to your repair job. Instead, ask someone to carefully hold the panel up out of the way without tugging on the wires. This should give you the access you need.
Next, go to the back of the appliance and remove the large rear access panel. Set it aside. Locate the screws along the back edge of each side panel (six in total). Also, loosen the two screws that secure the top rear panel along the back of the control panel. This panel pinches the side panel into place, so you may have to loosen it to wiggle the sides free. You do not have to fully remove the screws.
The front of each of the side panels has a lip that fits into a groove. To remove each side panel, pull the back of the panel away from the body of the appliance at an angle. Then push towards the front of the appliance to free it from this front groove. Set the panel aside, and repeat these steps to remove the second side panel.
4. Remove the old hinge receivers.
Locate the screws at the top and bottom of each hinge receiver at the front of the appliance. Remove the screws (four in total) and set aside. Reach behind the front lip of the appliance to pull the hinge receivers out.
5. Install the new hinge receivers.
First, slide the first hinge receiver into place behind the front lip of the appliance’s edge. Line up the holes with the holes in the frame, then secure the hinge receiver with the two screws. Repeat with the other hinge receiver.
Once the parts are in place, it’s time to reassemble the appliance.
6. Reassemble the oven.
Install the side panels. Start by lining up the front groove with the lip and then pushing it into place with the panel flush against the side of the machine. Then snap the rear side into place. Check to make sure the top rear corner slid behind and under the control panel cover. Then secure the side panel in place by retightening the screws on the back control panel cover.
Also, add back the three screws along the back of the side panel and the two screws along the top edge. Move the top of the coven out of the way as necessary and repeat with both panels.
Position the top panel into place and slide the back edge under the control panel. Make sure the sides fit in place over the side grooves. Then lift up the front edge and make sure it slides into the locking tabs as you lower it. Retighten the screws at each front corner of the panel.
Reattach the rear access panel. Make sure the holes line up and then retighten the screws to secure it in position.
Reinsert the bottom drawer at the front of the appliance.
Reinstall the door. To do this, carefully hook each of the hinges around the hinge receivers. Make sure the circular parts grab fully onto each of the receivers as you hold the door at a forty-five-degree angle. Once you can feel both sides hook into place, fully lower the door. engage the hinge locks by pushing up on the hinge lock tabs with a flathead screwdriver. Wiggle the door carefully to make sure it’s firmly attached, then close the door.
If you have more appliance repair jobs that you want to try on your own, go to Appliance Express for troubleshooting tips and more appliance repair procedures. For difficult or dangerous repairs, you can also schedule a time for a professional repair technician to take a look.

Apr. 09, 2024
GE Washer Not Spinning? Here’s The Fix!

Apr. 09, 2024
How to Restore Power to Your GE Dishwasher

Apr. 09, 2024
How To Reset Your GE Washer Top Loader

Mar. 06, 2024
Understanding Whirlpool Washer Error Codes

Mar. 06, 2024
JennAir Ice Maker Not Working? Here’s What to Do

Mar. 06, 2024
What to Do If Your LG Fridge Isn’t Cooling

Feb. 05, 2024
Propane vs. Natural Gas Stove: What’s Best?

Feb. 05, 2024
How Hot Does a Dryer Get?

Feb. 05, 2024
LG Dryer Flow Sense: Everything You Need to Know

Jan. 03, 2024
What to Do When Your Freezer Is Not Freezing but the Fridge Is Cold

Jan. 03, 2024
How to Solve Maytag Dishwasher Showing Error F9E1

Jan. 03, 2024
When Is a Microwave Unsafe to Use? (Warning Signs to Look For)

Dec. 11, 2023
How to Fix a Squeaky Dryer (Step-by-Step)

Dec. 11, 2023
How To Remove Ink From Your Dryer

Dec. 11, 2023
How To Fix an LG Microwave Not Heating

Nov. 06, 2023
How To Fix a Maytag Washer Not Spinning

Nov. 06, 2023
KitchenAid Refrigerator Not Making Ice? Here’s Why

Nov. 06, 2023
Whirlpool Microwave Door Error: How to Fix It

Oct. 02, 2023
13 Things to Never Put in the Dishwasher

Oct. 02, 2023
Can You Put Glass in the Microwave?
512 - 819 - 0670Give us a call!