

April 5, 2021
Dryer Repair
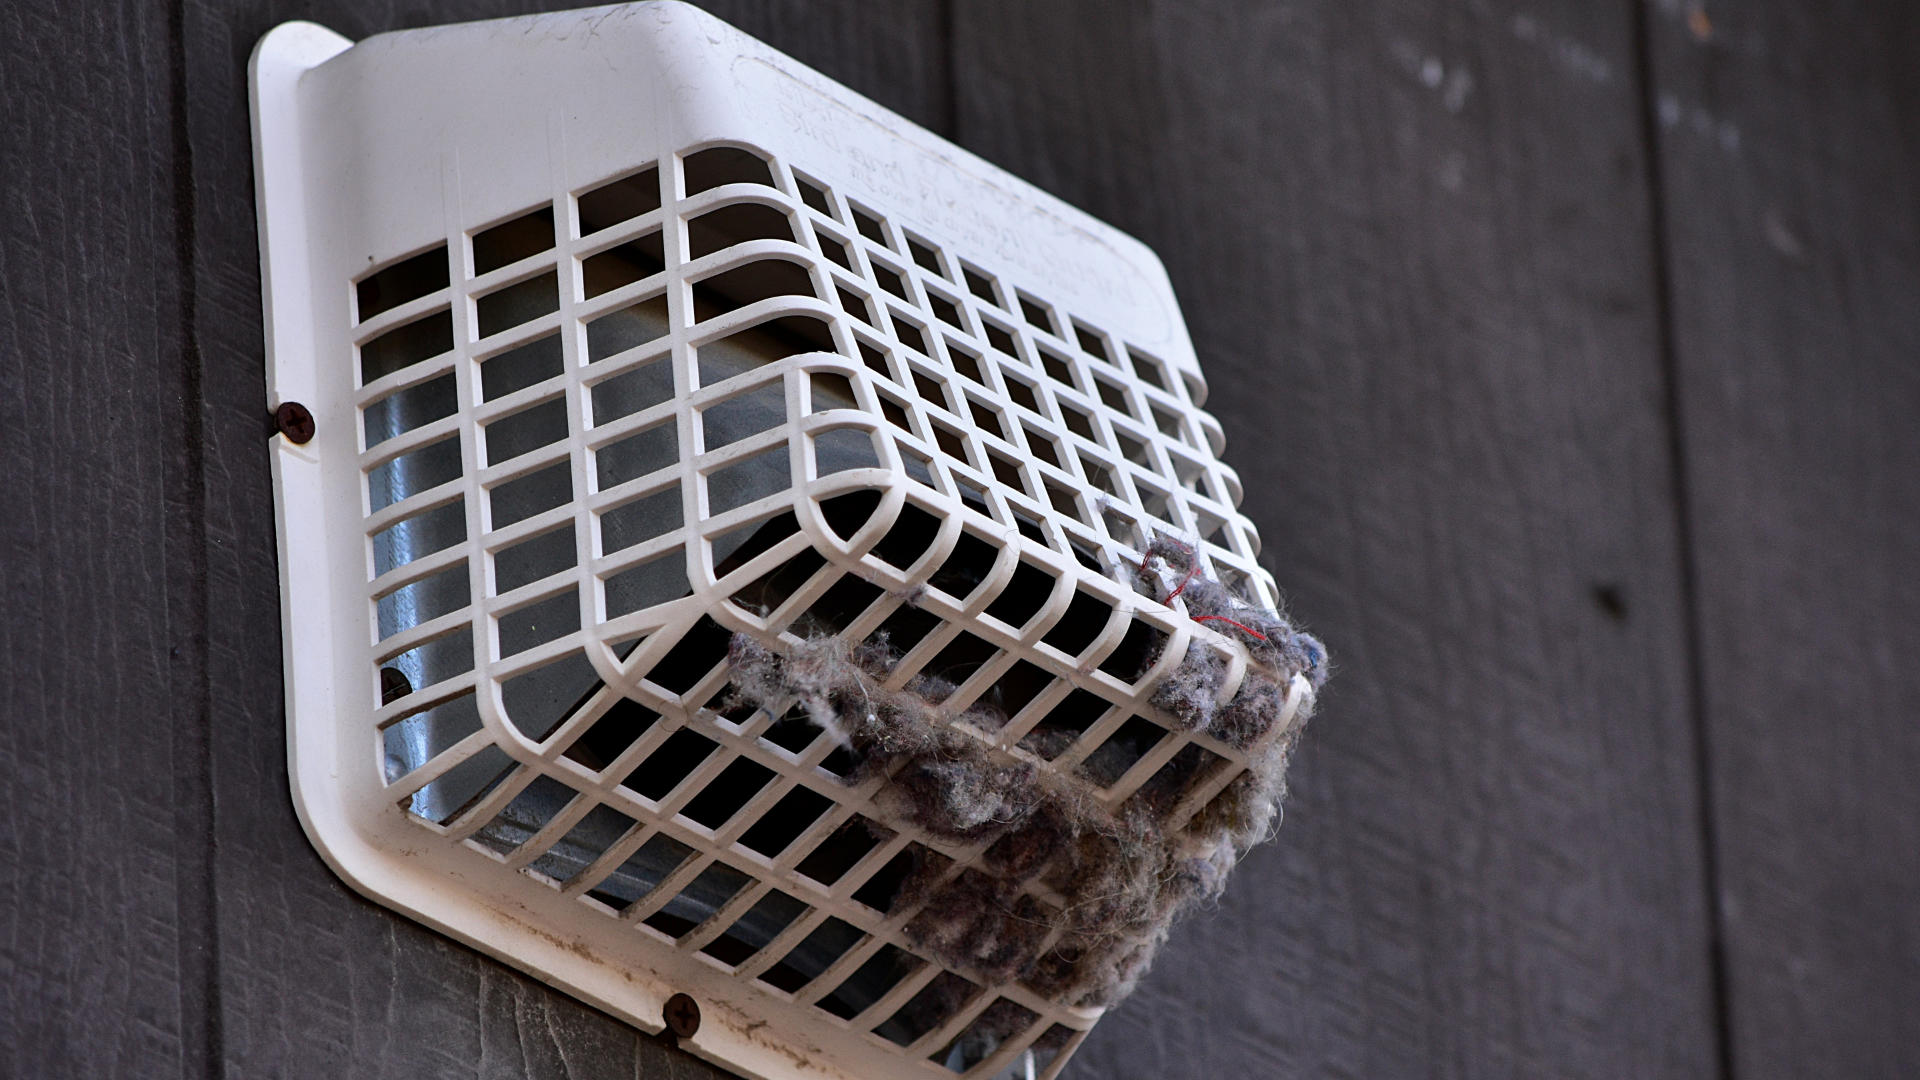
Is your dryer shutting off after only a few minutes during a cycle? Then this is the guide for you. Simply check out each possible cause so you can find which one is responsible for your dryer not working as it should. Once you find the cause, you can then follow our step-by-step instructions for how to fix the problem.
Drum Belt
The most common cause of a dryer shutting off after a few minutes is a broken or faulty drive belt. The drive belt goes around the dryer drum, idler pulley, and the motor pulley and helps the dryer to rotate when operating. If it is defective, the dryer won’t work correctly.
You can check the drive belt and replace it if necessary by doing the following:
- Make sure the power to the dryer is switched off, and then pull the dryer out from the wall so you can work on it.
- Remove the top panel by unthreading the screws that hold it in place, and then it should clip off.
- Remove the front panel by unthreading the screws that hold it in place. You should now be able to access the drive belt and the two pulleys.
- Check the belt for any signs of wear and tear or if it has snapped. If so, you’ll need to replace it.
- The first thing to do to replace the drive belt is to remove the belt off the idler pulley and the motor pulley. You should also check both pulleys for any signs of wear and tear and replace them as well if necessary.
- Pull the belt up to release the drum bearing.
- Remove the front guide from the dryer.
- Pull the drum slightly out of the cabinet so you can remove the drive belt off the back of the drum. You can now install the new drive belt.
- Place the new drive belt around the drum – making sure the groove side of the belt sets against the drum.
- Slide the drum back into place.
- Line the belt up in the correct position – it should be in the center of the drum. You can then reach down and reattach the belt to the idler pulley and the motor pulley – make sure it’s put back on them like it was when you took the old one off.
- Adjust the tension on the idler to ensure the belt is on tightly.
- You can now reassemble the dryer and then test it out to see if the problem has been solved.
Dryer Motor
The second possible cause to check is if the motor is overheating. If the motor is overheating, then it most likely will have to be replaced. Sometimes, before the motor becomes completely defective, you will be able to hear a buzzing noise coming from the motor.
When the dryer stops after a few minutes, let it cool down for 5 minutes – if the dryer starts up again after this time, then the motor is probably defective and will need to be replaced.
To replace the motor:
- Make sure the power is disconnected, and pull the dryer out from the wall so you can work on it.
- Remove the lower access panel if your dryer has one.
- Remove the lint filter and the two screws that are underneath it.
- Remove the top panel on the dryer.
- Disconnect the door switch wires.
- Remove the top panel on the dryer.
- Remove the drive belt off the idler pulley and then the idler pulley from the mounting bracket.
- Take the drum out of the dryer cabinet (you can leave the drive belt on it).
- Remove the wires from the motor and loosen the blower wheel.
- You can now install the new motor.
- Put the dryer back together again and then test if the problem is solved.
Door Latch
The next component to check is the door latch. The door latch can become worn out and result in the dryer door opening up when it is turned on. To fix this problem, you have to replace the door latch. Thankfully, it is an easy repair to make.
Here’s how to do it:
- Make sure the dryer is turned off.
- Remove the hinges from the door and remove all of the screws that are on the door – this allows you to take the door apart.
- Remove the door latch with pliers.
- Install the new door latch and then ,put the door back together.
- Reattach the door to the dryer, and then plug it back in to test if the dryer is working correctly.
The Moisture Sensor
Another component to check is the moisture sensor. This component monitors the levels of moisture in the dryer and then sends a signal to the control board. If it becomes defective, it will inaccurately tell the control board that your dryer has no moisture (i.e., your clothes are dry) and shut the dryer off.
To check the moisture sensor and replace it if necessary:
- Turn the power off to the dryer, and pull it out from the wall so you can work on it.
- Remove the screws on the top panel and take it off.
- Unplug the wiring harness from the control board, remove the screws that hold the control panel in place, and then take the control panel out.
- Remove the screws that hold the lint screen housing onto the front panel of the door; then close the door.
- Use a pair of pliers to dislodge the locking tab on the front panel, remove the screws from the front panel, unplug the wiring harness on the door, and then take the front panel off.
- Remove the wiring harness that is attached to the moisture sensor.
- Remove the mounting plate with pliers.
- Remove the lint screen.
- Unthread the screws holding the grill in place and then remove it.
- Remove the lint screen.
- Unthread the screws on the grill and then remove them from the dryer.
- Remove the lint filter guide.
- You can now install the new moisture sensor and then put the dryer back together in the same way and order you took it apart.
- Plug the dryer back in and turn the dryer on so you can see if the problem has been solved.

Apr. 09, 2024
GE Washer Not Spinning? Here’s The Fix!

Apr. 09, 2024
How to Restore Power to Your GE Dishwasher

Apr. 09, 2024
How To Reset Your GE Washer Top Loader

Mar. 06, 2024
Understanding Whirlpool Washer Error Codes

Mar. 06, 2024
JennAir Ice Maker Not Working? Here’s What to Do

Mar. 06, 2024
What to Do If Your LG Fridge Isn’t Cooling

Feb. 05, 2024
Propane vs. Natural Gas Stove: What’s Best?

Feb. 05, 2024
How Hot Does a Dryer Get?

Feb. 05, 2024
LG Dryer Flow Sense: Everything You Need to Know

Jan. 03, 2024
What to Do When Your Freezer Is Not Freezing but the Fridge Is Cold

Jan. 03, 2024
How to Solve Maytag Dishwasher Showing Error F9E1

Jan. 03, 2024
When Is a Microwave Unsafe to Use? (Warning Signs to Look For)

Dec. 11, 2023
How to Fix a Squeaky Dryer (Step-by-Step)

Dec. 11, 2023
How To Remove Ink From Your Dryer

Dec. 11, 2023
How To Fix an LG Microwave Not Heating

Nov. 06, 2023
How To Fix a Maytag Washer Not Spinning

Nov. 06, 2023
KitchenAid Refrigerator Not Making Ice? Here’s Why

Nov. 06, 2023
Whirlpool Microwave Door Error: How to Fix It

Oct. 02, 2023
13 Things to Never Put in the Dishwasher

Oct. 02, 2023
Can You Put Glass in the Microwave?
512 - 819 - 0670Give us a call!