

July 7, 2021
Dryer Repair
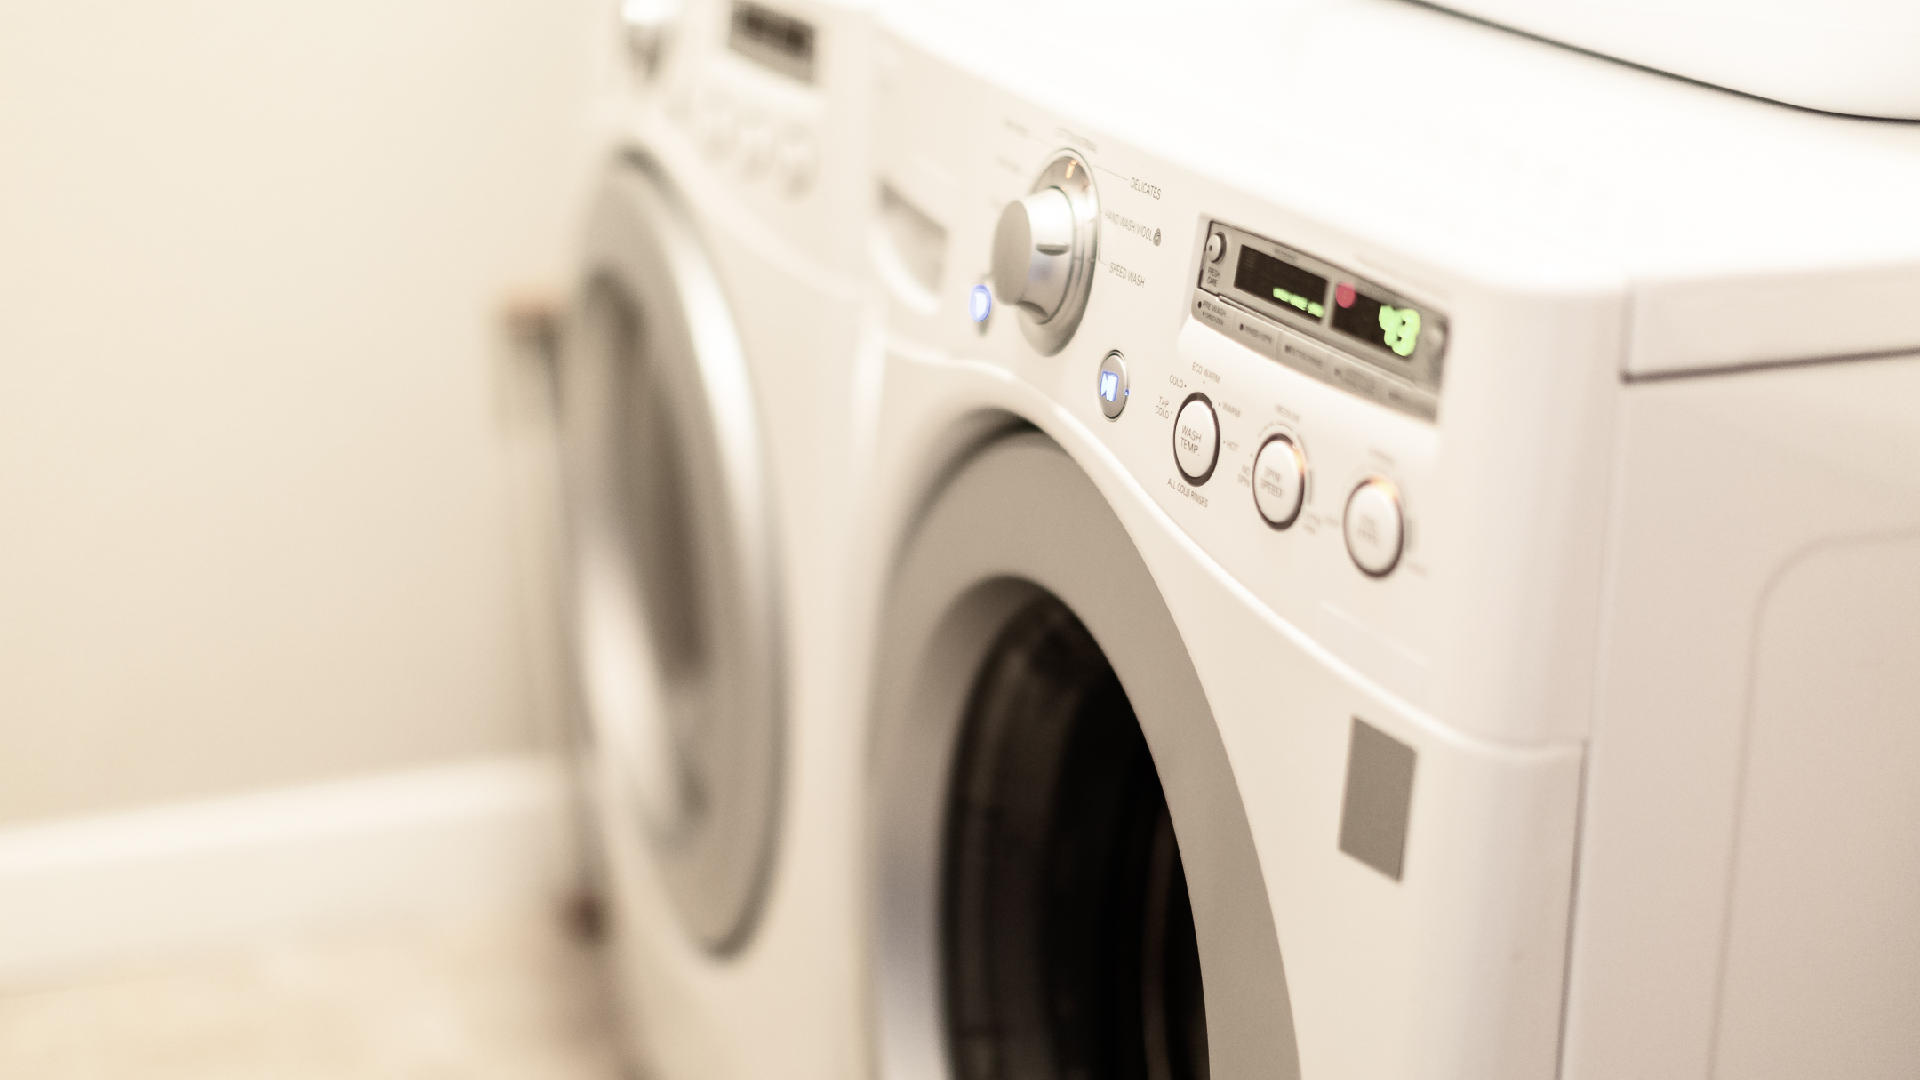
If the dryer will not start, there are several parts that should be examined and tested to diagnose and fix the issue. The most common causes are a blown thermal fuse, a defective door switch, and a defective start switch. By following the instructions below, you should be able to diagnose the issue and get the dryer working again. Before performing these repairs, make sure to disconnect the dryer from the power source.
1. No Power
If the dryer is not turning on, the first step is to check that it is receiving power. If the dryer has a light that turns on when opening the dryer, check if it still turns on. The electrical panel in your home should also be checked for a circuit breaker that may have been tripped. The dryer could also be plugged into a different power outlet to check if the power outlet is responsible for the issue.
2. Blown Thermal Fuse
Dryers often fail to turn on because a thermal fuse has blown. The thermal fuse is a safety measure to prevent a fire from starting. The fuse will blow if the temperature in the dryer gets too high. It is an important safety feature to prevent the dryer from causing a fire. If the thermal fuse blows, it can be replaced, but it is important to also resolve the issue that caused the fuse to blow. The thermal fuse usually blows because of a clogged dryer vent.
The thermal fuse can be found on either the blower housing or the dryer’s heat source. To access the thermal fuse, you will usually need to remove the access panel around the ventilation duct. The thermal fuse can be tested with a multimeter for continuity (a continuous electrical path). If there is no continuity, the fuse has blown, and it will need to be replaced. The dryer’s vents should also be cleaned to prevent the fuse from blowing again and to negate the risk of fire.
3. Defective Start Switch
When depressed, the start switch sends power to the drive motor, and the drum begins tumbling. If you try to start the dryer and nothing happens, it is often a defective start switch that is responsible. To determine if the start switch is defective, try to start the dryer. If it does not start but you hear a hum, it is not the start switch that is defective.
The start switch should be tested with a multimeter to determine if it is defective. If there is no continuity, the start switch is defective and will need to be replaced. The start switch is usually accessed by removing the control panel. Check your owner’s manual for the location of your specific model’s start switch.
4. Defective Door Switch
Another safety precaution that, when defective, will cause the dryer not to turn on is the door switch. The door switch is designed to stop the dryer from working when the door is open. If you can hear the door click when you close the dryer door, the door switch is probably working correctly. However, it still pays to check the door switch with a multimeter and to check that the switch assembly is not damaged. If the prong that comes into contact with the switch when the door closes is damaged, replacing the door switch assembly may resolve the issue.
On most models, the door switch is accessed by removing the top panel and then the front panel. Check the dryer’s manual if you are unsure of its location. When testing the door switch with a multimeter, if there is no continuity, the door switch will need to be replaced.
5. Defective Drive Motor
If the door switch, start switch, and thermal fuse are not causing the issue, the drive motor may be defective. The drive motor rotates the dryer drum and blower wheel. A dryer that hums but does not work indicates that the drive motor is defective. A drum that cannot be turned manually further indicates that the drive motor needs to be replaced.
Accessing the dryer’s drive motor will depend on your dryer’s make and model. Typically, it can be accessed by either removing the bottom access panel or the top and front panels. If you need to remove the top panel, it is often secured by clips in each corner, which can be released by using a putty knife to wedge the top panel off the clips.
When you have removed the access panels, check the blower wheel for obstructions. If there are no obstructions, check the drive belt for damage. If the drive belt is not damaged, the drive motor likely needs to be replaced. The drive motor can be tested with a multimeter. There should be little resistance (a reading of 0 or close to 0) when the multimeter probes touch the drive motor terminals.
6. Dryer Belt
The dryer belt wraps around the dryer drum. The belt works with the drive motor and the idler pulley to rotate the dryer drum. If the belt is broken, the drum will not rotate. Some dryers also have a switch that turns the dryer off if the belt breaks. The belt can be tested by turning the dryer drum manually. If it turns without any resistance, the dryer belt likely needs to be replaced or refitted.
The belt can be accessed by following the drive motor instructions above. The belt can be removed by moving the idler pulley to release the tension from the belt or replaced by threading it around the idler pulley and motor pulley.
7. Defective Timer
If the dryer’s timer is defective, the dryer may not turn on. However, the timer rarely breaks, so the above issues should be investigated first. It is difficult to test the timer, so if you suspect it is defective, it is best to just replace it.
8. Main Control Board
Another dryer part that may be responsible but does not typically become defective is the main control board. The main control board is difficult to test, although it can be examined for signs of burning or loose wires. If the above dryer issues are not responsible for the dryer not turning on, the main control board will likely need to be replaced. At this point, contacting a trained professional is the recommended action.

Apr. 09, 2024
GE Washer Not Spinning? Here’s The Fix!

Apr. 09, 2024
How to Restore Power to Your GE Dishwasher

Apr. 09, 2024
How To Reset Your GE Washer Top Loader

Mar. 06, 2024
Understanding Whirlpool Washer Error Codes

Mar. 06, 2024
JennAir Ice Maker Not Working? Here’s What to Do

Mar. 06, 2024
What to Do If Your LG Fridge Isn’t Cooling

Feb. 05, 2024
Propane vs. Natural Gas Stove: What’s Best?

Feb. 05, 2024
How Hot Does a Dryer Get?

Feb. 05, 2024
LG Dryer Flow Sense: Everything You Need to Know

Jan. 03, 2024
What to Do When Your Freezer Is Not Freezing but the Fridge Is Cold

Jan. 03, 2024
How to Solve Maytag Dishwasher Showing Error F9E1

Jan. 03, 2024
When Is a Microwave Unsafe to Use? (Warning Signs to Look For)

Dec. 11, 2023
How to Fix a Squeaky Dryer (Step-by-Step)

Dec. 11, 2023
How To Remove Ink From Your Dryer

Dec. 11, 2023
How To Fix an LG Microwave Not Heating

Nov. 06, 2023
How To Fix a Maytag Washer Not Spinning

Nov. 06, 2023
KitchenAid Refrigerator Not Making Ice? Here’s Why

Nov. 06, 2023
Whirlpool Microwave Door Error: How to Fix It

Oct. 02, 2023
13 Things to Never Put in the Dishwasher

Oct. 02, 2023
Can You Put Glass in the Microwave?
512 - 819 - 0670Give us a call!