

November 8, 2018
Refrigerator Repair
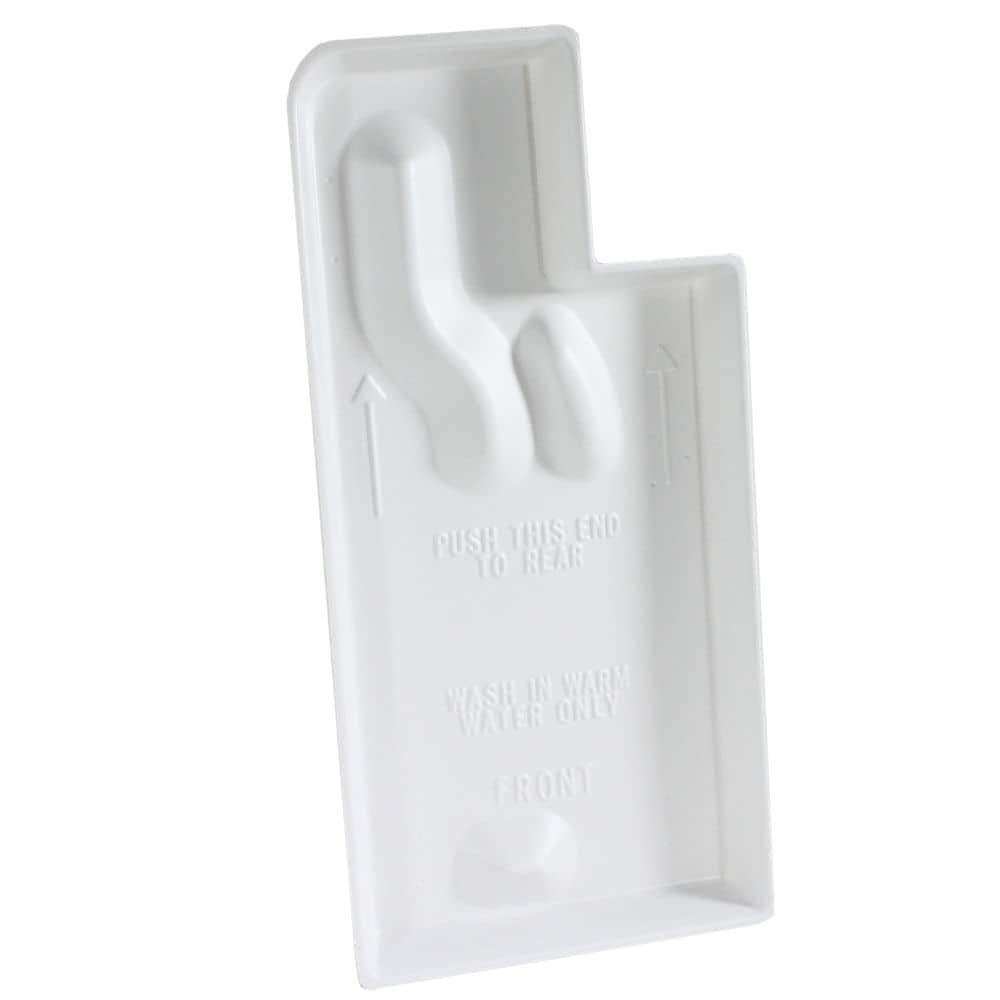
If you have a leak running out from under your refrigerator, don’t panic. Just unplug the refrigerator and turn off the water supply if you can. The most common culprit behind a surprise refrigerator leak is a cracked evaporator tray. This is where water runoff from your refrigerator’s coils collects. Once it cracks, it will spread across your floor before it has a chance to evaporate.
If you want to handle the repairs yourself, it just takes a new evaporator tray and a few simple steps. Order replacement part #WPW10614158 for a Whirlpool refrigerator and follow these steps:
1. Unplug your refrigerator.
During the course of this repair, you will need to access the back of your refrigerator, and you will be handling internal parts near your appliance’s wiring. Unplugging is the refrigerator is an essential first step to keep yourself and the surrounding area safe.
Depending on the exact make and model of your refrigerator, you may also need to turn off the water supply by twisting the shut-off valve ninety degrees.
2. Dismantle the back of the refrigerator to access the evaporator tray.
Pull your refrigerator away from the wall and go to the rear of your fridge.
First, remove the bottom access panel by removing the screws, angling the bottom away from the refrigerator, and letting the top slip free of its grooves. Set the panel aside.
Next, remove water the valve. Loosen the two screws holding the bracket in place. Then pull the whole assembly out of the fridge without tugging on the attached lines. Locate the water line and pull it free from the valve. Then set the valve on the ground. Remove the valve securing the water line against the back of the refrigerator. Leave the clamp on the line but let it swing free.
After that, cut any tape securing the evaporator tray in place at the bottom of the refrigerator.
3. Remove the evaporator tray from the front of the refrigerator.
Go to the front of the refrigerator and open the doors to access the kick plate. Locate the locking tabs on the left and right top corners of the kick plate. Pry the cover free with a putty knife. Then set it aside.
Next, remove the water filter housing behind the kick plate. Start by pulling the support bar wire free of the hook. You can just let the right end hang freely, and do not entirely remove the part.
After that, remove the two screws securing the housing in place in the middle of the refrigerator. Pull the water filter housing out of the refrigerator. Then set it to the side instead of disconnecting the water lines. Also, set aside the styrofoam block that lives under the water filter.
Locate the evaporator tray. Cut through any remaining tape securing the tray in place. Then the tray should just slide free when you lift it up above the securing tabs and out.
4. Install the new evaporator tray.
Move the water lines out of the way and slide the tray back into place. Make sure it slides into place between the locking tabs. Once it’s down, you can add tape to lock it into place and prevent future slipping. Tape across both the tray and the tab for the most stability.
Push the styrofoam block back below where the water filter housing will go. After that, shift the water filter housing back into position and push it into the frame. Line up the housing’s screw holes with the two holes in the bottom of the frame, then retighten the screws.
Once the water filter is secure, put the support bar back into the hook on the left side of the housing. Push the water lines back past the edge of the refrigerator frame so none of them will get pinched as you reassemble the refrigerator.
Then replace the kick plate. Line up the corners with the locking tabs. Press each corner in place until you hear the audible clicks. Then shut the doors.
5. Reassemble the rear of the refrigerator.
Push the evaporator tray down until it’s flat. After that, press a long piece of tape over the top lip of the tray and down to the bottom of the refrigerator. It should lock it in place but also stop the tray from tipping at an angle too far.
Next, find the water tube. pull it slightly out of the appliance and line it up with the opening in the water valve. Press the water line deep into place and make sure the valve’s lock engages by tugging on it firmly.
After that, reinstall the water valve. First, position the bracket against the frame and make sure no water lines or wires are pinched. Line the water valve’s bracket up with the two screw holes in the vertical frame, and then retighten the mounting screws to secure the bracket in place.
Put the water line back in the clips along the bottom of the refrigerator also reattach the water fill line that runs along the rear wall of the refrigerator. Secure it in place by retightening the screw through the locking bracket and the rear refrigerator panel.
Then reinstall the bottom rear access panel. Slide the top portion into the top groove. Then line it up with the screw holes along the perimeter and make sure it’s flush alongside the refrigerator. After that, secure it by tightening each of the screws along the perimeter, and make sure you don’t pinch or fold any water lines as you work.
Push the refrigerator back into position and plug it back in.
If you have more repairs you need to make to the appliances throughout your house, browse our resources at Appliance Express. Find a troubleshooting guide to narrow down a malfunction or read through an appliance repair procedure for DIY repairs. If you have a tricky or dangerous repair that you need to have done quickly, contact us to schedule an appointment with a professional repair technician.

Apr. 09, 2024
GE Washer Not Spinning? Here’s The Fix!

Apr. 09, 2024
How to Restore Power to Your GE Dishwasher

Apr. 09, 2024
How To Reset Your GE Washer Top Loader

Mar. 06, 2024
Understanding Whirlpool Washer Error Codes

Mar. 06, 2024
JennAir Ice Maker Not Working? Here’s What to Do

Mar. 06, 2024
What to Do If Your LG Fridge Isn’t Cooling

Feb. 05, 2024
Propane vs. Natural Gas Stove: What’s Best?

Feb. 05, 2024
How Hot Does a Dryer Get?

Feb. 05, 2024
LG Dryer Flow Sense: Everything You Need to Know

Jan. 03, 2024
What to Do When Your Freezer Is Not Freezing but the Fridge Is Cold

Jan. 03, 2024
How to Solve Maytag Dishwasher Showing Error F9E1

Jan. 03, 2024
When Is a Microwave Unsafe to Use? (Warning Signs to Look For)

Dec. 11, 2023
How to Fix a Squeaky Dryer (Step-by-Step)

Dec. 11, 2023
How To Remove Ink From Your Dryer

Dec. 11, 2023
How To Fix an LG Microwave Not Heating

Nov. 06, 2023
How To Fix a Maytag Washer Not Spinning

Nov. 06, 2023
KitchenAid Refrigerator Not Making Ice? Here’s Why

Nov. 06, 2023
Whirlpool Microwave Door Error: How to Fix It

Oct. 02, 2023
13 Things to Never Put in the Dishwasher

Oct. 02, 2023
Can You Put Glass in the Microwave?
512 - 819 - 0670Give us a call!