

March 14, 2018
Refrigerator Repair
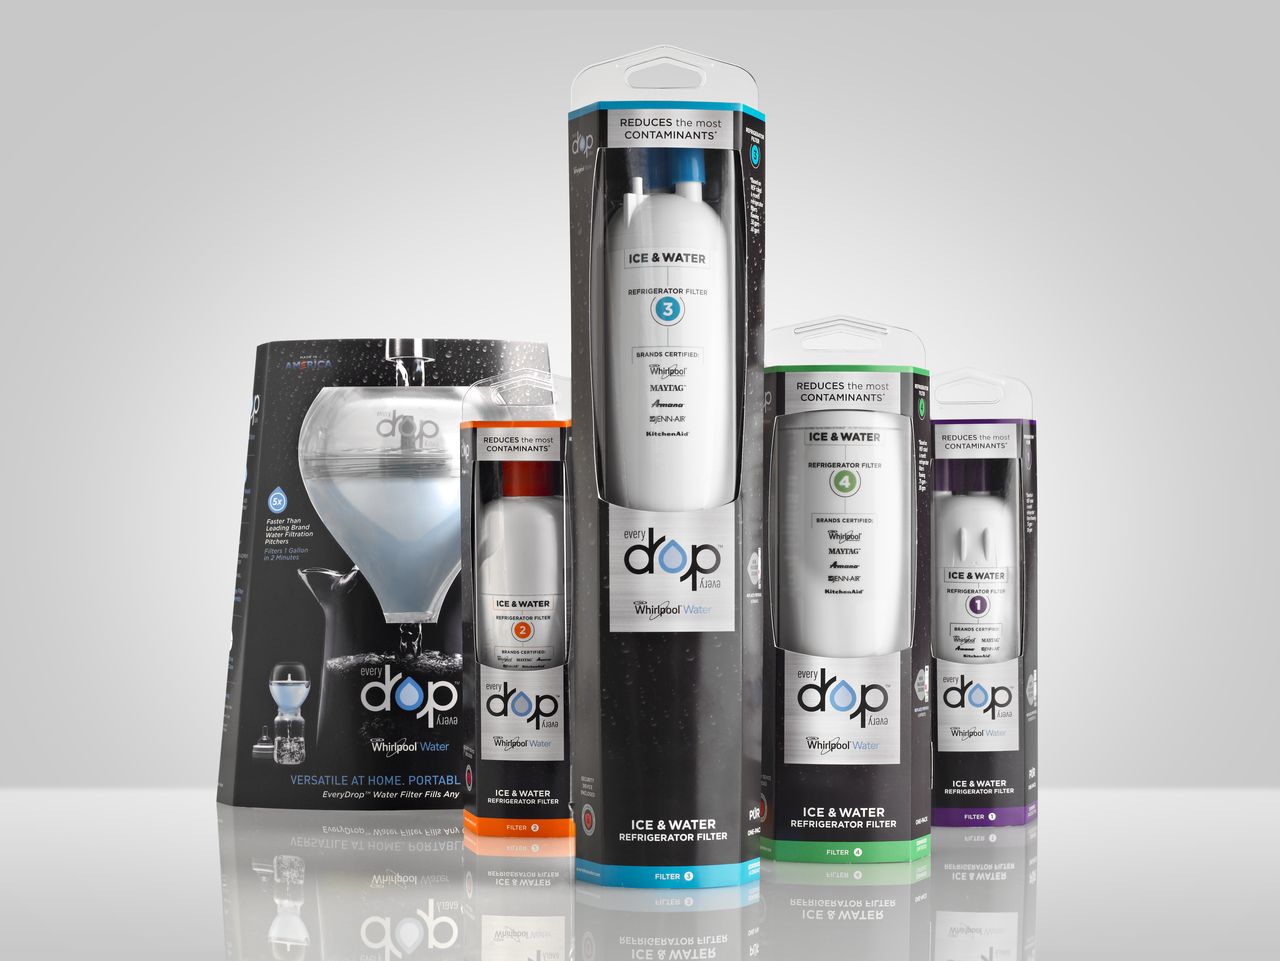
Replacing a refrigerator’s water filter is a common step in refrigerator maintenance. Many older models have the filters behind or below the refrigerator and are connected directly to the water line. But newer models often keep the cartridge inside the refrigerator for easier replacement. Order Whirlpool OEM Part #EDR4RXD1 and follow these steps:
- Open the fresh food door and locate the water filter cover. Once you open the right-hand door, this will be located on the right rear of the ceiling next to the central light. You might also want to remove any food stored on the top shelf, as water could spill during the part replacement. However, the amount of water will not be significant and you do not have to turn off the water connection itself.
- Remove the cover. Press the front tab to release the cover and then tilt the plastic cover down to expose the filter.
- Remove the old water filter. Rotate the cartridge counterclockwise approximately a half turn until you feel it loosen from the filter housing, then remove it from the refrigerator. Some water will leak out, so wipe it up and place the old filter on the refrigerator shelf until it stops dripping.
- Install the new filter. One end of the cylinder will have a deep circular depression, usually colored blue. Press that end into the filter housing and rotate it clockwise until it locks into place. Do not overtighten the filter.
- Close the filter cover by clicking it back into position.
Many water filters aren’t replaced until they’ve entered the red ‘warning’ stage. Run at least one gallon of water through the refrigerator, though many models recommend five gallons, so you flush out any loosened contaminants and flush the new filter. There should be no chemical aftertaste.
For more refrigerator maintenance and appliance repair tips, go to Appliance Express here.

Apr. 09, 2024
GE Washer Not Spinning? Here’s The Fix!

Apr. 09, 2024
How to Restore Power to Your GE Dishwasher

Apr. 09, 2024
How To Reset Your GE Washer Top Loader

Mar. 06, 2024
Understanding Whirlpool Washer Error Codes

Mar. 06, 2024
JennAir Ice Maker Not Working? Here’s What to Do

Mar. 06, 2024
What to Do If Your LG Fridge Isn’t Cooling

Feb. 05, 2024
Propane vs. Natural Gas Stove: What’s Best?

Feb. 05, 2024
How Hot Does a Dryer Get?

Feb. 05, 2024
LG Dryer Flow Sense: Everything You Need to Know

Jan. 03, 2024
What to Do When Your Freezer Is Not Freezing but the Fridge Is Cold

Jan. 03, 2024
How to Solve Maytag Dishwasher Showing Error F9E1

Jan. 03, 2024
When Is a Microwave Unsafe to Use? (Warning Signs to Look For)

Dec. 11, 2023
How to Fix a Squeaky Dryer (Step-by-Step)

Dec. 11, 2023
How To Remove Ink From Your Dryer

Dec. 11, 2023
How To Fix an LG Microwave Not Heating

Nov. 06, 2023
How To Fix a Maytag Washer Not Spinning

Nov. 06, 2023
KitchenAid Refrigerator Not Making Ice? Here’s Why

Nov. 06, 2023
Whirlpool Microwave Door Error: How to Fix It

Oct. 02, 2023
13 Things to Never Put in the Dishwasher

Oct. 02, 2023
Can You Put Glass in the Microwave?
512 - 819 - 0670Give us a call!