

May 18, 2020
Refrigerator Repair
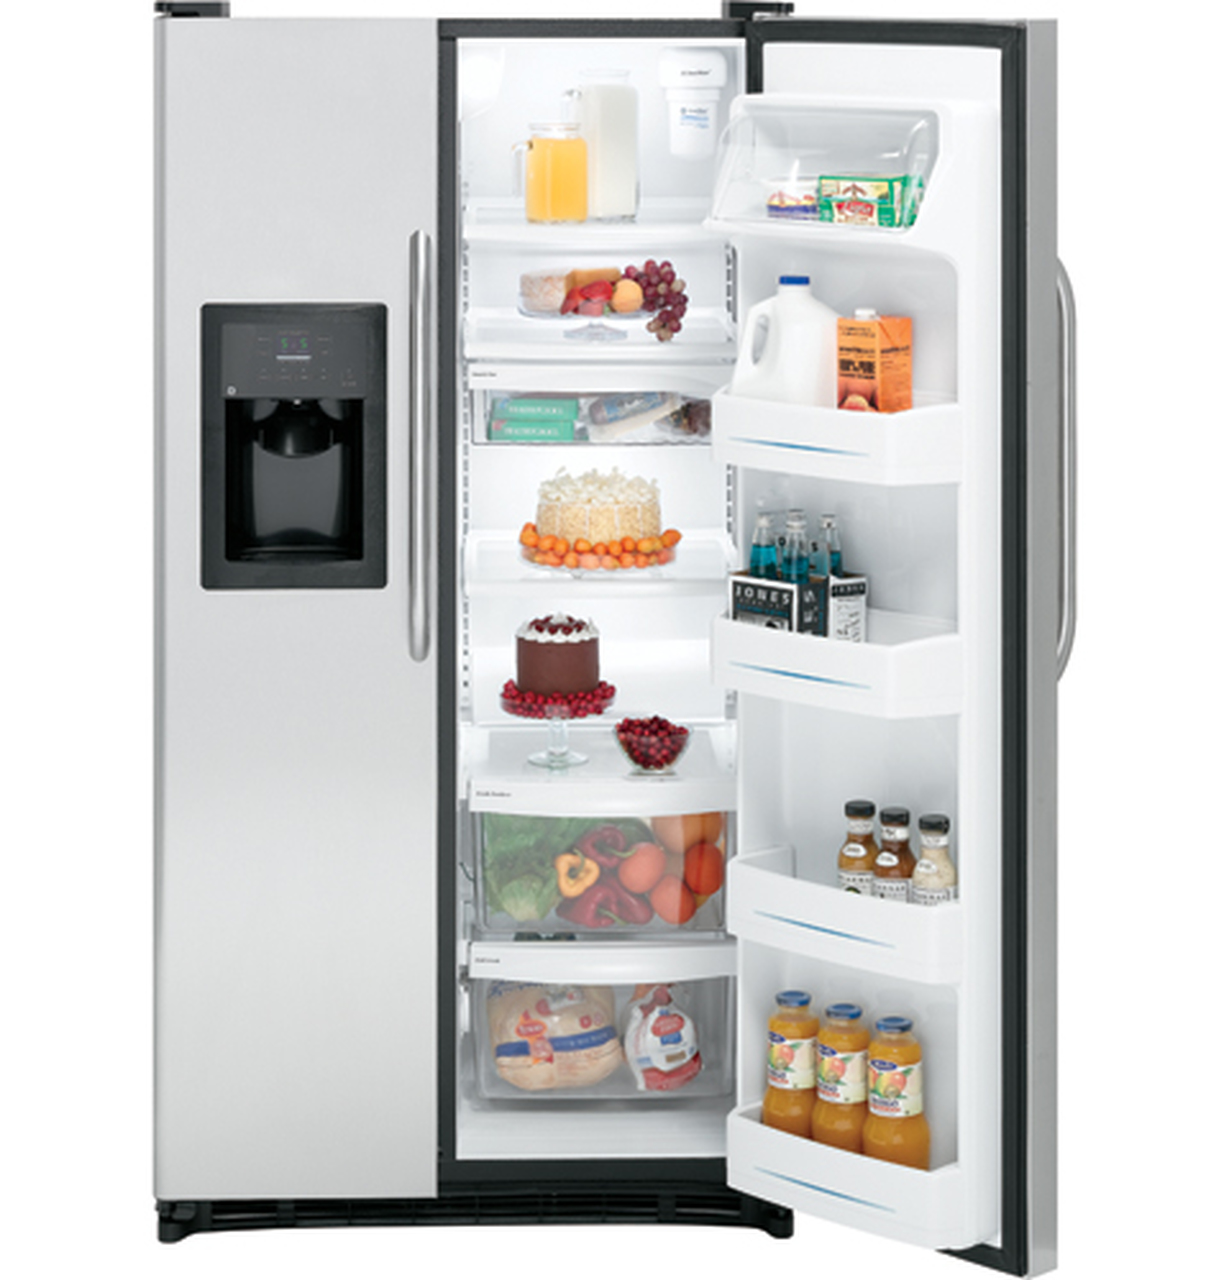
Your GE side-by-side refrigerator model GHS25JSTSS is conveniently equipped with an ice and water dispenser. The water flowing to the dispensers is controlled by a solenoid, meaning the solenoid transmits a message to the refrigerator’s water inlet valve, telling the part when it’s time to open. Over time, the coils in a solenoid can become worn or damaged, which can cause the part to malfunction. When a solenoid is faulty, it will no longer communicate with the appliance’s water inlet valve. Unfortunately, this means your dispensers won’t deliver water or ice with a push of a button. Replacing a damaged solenoid is the only way to fix this type of malfunction.
Appliance Repair Safety Tips
- Before you start your refrigerator repair, unplug your appliance and turn off its water supply.
- Keep your hands and eyes protected by wearing a pair of work gloves and safety goggles.
- If you run into any issues while repairing your appliance, or you don’t feel comfortable continuing the replacement process, please stop what you are doing and contact an appliance repair technician to complete the job.
How to Replace the Ice Maker and Water Dispenser Solenoid in Your GE Refrigerator
- Using a putty knife, carefully remove the trim panel surrounding the ice and water dispenser on the front of the freezer door. To do so, slide the putty knife around the trim to disengage the locking tabs securing the part, and then, simply pull the trim off the door.
- Carefully, lift up on the dispenser’s main control panel, and tilt it forward to reveal the wire connections on the back of the panel. Take note of the wire placements, and then disconnect the wires from the control panel.
- Next, using a Phillips screwdriver, take out the screws securing the main control board housing. Then, pull the housing out of the door and place it somewhere safe.
- Behind the housing, you’ll find the solenoid. Unthread the bottom screws holding the solenoid in place, and then loosen the top screw. Remove the faulty solenoid by lifting it up and pulling it down.
- Now you’ll need to remove the solenoid plunger, which is hanging off the ice door lever. To do so, lift up the ice door. With the door open you can simply detach the plunger from the lever.
- Start installing the new solenoid by opening the ice door and hooking the solenoid plunger onto the ice door lever.
- Next, slide the solenoid over the plunger to position it correctly on the dispenser assembly. Then, secure the solenoid by reattaching the bottom screws and tightening the top screw.
- Reinstall the main control board housing and replace the screws that hold the part in place.
- Reconnect the wires to the back of the main control panel and snap the panel into its housing.
- To finish up your repair, reinstall the dispenser trim.
If you’re still having issues with your ice and water dispenser, please contact us today, and one of our highly trained appliance repair technicians will help you diagnose and repair the malfunction.

Apr. 09, 2024
GE Washer Not Spinning? Here’s The Fix!

Apr. 09, 2024
How to Restore Power to Your GE Dishwasher

Apr. 09, 2024
How To Reset Your GE Washer Top Loader

Mar. 06, 2024
Understanding Whirlpool Washer Error Codes

Mar. 06, 2024
JennAir Ice Maker Not Working? Here’s What to Do

Mar. 06, 2024
What to Do If Your LG Fridge Isn’t Cooling

Feb. 05, 2024
Propane vs. Natural Gas Stove: What’s Best?

Feb. 05, 2024
How Hot Does a Dryer Get?

Feb. 05, 2024
LG Dryer Flow Sense: Everything You Need to Know

Jan. 03, 2024
What to Do When Your Freezer Is Not Freezing but the Fridge Is Cold

Jan. 03, 2024
How to Solve Maytag Dishwasher Showing Error F9E1

Jan. 03, 2024
When Is a Microwave Unsafe to Use? (Warning Signs to Look For)

Dec. 11, 2023
How to Fix a Squeaky Dryer (Step-by-Step)

Dec. 11, 2023
How To Remove Ink From Your Dryer

Dec. 11, 2023
How To Fix an LG Microwave Not Heating

Nov. 06, 2023
How To Fix a Maytag Washer Not Spinning

Nov. 06, 2023
KitchenAid Refrigerator Not Making Ice? Here’s Why

Nov. 06, 2023
Whirlpool Microwave Door Error: How to Fix It

Oct. 02, 2023
13 Things to Never Put in the Dishwasher

Oct. 02, 2023
Can You Put Glass in the Microwave?
512 - 819 - 0670Give us a call!