

December 6, 2021
Refrigerator Repair
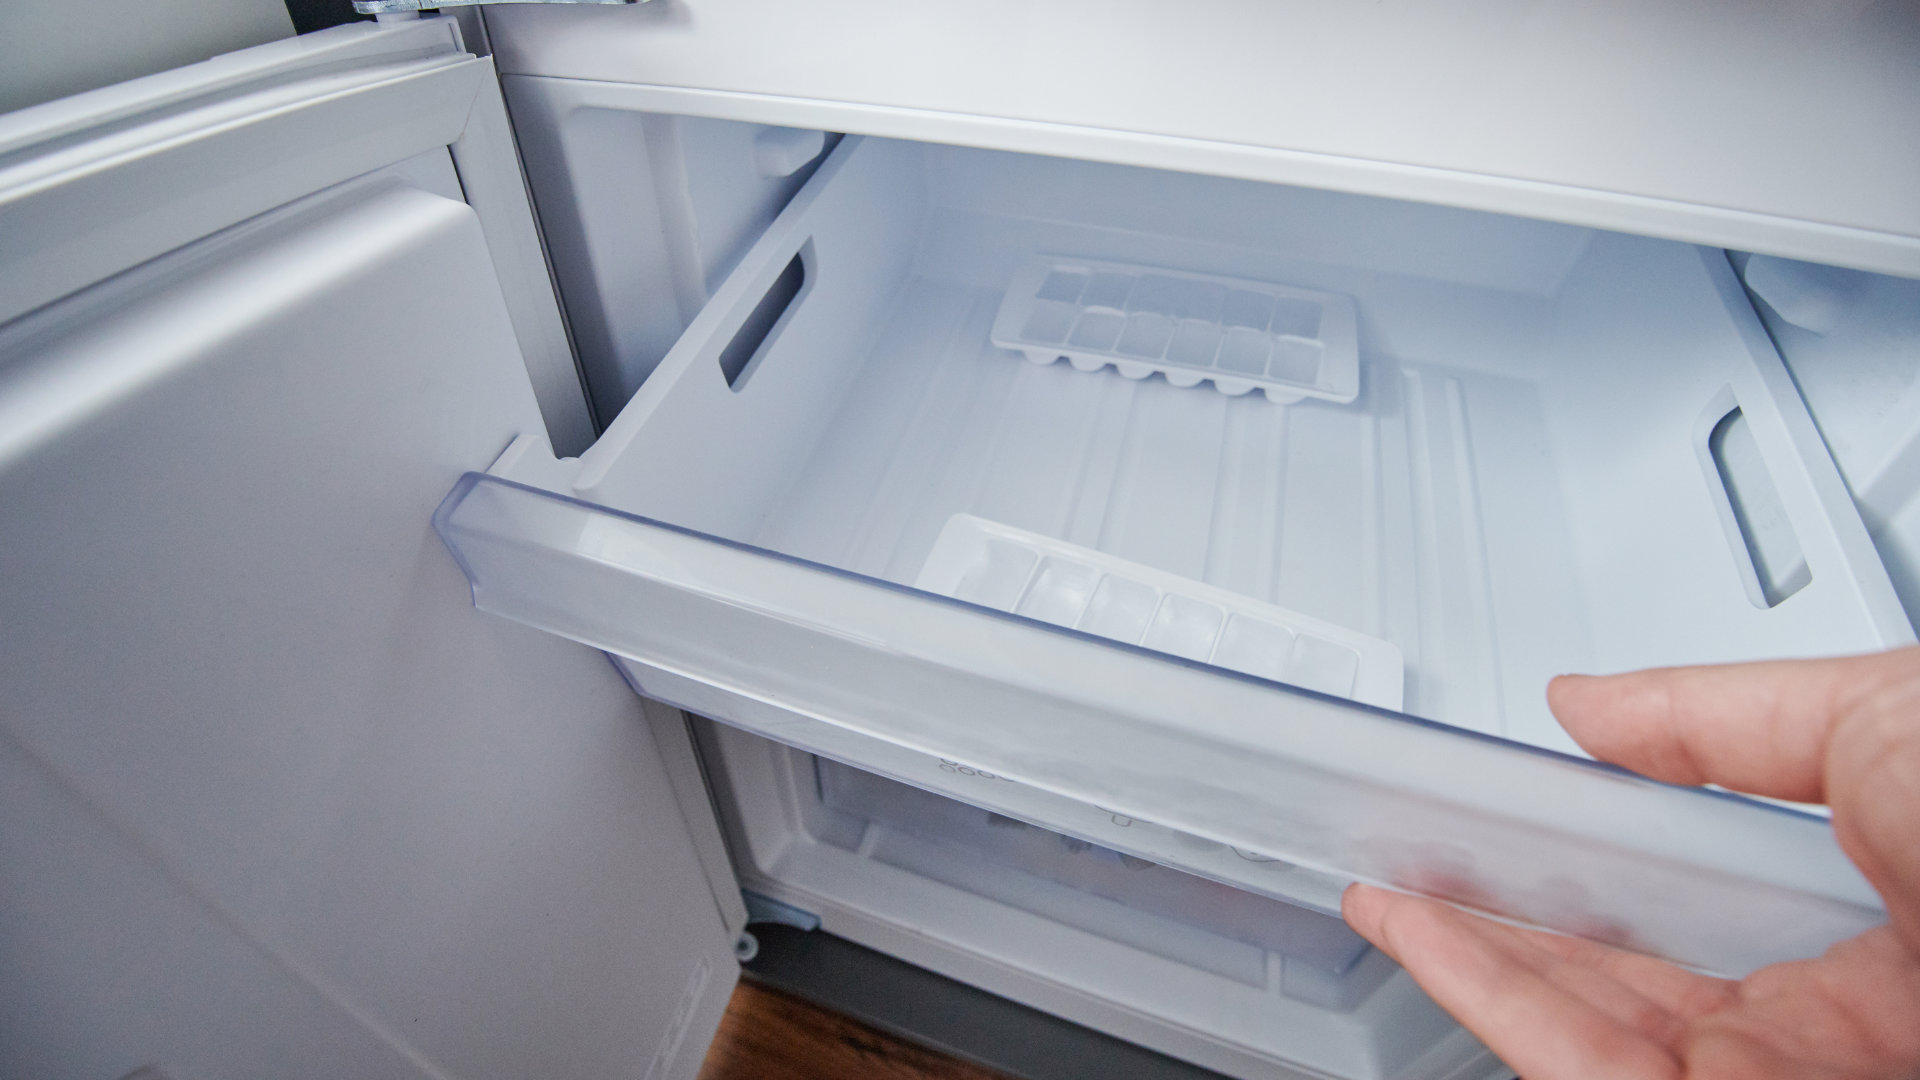
Water leaking from your freezer into your fridge is most likely caused by an ice buildup that is causing defrost condensation to leak into the fridge rather than the drain pan. In most cases, the solution to the problem is to find the ice buildup and defrost it. The other source of freezer water leaking into the fridge is if you have an ice maker. If you have an ice maker, ice buildup or a fault with the ice maker could also be causing water to leak into the fridge.
Follow this guide to diagnose and fix the issue.
Step 1: Diagnose the issue
If your fridge has an ice maker, check if it is working correctly. If the ice maker is producing ice like normal, it is unlikely that the ice maker is causing the water leakage. If the ice maker is not working as normal, it will need to be troubleshot to see if the ice maker can be repaired or if it needs to be replaced. If it seems that the ice maker is causing the leakage, defrosting ice buildup around the ice maker may resolve the issue.
If you do not have an ice maker or the ice maker is working correctly, check if the fridge and freezer are still cooling normally. If the fridge and freezer do not have a cooling problem, an ice blockage in the drain line is likely causing water to leak into the fridge.
If your fridge or freezer is not cooling properly, defrosting either component or both may fix the issue. Alternatively, the evaporator coils on the back wall of the freezer may need defrosting. If defrosting does not solve the problem, you will need to troubleshoot the part that is defective and likely replace it.
Step 2: Fix the issue
Clear the drain line
The drain line collects condensation from the freezer compartment and deposits it into the drain pan underneath the refrigerator. The water in the drain pan is then left to evaporate.
Locating the drain line or a drain hole will depend on the type of refrigerator that you have. However, the basic premise remains the same. You need to unblock or defrost the drain line that empties water into the drain pan.
You may be looking for a hole that water drains into either at the bottom of the freezer or fridge compartment, or you may be able to locate the drain line inside the refrigerator or at the back of the refrigerator. It is likely that a grille or panel is covering the drain line or drain hole, so these will need to be removed.
- Disconnect the power to the fridge and the freezer.
- Locate the drain line or drain hole that empties water into the drain pan.
- Pour some hot water into the drain line to defrost any blockages. Be prepared for water to leak onto the floor by putting down a towel or using a bucket to collect the water.
- If hot water does not clear the drain line, use a drain snake type tool to clear the drain line of debris that may be blocking it.
In most cases, clearing the drain line will resolve the water leakage issue. However, if the issue remains, the next steps are to check for a defective door seal, check the evaporator coils, and defrost the entire refrigerator.
Check the door seal
When working correctly, the door seals, also called gaskets, ensure the fridge and freezer stay at optimal temperatures by stopping cold air from leaking out or warm air from leaking in.
If the door seal has broken, has come unstuck, or has a tear, the change in temperature could lead to excess water in the freezer or fridge.
To check the door seals, inspect them closely, looking for tears or rips or other signs that the door seal is defective. A test you can do to check the condition of the door seals is to close the door on a dollar bill and see if it is easy to pull the bill out once the door is closed. If it is easy to pull the bill out, the door seal is likely defective and will need to be replaced.
Defrost the evaporator coils
The evaporator coils can be accessed on the back wall of the freezer by removing the panel that covers them. If there is too much ice buildup that is affecting the coils, a hairdryer can be used to defrost the ice. When using a hairdryer to defrost ice, make sure to set it to a low heat, and be careful not to apply too much heat to a certain area at the same time, as this can damage the refrigerator.
Defrost the refrigerator
As the leakage issue is most likely caused by an ice buildup, defrosting the entire refrigerator is the next step to take if clearing the drain line, checking the door seals, and defrosting the evaporator coils have not solved the issue.
If your refrigerator does not have a defrost function, you will need to remove items from the refrigerator, disconnect the power, and leave it for 8-12 hours to defrost. Of course, you will want to put towels down and use a bucket or tray to collect the water as it defrosts.
A fan, hairdryer, or steam can be used to speed up the defrosting process. A fan can be used to circulate room-temperature air around the refrigerator if the room-temperature air is warm enough. A hairdryer can be used to defrost ice; however, you need to use it on a low setting, as hot air could damage some refrigerator components. Steam from bowls or trays filled with hot water can also be placed inside the refrigerator to speed up the defrosting process.
Other causes
If the issue remains, the following parts will need to be checked and replaced if found to be defective.
- Ice maker
- Defrost thermostat
- Defrost timer
- Small heating element (if your refrigerator has one)
- Water filter (if your refrigerator has one)
- Water filter assembly
- Water inlet valve
- Water tank assembly
- Drain pan
Also determine whether hot outside air temperature may be restricting the refrigerator.

Apr. 09, 2024
GE Washer Not Spinning? Here’s The Fix!

Apr. 09, 2024
How to Restore Power to Your GE Dishwasher

Apr. 09, 2024
How To Reset Your GE Washer Top Loader

Mar. 06, 2024
Understanding Whirlpool Washer Error Codes

Mar. 06, 2024
JennAir Ice Maker Not Working? Here’s What to Do

Mar. 06, 2024
What to Do If Your LG Fridge Isn’t Cooling

Feb. 05, 2024
Propane vs. Natural Gas Stove: What’s Best?

Feb. 05, 2024
How Hot Does a Dryer Get?

Feb. 05, 2024
LG Dryer Flow Sense: Everything You Need to Know

Jan. 03, 2024
What to Do When Your Freezer Is Not Freezing but the Fridge Is Cold

Jan. 03, 2024
How to Solve Maytag Dishwasher Showing Error F9E1

Jan. 03, 2024
When Is a Microwave Unsafe to Use? (Warning Signs to Look For)

Dec. 11, 2023
How to Fix a Squeaky Dryer (Step-by-Step)

Dec. 11, 2023
How To Remove Ink From Your Dryer

Dec. 11, 2023
How To Fix an LG Microwave Not Heating

Nov. 06, 2023
How To Fix a Maytag Washer Not Spinning

Nov. 06, 2023
KitchenAid Refrigerator Not Making Ice? Here’s Why

Nov. 06, 2023
Whirlpool Microwave Door Error: How to Fix It

Oct. 02, 2023
13 Things to Never Put in the Dishwasher

Oct. 02, 2023
Can You Put Glass in the Microwave?
512 - 819 - 0670Give us a call!