

June 13, 2023
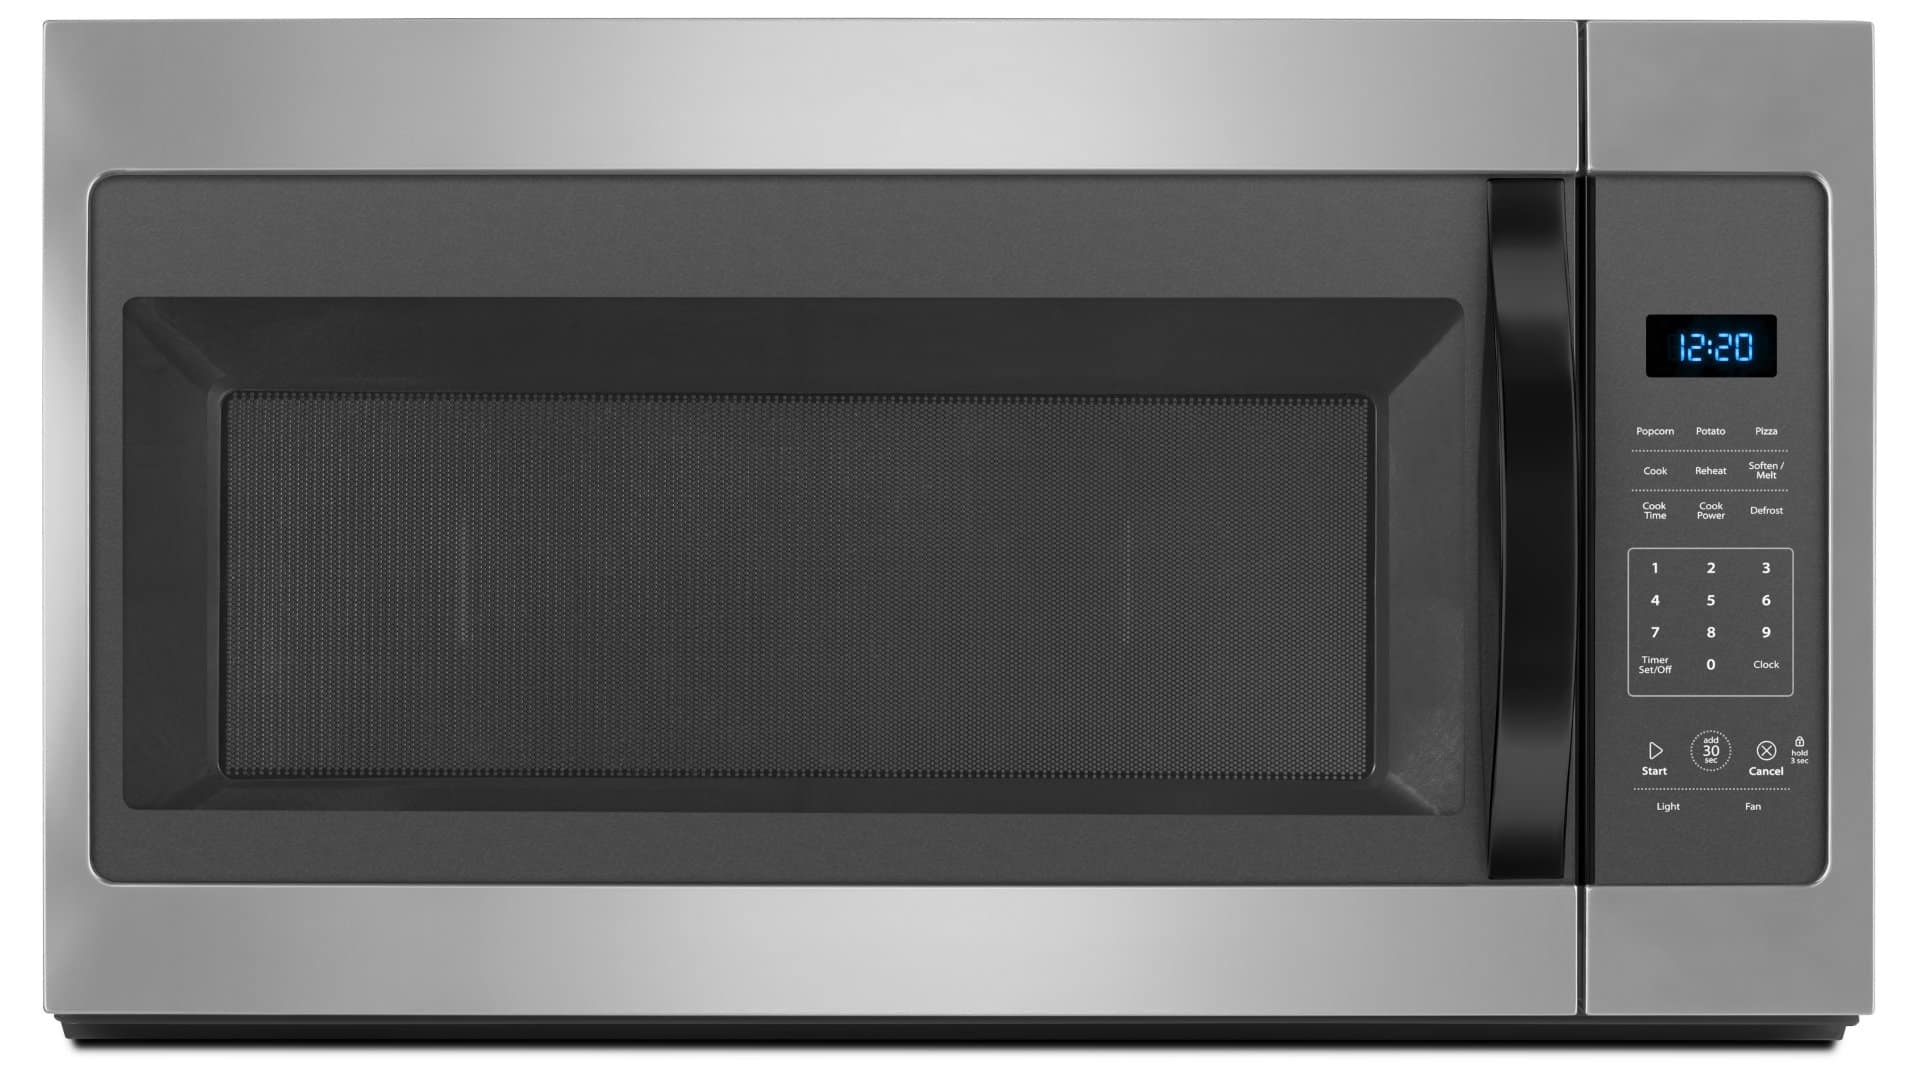
Microwave Repair
Are you tired of your old and outdated over-the-range microwave? Do you want to upgrade to a newer, more efficient model? If so, then it’s time for a change. Replacing an over-the-range microwave may seem like a daunting task, but with these simple steps, you can have your new appliance installed in no time.
Signs your old over-the-range microwave needs replacing:
One of the most obvious signs that your over-the-range microwave needs replacing is if it no longer heats food evenly or consistently. This could mean that its internal components are failing and need to be replaced.
Another sign is if your microwave emits strange noises or smells during use. These could indicate electrical problems or even potential fire hazards.
Additionally, older models may not have all of the features and functions available on newer models such as convection cooking options, preset programs for specific types of food and defrosting settings based on weight rather than just time.
How to replace an over-the-range microwave
1. Remove the existing microwave
First, make sure the power source for the microwave is turned off at the circuit breaker. This will prevent any electrical accidents from occurring while removing the appliance. Next, carefully unscrew all of the mounting bolts holding up your over-the-range microwave. These bolts can usually be found on top of cabinets above and behind where your unit sits. Once these screws (usually four) have been removed completely from their respective positions, gently lift up on one side of the unit until it’s free from its bracket before doing so with other sides as well; then slowly lower down onto the countertop surface below making sure not to scratch anything during the process.
2. Take measurements
First, measure the space where your current microwave is located. This will ensure that your new appliance fits perfectly into place without any issues. Be sure to take note of the height and width dimensions as well as depth measurements. Although some slots are standard size, it’s always best practice to check this.
3. Purchase the new microwave
This is arguably the most exciting step as it’s now time to select a suitable replacement unit that meets all of your needs, including size requirements and features such as power levels or defrost settings etc., which are essential when cooking different types of food items. Once you’ve chosen an appropriate model based on its specifications (size and functionality), purchase it from either online retailers or local stores near your home.
Tips for purchasing the right over-the-range microwave:
- Power: You want to ensure that it’s powerful enough to handle all of your cooking needs. Look for models with at least 1,000 watts of power or more.
- Size: Make sure that the microwave fits comfortably above your stove without taking up too much space or interfering with any cabinets or other appliances nearby.
- Features: Look for features like cooking settings (such as defrosting and reheating), easy-to-use controls, and convenient add-ons like built in exhaust fans.
- Style: Choose a model that complements your kitchen decor while providing all of the functionality you need.
4. Fit the new microwave
Installing a new microwave may seem like an intimidating task, but when broken down, it doesn’t take long to do at all and doesn’t really require any special skill.
- First, make sure that you have all of the necessary tools for installation. This includes a drill bit set, measuring tape or ruler, screwdriver set and mounting bracket kit (if not included or if the brackets from your old unit aren’t compatible).
- The next step is to measure the space above your stove where you want to install the microwave. Make sure that there’s enough clearance between cabinets and countertop so that it fits comfortably.
- Once measurements are taken, correctly mark out where holes need to be drilled on wall studs using pencil marks as guides. Then drill pilot holes into the marks according manufacturer’s instructions; this ensures proper alignment when attaching the brackets later on during installation process
- After ensuring everything is aligned properly, attach the mounting brackets onto wall studs by inserting screws through the pre-drilled holes until they reach wood behind the drywall or plasterboard surfaces. Make sure you drill into wooden studs because these provide the support needed for the weight of the appliance being installed.
- Finally, mount your over-the-range microwave into its designated spot following manufacturer’s instructions carefully making certain all bolts/screws are tightened securely. Avoid over-tightening because this causes damage from stress fractures etc. Check the power supply connections if applicable before plugging the unit into its outlet.
Taking care of your new over-the-range microwave
If you’ve spent the time and money to buy a new over-the-range microwave, it’s important that you care for it as best you can. Fortunately, some simple steps can be taken to keep your over-the-range microwave running smoothly and efficiently.
First and foremost, make sure that the venting system is clean and free from obstructions. This helps prevent overheating and ensures proper ventilation. Another important step in caring for your over-the-range microwave is regular cleaning. Wipe down the interior after each use with a damp cloth or sponge to remove any food particles or spills that may have accumulated during cooking. It’s also crucial to regularly check the door seal on your microwave as this helps maintain its cooking efficiency by preventing heat loss while you’re using it to prepare food items. This ultimately saves energy costs too. Finally, always follow manufacturer instructions regarding maintenance schedules so that any necessary repairs or replacements can be made before they become major issues down the line.
In conclusion, removing, installing and taking good care of an over-the-range microwave requires little effort but pays off big time in the long term.

Apr. 09, 2024
GE Washer Not Spinning? Here’s The Fix!

Apr. 09, 2024
How to Restore Power to Your GE Dishwasher

Apr. 09, 2024
How To Reset Your GE Washer Top Loader

Mar. 06, 2024
Understanding Whirlpool Washer Error Codes

Mar. 06, 2024
JennAir Ice Maker Not Working? Here’s What to Do

Mar. 06, 2024
What to Do If Your LG Fridge Isn’t Cooling

Feb. 05, 2024
Propane vs. Natural Gas Stove: What’s Best?

Feb. 05, 2024
How Hot Does a Dryer Get?

Feb. 05, 2024
LG Dryer Flow Sense: Everything You Need to Know

Jan. 03, 2024
What to Do When Your Freezer Is Not Freezing but the Fridge Is Cold

Jan. 03, 2024
How to Solve Maytag Dishwasher Showing Error F9E1

Jan. 03, 2024
When Is a Microwave Unsafe to Use? (Warning Signs to Look For)

Dec. 11, 2023
How to Fix a Squeaky Dryer (Step-by-Step)

Dec. 11, 2023
How To Remove Ink From Your Dryer

Dec. 11, 2023
How To Fix an LG Microwave Not Heating

Nov. 06, 2023
How To Fix a Maytag Washer Not Spinning

Nov. 06, 2023
KitchenAid Refrigerator Not Making Ice? Here’s Why

Nov. 06, 2023
Whirlpool Microwave Door Error: How to Fix It

Oct. 02, 2023
13 Things to Never Put in the Dishwasher

Oct. 02, 2023
Can You Put Glass in the Microwave?
512 - 819 - 0670Give us a call!