

May 6, 2024
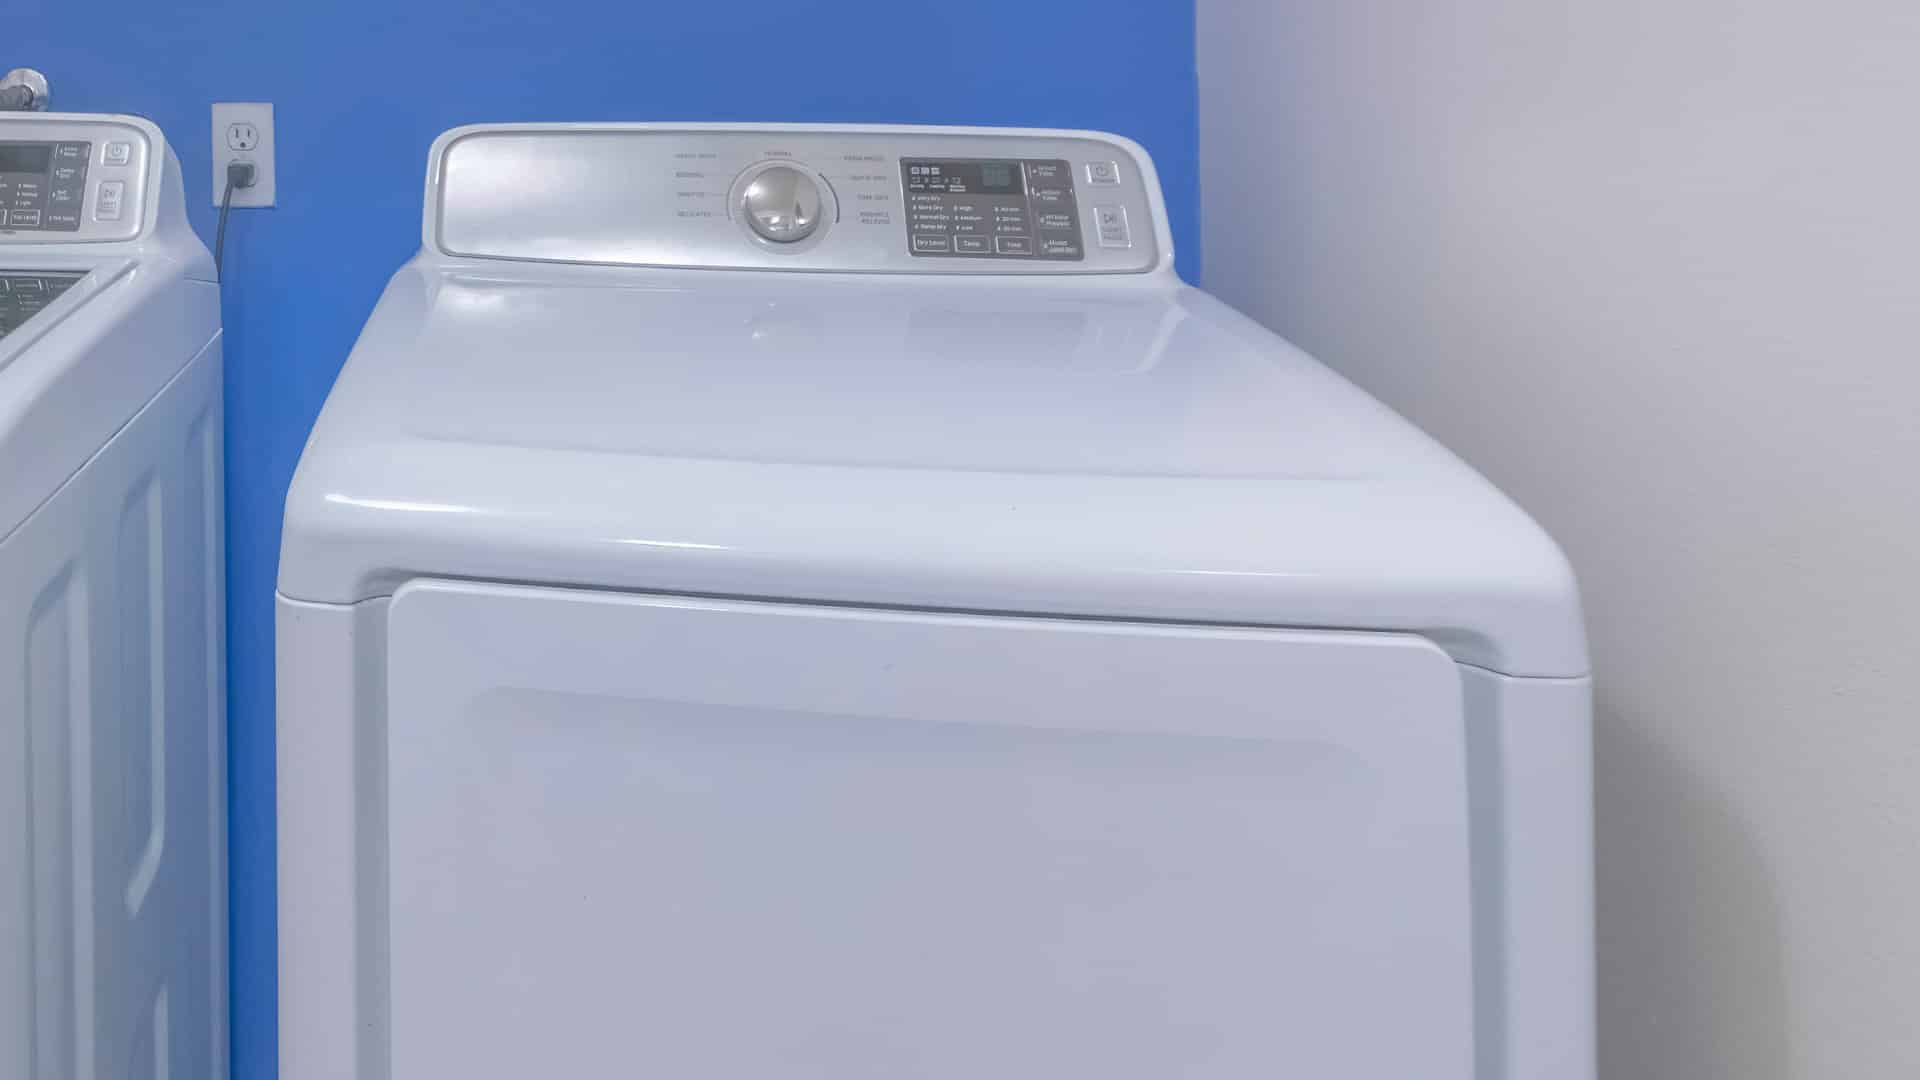
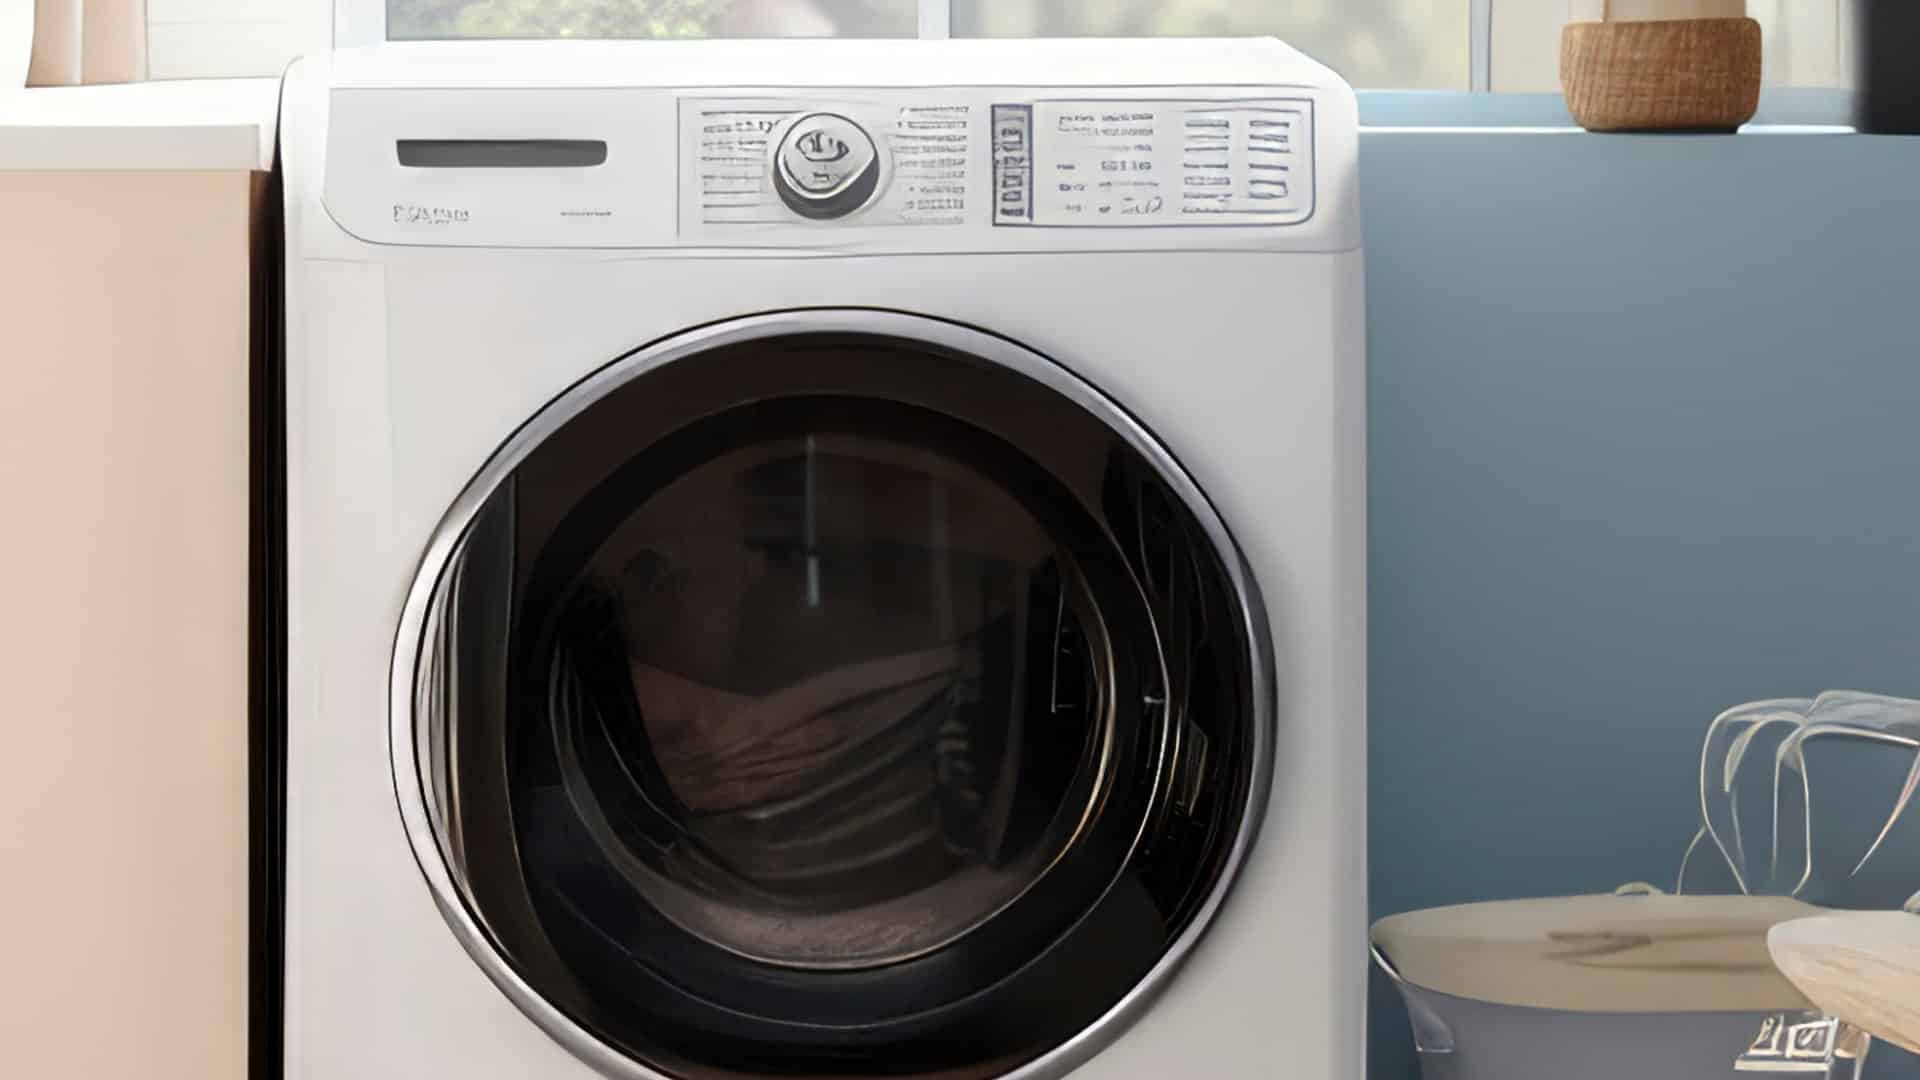
Dryer Repair
A dryer making a grinding noise while it’s running indicates that there is a problem somewhere within the machine. The cause could be anything from a worn-out bearing to a foreign object caught between the drum and the dryer frame.
To help you get to the bottom of what’s causing the grinding metal noise in your appliance, we’ve listed the most likely culprits, explained how to identify them, and provided practical tips on what steps you should take to resolve the issue.
Likely cause #1: Worn-out bearings
The drum bearing sits between the back of the drum and the dryer casing. Over time, it may wear out, causing the drum to start rubbing against the casing. This results in a grinding noise, and sometimes squealing, when the dryer runs.
A worn drum bearing is a problem you will want to get fixed or you run the risk of greater wear and tear on your machine—which could result in more expensive repairs down the line. It could even cause the dryer’s motor to burn out.
Unfortunately, diagnosing and fixing a worn-out bearing isn’t simple, since it requires you to take the drive belt off. Therefore, unless you have advanced DIY skills, it’s best to call in a professional to inspect and repair your appliance if you suspect a worn-out bearing.
However, if you want to try fixing it yourself, these are the general steps to follow:
- Unplug the dryer for safety.
- Remove the front, top, or back panel to gain access to the drum and drive belt.
- To remove the drive belt, release the tension by pressing the idler pulley down.
- Remove the drum by lifting and pulling it from the dryer casing. This will reveal the drum bearing.
- Remove the worn-out bearing and replace it with a new compatible one.
- Reassemble your dryer and run a test cycle to see if the grinding noise is gone.
Likely cause #2: Worn-out drum glides
The drum glides are pieces of plastic that support the front of the dryer drum, allowing it to rotate smoothly. There are usually between two and four drum glides, depending on which dryer model you have.
They can wear out over time, resulting in a grinding or scraping noise as the drum spins, and should be replaced to avoid further, more severe damage to your dryer. They are typically located on the inside of the front panel, on a lip where the drum sits.
Replacing the drum glides is a job you can do yourself; however, it does require you to dismantle the dryer. Here are the steps involved:
- Unplug the dryer.
- Remove the front panel to gain access to the drum glides. You may also need to remove other panels, such as the top panel, depending on which dryer model you have. Please refer to your user manual for specific instructions.
- Once you have access to the drum glides, remove them by unclipping, unscrewing, or prying them off.
- Install the new glides. It’s a good idea to replace all the drum glides, even if only one is worn out completely.
- Reassemble your dryer and run a cycle to see if the grinding noise is gone.
Likely cause #3: Foreign object
When a hard object, such as a coin, zipper, hair clip, or pebble, is let loose inside a dryer, it tends to make a rattling sound as it bounces around inside the drum while the machine runs.
However, objects can also sometimes get trapped in areas like the blower wheel, between the drum and the frame, or near the edges of the drum. This can turn a rattling noise into a steady grinding noise.
Follow these steps to check for foreign objects:
- Unplug your dryer for safety purposes.
- Depending on the model of your dryer, you’ll likely need to remove the lower front panel or the back panel to gain access to the blower wheel, and the top panel or the front panel to access the drum.
- Once you’ve located it, inspect the blower wheel for any foreign objects caught inside, and spin it by hand to see if it turns freely or makes a grinding sound.
- Clean the blower wheel with a vacuum or soft brush if it appears dusty or dirty.
- When you’re confident the blower wheel is okay, move on to the drum.
- Open the dryer door and inspect the edges of the drum, looking for any objects trapped there. Then, turn the drum manually by hand to see if it produces a grinding sound.
- Next, use a flashlight to look in between the drum and the dryer frame for any objects that may be trapped.
- Remove any foreign items you find, using a pair of long-nose pliers if they’re tough to reach.
Other potential causes
While the causes we’ve listed above tend to be the most likely, there are also some other potential causes for that grinding noise that you may want to explore further. If the issue is still unresolved, make sure to check:
Idler Pulley
If your machine is making a squeaky grinding noise, it could be a faulty idler pulley. Locate the pulley by dismantling your dryer, then manually turn it by hand to see if it moves freely. If it doesn’t turn smoothly, it may need replacing.
Drum Belt
If the drive belt wears and frays, it may start rubbing against another part of the dryer, causing a grinding sound. However, it usually causes a thumping sound.
Drum rollers
Sometimes the drum rollers can seize up, wear out, or become misshapen, creating a thumping or grinding noise as the drum spins. If this is the problem, you will likely need to replace the drum rollers.
Summary
When a dryer is making a grinding noise, it’s not always the easiest thing to fix, since it usually requires you to disassemble the appliance. The best case scenario is that a foreign object is caught in the edge of the drum that you can easily remove by hand or with pliers.
Since a grinding noise is often associated with the drum, bearing, or other important components, it’s not an issue you should leave unresolved—it could lead to further, more severe damage to your appliance.
If you don’t feel comfortable taking on the steps above yourself, don’t hesitate to call in a professional to complete the repair safely.
May. 06, 2024
How Many Gallons of Water Does a Dishwasher Use?
May. 06, 2024
Dryer Making Grinding Noise? Here’s Why
May. 06, 2024
Maytag Washer Error Codes Explained

Apr. 09, 2024
GE Washer Not Spinning? Here’s The Fix!

Apr. 09, 2024
How to Restore Power to Your GE Dishwasher

Apr. 09, 2024
How To Reset Your GE Washer Top Loader

Mar. 06, 2024
Understanding Whirlpool Washer Error Codes

Mar. 06, 2024
JennAir Ice Maker Not Working? Here’s What to Do

Mar. 06, 2024
What to Do If Your LG Fridge Isn’t Cooling

Feb. 05, 2024
Propane vs. Natural Gas Stove: What’s Best?

Feb. 05, 2024
How Hot Does a Dryer Get?

Feb. 05, 2024
LG Dryer Flow Sense: Everything You Need to Know

Jan. 03, 2024
What to Do When Your Freezer Is Not Freezing but the Fridge Is Cold

Jan. 03, 2024
How to Solve Maytag Dishwasher Showing Error F9E1

Jan. 03, 2024
When Is a Microwave Unsafe to Use? (Warning Signs to Look For)

Dec. 11, 2023
How to Fix a Squeaky Dryer (Step-by-Step)

Dec. 11, 2023
How To Remove Ink From Your Dryer

Dec. 11, 2023
How To Fix an LG Microwave Not Heating

Nov. 06, 2023
How To Fix a Maytag Washer Not Spinning

Nov. 06, 2023
KitchenAid Refrigerator Not Making Ice? Here’s Why
512 - 819 - 0670Give us a call!