

September 2, 2021
Dryer Repair
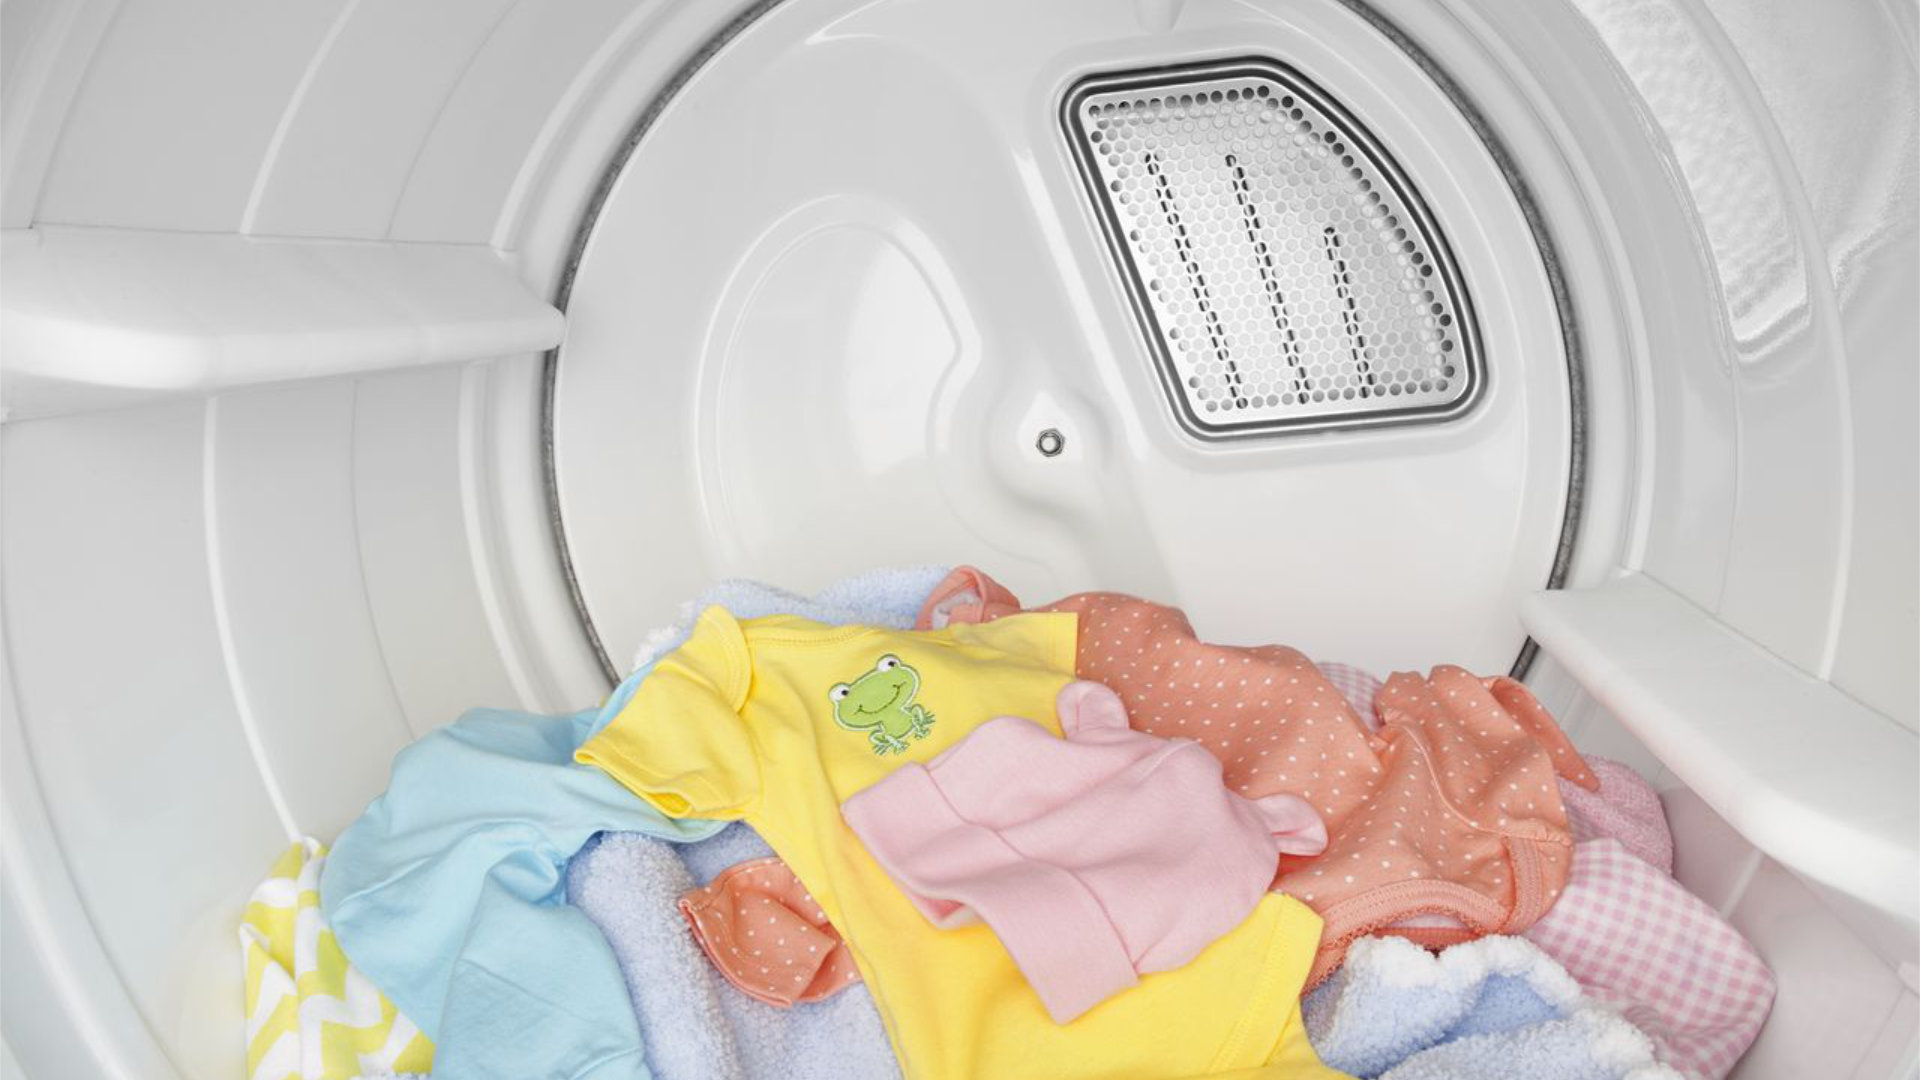
How long a dryer takes will depend on the make and model of the dryer, the size of the load, the type of fabrics being dried, and the condition of the dryer. Most dryers will take about an hour, give or take 15 minutes, to dry an average load. If your dryer is taking too long, the most common reason is that the ventilation is clogged with lint. Simply cleaning out the lint filters will often resolve the issue. If it is not a ventilation issue, there could be a problem with a heating element, thermostat, or sensor. Read on to identify and fix the issue.
1. Blocked Ventilation (Lint Filters & Vent Issues)
Lint traps and lint screens should be emptied after every cycle. If they are not emptied, the lint builds up quickly and blocks airflow within the dryer. A blockage causes moisture to stay in the air longer, which causes the dryer to take longer to dry clothes. If the dryer is heating correctly, the dryer is running for an hour, but the clothes are still damp, a lint blockage is the most likely cause of the issue.
How to clean the lint filters:
- Remove the lint filter(s) and wash it in the sink with soap and warm water. Use a screwdriver to remove the filters if necessary.
- While the filter is drying, use a vacuum attachment to get into the slot the filter goes into.
- For a more thorough clean, unscrewing and/or unclamping the panel(s) surrounding the lint screen may provide better access to the filter areas and any hidden lint blockages. Make sure to disconnect the power and gas (gas dryers) before removing dryer panels.
Like lint filters, if the ventilation is clogged, the same issue will occur. If you can access the outside vent, you can test if the ventilation is working by checking for a warm, consistent airflow when the dryer is running. It is recommended that dryer vents be cleaned at least once a year.
Depending on how your dryer is installed, you may need to call a professional dryer vent cleaning service, or you may be able to disconnect the ventilation duct and use a vacuum attachment or ventilation cleaning kit to clear the vent. Cleaning out the ventilation will improve your dryer’s performance and reduce the risk of a fire starting due to a lint blockage.
2. Clogged or Defective Blower Wheel
Another part of the dryer that can become clogged is the blower wheel. The blower wheel works with the drive motor to circulate air through the dryer. If it becomes clogged with lint or small items that get through the dryer’s filters, it will take the dryer longer to dry clothes. Make sure to keep the blower wheel free of lint and obstructions to ensure the best performance from your dryer.
The blower wheel can also become defective if it slips off the drive motor or becomes damaged. If the blower wheel is damaged or not secured, the blower wheel will usually wobble as it turns. The airflow produced by the blower wheel can be checked by removing the ventilation hose and assessing the strength of the airflow. If the airflow is poor, check and clean the blower wheel by removing the access panel around the ventilation hose and blower wheel. The blower wheel should be able to be turned by hand. A defective blower wheel should be replaced.
3. Defective Heating Element
If the dryer is struggling to heat and dry the clothes, the heating element may be failing. If the heating element is slowly failing, it can take time before the issue is noticeable. A dryer that is producing little or no heat is an obvious indication that the heating element needs to be replaced. The coils in the heating element are often damaged due to natural wear and tear or lint blockages.
To check the heating element:
- Unplug the dryer from the power source. If you have a gas dryer, turn off the gas.
- Locate the heating element. On most models, a metal frame will surround the heating coils and hold the heating element leads.
- Check the heating element for burns, breaks, or other damage. If it is damaged, it will likely need to be replaced.
- Test the heating element for continuity (a continuous electrical path) with a multimeter. If the heating element fails the multimeter test, it will need to be replaced.
4. Defective Thermostat or Sensors
If your dryer uses thermostats or sensors to measure the temperature, they could be defective and cause the dryer to not adequately complete the cycle. When working correctly, moisture sensors switch off the dryer when the clothes are dry. The dryer’s sensors can be tested by placing dry clothes in the dryer to check that the sensor turns off the cycle within two minutes as it should.
With most models, the thermostat will be located close to the heating element. The thermostat and some sensors can be checked with a multimeter for continuity. Accessing and replacing these parts will require the dryer to be disassembled. If you are not confident with disassembling and testing dryer parts, call a trained professional.
How to Keep the Dryer Working Properly
- Follow the instructions in the dryer’s manual, such as recommended drying times, load capacity, and heat settings. Do not overload the dryer.
- Make sure to use the correct settings for the type of fabric and the size of the load.
- Clean the lint filters after every load.
- Clean the ventilation at least once per year.
- Keep the dryer clean. Wipe the dryer with a soft cloth every few months. If the dryer has moisture sensors, keep them clean to guard against faulty readings.
- Regularly empty the water collected from a heat pump or condenser dryer. If the dryer has a heat exchanger, the heat exchanger should also be removed and cleaned with running water.

Apr. 09, 2024
GE Washer Not Spinning? Here’s The Fix!

Apr. 09, 2024
How to Restore Power to Your GE Dishwasher

Apr. 09, 2024
How To Reset Your GE Washer Top Loader

Mar. 06, 2024
Understanding Whirlpool Washer Error Codes

Mar. 06, 2024
JennAir Ice Maker Not Working? Here’s What to Do

Mar. 06, 2024
What to Do If Your LG Fridge Isn’t Cooling

Feb. 05, 2024
Propane vs. Natural Gas Stove: What’s Best?

Feb. 05, 2024
How Hot Does a Dryer Get?

Feb. 05, 2024
LG Dryer Flow Sense: Everything You Need to Know

Jan. 03, 2024
What to Do When Your Freezer Is Not Freezing but the Fridge Is Cold

Jan. 03, 2024
How to Solve Maytag Dishwasher Showing Error F9E1

Jan. 03, 2024
When Is a Microwave Unsafe to Use? (Warning Signs to Look For)

Dec. 11, 2023
How to Fix a Squeaky Dryer (Step-by-Step)

Dec. 11, 2023
How To Remove Ink From Your Dryer

Dec. 11, 2023
How To Fix an LG Microwave Not Heating

Nov. 06, 2023
How To Fix a Maytag Washer Not Spinning

Nov. 06, 2023
KitchenAid Refrigerator Not Making Ice? Here’s Why

Nov. 06, 2023
Whirlpool Microwave Door Error: How to Fix It

Oct. 02, 2023
13 Things to Never Put in the Dishwasher

Oct. 02, 2023
Can You Put Glass in the Microwave?
512 - 819 - 0670Give us a call!