May 14, 2018
Refrigerator Repair
However much we might wish it was the case, refrigerator water filters do not last forever and they will eventually need to be replaced if you want to continue to be able to drink clean water from your fridge. When the time eventually comes to replace these filters, you can save quite a bit of money by doing it yourself rather than paying someone else to replace the filter so you can keep your family’s drinking water clean without needing help.
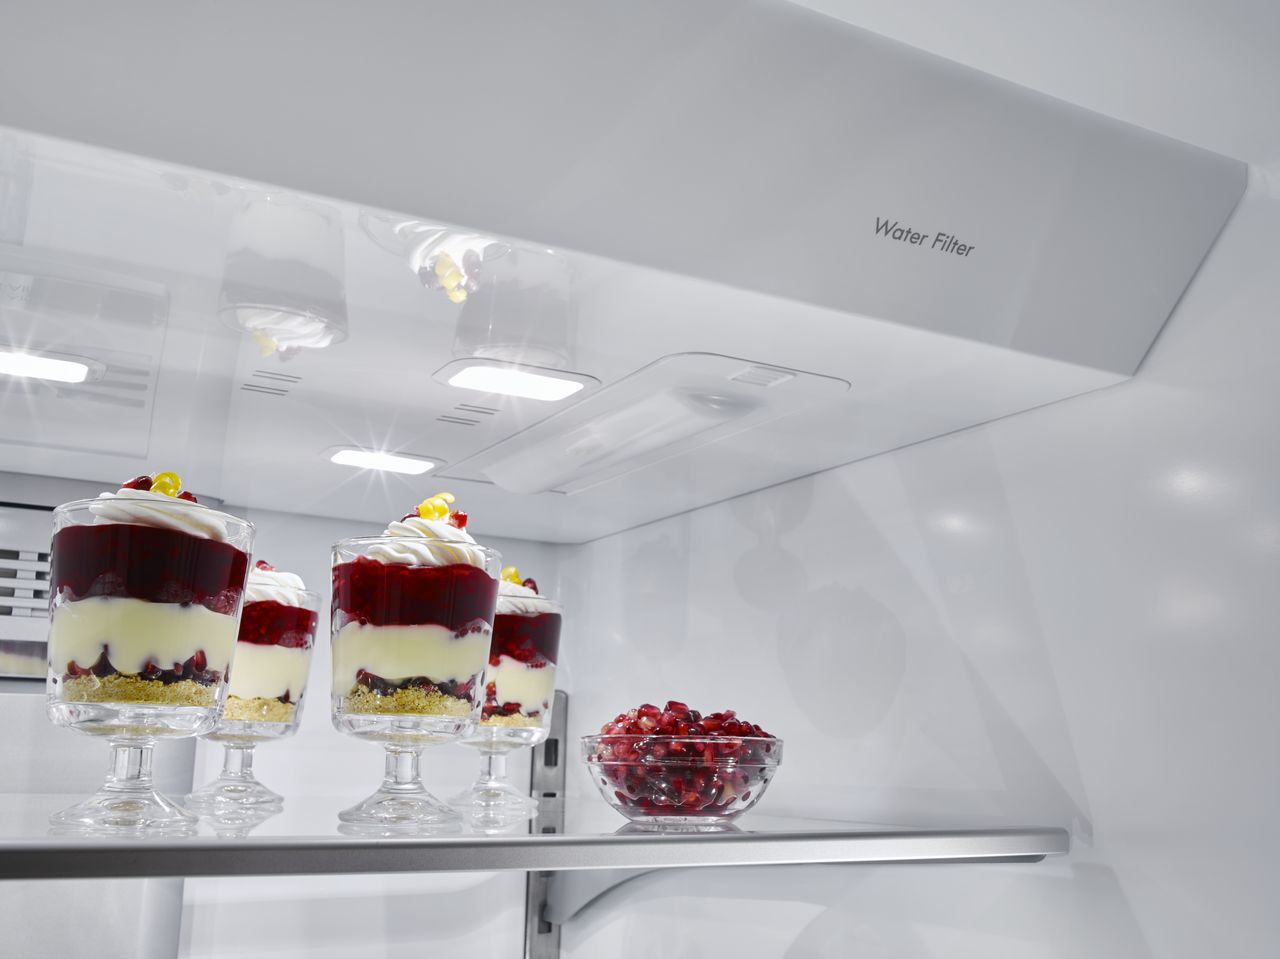
The first step is to locate your refrigerator’s water filter. On most fridges, you will find this filter at or near the refrigerator grille at the base of the fridge or the back upper-right corner of the fridge. In order to release the filter, you will either press a button or twist a know that will release the filter.
Next, you must remove the water filter from your fridge after either pressing the button or twisting the knob that releases the filter from where it is held in place.
With the old filter removed from the fridge, you must take the new filter out of its packaging and replace the cartridge cap. Once this is done, replace the filter and cap by sliding them into the position where the old filter and cap were found in the fridge and tighten the cap until it clicks into place.
With the filter now having been replaced, the next step is to run a significant amount of water, preferably 1 to 2 gallons of, through the new filter in order to remove any traces of carbon from the filter. This helps prevent sputtering and clears any manufacturing impurities left over in the filter.
Now that the filter has been installed and set up properly, the final step in the installation is to reset the indicator light and place a piece of tape on the filter with the date the filter was changed written on it so you know when to next replace the filter.
For more tips to repair and maintain your applications, contact us today!

Apr. 09, 2024
GE Washer Not Spinning? Here’s The Fix!

Apr. 09, 2024
How to Restore Power to Your GE Dishwasher

Apr. 09, 2024
How To Reset Your GE Washer Top Loader

Mar. 06, 2024
Understanding Whirlpool Washer Error Codes

Mar. 06, 2024
JennAir Ice Maker Not Working? Here’s What to Do

Mar. 06, 2024
What to Do If Your LG Fridge Isn’t Cooling

Feb. 05, 2024
Propane vs. Natural Gas Stove: What’s Best?

Feb. 05, 2024
How Hot Does a Dryer Get?

Feb. 05, 2024
LG Dryer Flow Sense: Everything You Need to Know

Jan. 03, 2024
What to Do When Your Freezer Is Not Freezing but the Fridge Is Cold

Jan. 03, 2024
How to Solve Maytag Dishwasher Showing Error F9E1

Jan. 03, 2024
When Is a Microwave Unsafe to Use? (Warning Signs to Look For)

Dec. 11, 2023
How to Fix a Squeaky Dryer (Step-by-Step)

Dec. 11, 2023
How To Remove Ink From Your Dryer

Dec. 11, 2023
How To Fix an LG Microwave Not Heating

Nov. 06, 2023
How To Fix a Maytag Washer Not Spinning

Nov. 06, 2023
KitchenAid Refrigerator Not Making Ice? Here’s Why

Nov. 06, 2023
Whirlpool Microwave Door Error: How to Fix It

Oct. 02, 2023
13 Things to Never Put in the Dishwasher

Oct. 02, 2023
Can You Put Glass in the Microwave?
512 - 819 - 0670Give us a call!

