

December 7, 2022
Washer Repair
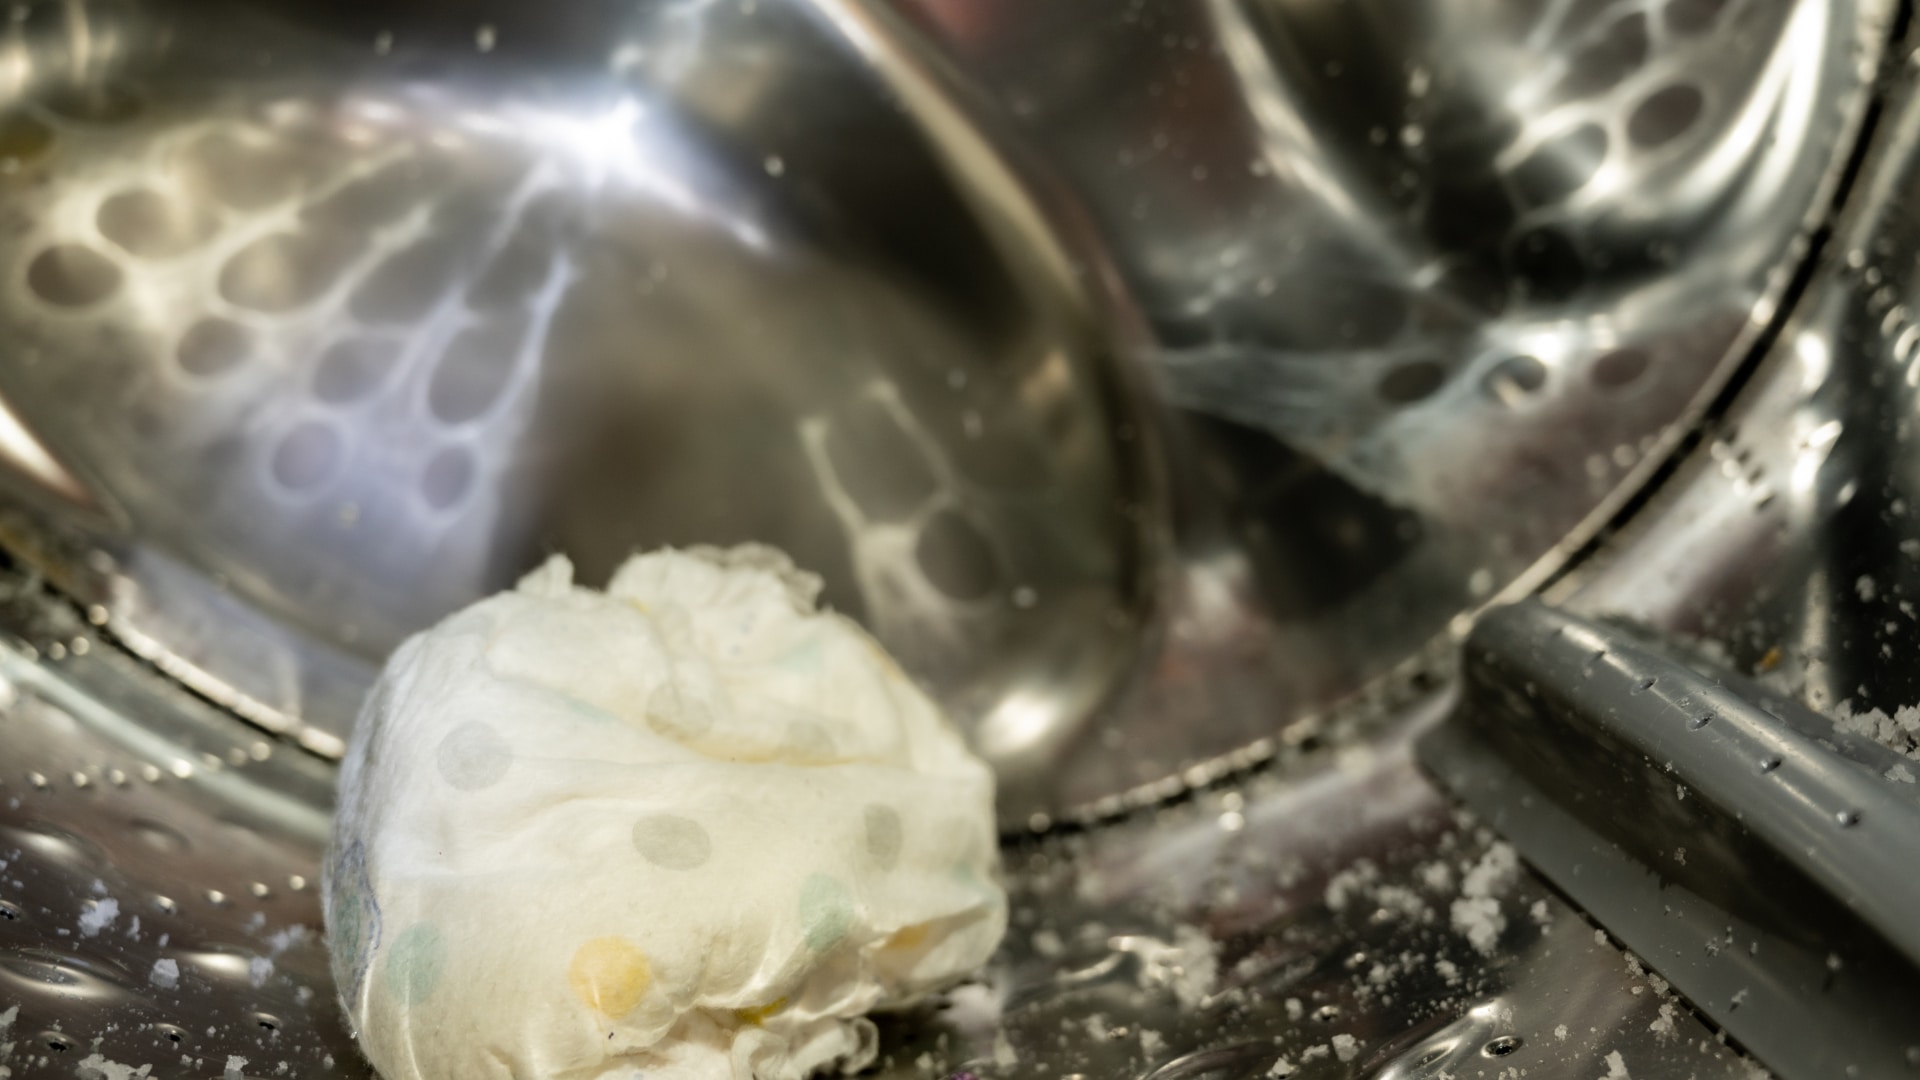
If you’ve been using your LG washer and have noticed that your clothes are coming out dripping wet, we have some solutions. We’ll take a look at some of the reasons why this might be happening, and what you can do about it.
Check to make sure the water supply to the washer is fully open
It could be a water supply issue if your washing machine isn’t drying. A combo washer dryer uses cold water to help condense the air during the dryer cycle. No water means no drying.
First, make sure that the water supply to the washer is fully open. Often, the problem is as simple as a turned-off valve or a kink in the hose. If the water supply is open and you’re still not getting any water, there may be a blockage in the fill hose. Disconnect the fill hose from the back of the washer and check for blockages.
Once you’ve checked all of these things, if your washing machine still isn’t filling up with water, it’s time to call a professional.
Run the washer on a fast spin cycle
Running your washer dryer combo on a faster spin cycle will speed up drying time and improve the dryness of clothing. A faster spin means that more water will be removed from your clothes before the dryer cycle, so they’ll dry faster. And since there’s less water in your clothes, they’ll come out of the dryer less wrinkled. So, if your washer isn’t drying effectively, try giving the clothes a stronger spin.
Make sure the load size is appropriate for the washer
Many people don’t realize that the size of their laundry load matters just as much as the type of fabric when it comes to choosing the right cycle.
With a washer dryer combo, the drying capacity is about half the size of a washing load. If the load is too large, the clothes won’t have enough room to move around and let the air circulate, meaning that they will come out too wet. In addition, overloading can put extra strain on your washer dryer, potentially leading to prematurely worn-out parts or even a fire.
So, before you start your next load of laundry, take a moment to make sure it’s appropriately sized. Your clothes will thank you for it!
Clean the drain pump
One of the most important parts of your washing machine is the drain pump. The drain pump helps to ensure that water is properly drained from the machine during each cycle. Over time, however, the pump filter can become clogged with lint, hair, and other debris that can lead to poor draining and even flooding.
To help keep your machine running smoothly, it is important to clean the drain pump filter on a regular basis. You can also clean the pump filter manually by opening the little door at the base of the washer. Using a small basin to catch the water, pull out the small hose, and drain the water. Unscrew the cap and remove the filter. Rinse the filter under the sink, or with a hose.Reinstall the filter and run the washer on a cycle to see if this fixes the problem.
*Note: The next steps will involve opening the washer dryer and removing components to inspect and clean them. If you are not comfortable with this, do not hesitate to call a professional.
Before proceeding, be sure to unplug the washer. Turn off and disconnect and drain the water hoses. You will need a pair of pliers, a screwdriver, and some towels.
Clean the washer dryer duct assembly.
The duct assembly is what circulates warm air into the washer dryer. Over time, it can become clogged with dust and lint, making the drying cycle less effective.
- Begin by removing the top panel of the washer dryer.
- Remove all screws and connections from the black and white equipment at the top.
- Take a photograph before disconnecting the wires, so you know where to place them when you reassemble the washer.
- Set aside the white and black components.
- Disconnect the water hose from the plastic duct.
- Remove the back panel of the washer.
- Remove any remaining screws holding the plastic duct in place.
- Lift out the plastic duct.
- Clean the duct with a hose or tap, and a pipe cleaner or bottle brush.
- While you have the washer open, you can clean and inspect the other elements below.
- Reassemble the washer by reversing the above steps.
Clean the washer dryer’s fan
Over time, lint and dust can build up on the fan blades of your washer dryer combo unit. This can cause the unit to run less efficiently and potentially overheat. To clean the fan, follow the steps in the duct section, until you get to the black and white objects. The white object is your fan.
- Disconnect any wires and unscrew any screws holding them in place.
- Take a photograph before disconnecting the wires, so you know where to replace them when you reassemble the washer.
- Lift the fan out and turn it over.
- Gently brush away any debris that has accumulated on the blades.
- You can also test the functionality with a multimeter.
- Place the fan back in the washer, and screw it back in. Reconnect any connections.
- Finally, plug the unit back in and run it on a short cycle to ensure that it is working properly.
By following these simple steps, you can help keep your washer dryer combo unit running smoothly for years to come.
If none of these tips work for you, don’t hesitate to call a professional for help.

Apr. 09, 2024
GE Washer Not Spinning? Here’s The Fix!

Apr. 09, 2024
How to Restore Power to Your GE Dishwasher

Apr. 09, 2024
How To Reset Your GE Washer Top Loader

Mar. 06, 2024
Understanding Whirlpool Washer Error Codes

Mar. 06, 2024
JennAir Ice Maker Not Working? Here’s What to Do

Mar. 06, 2024
What to Do If Your LG Fridge Isn’t Cooling

Feb. 05, 2024
Propane vs. Natural Gas Stove: What’s Best?

Feb. 05, 2024
How Hot Does a Dryer Get?

Feb. 05, 2024
LG Dryer Flow Sense: Everything You Need to Know

Jan. 03, 2024
What to Do When Your Freezer Is Not Freezing but the Fridge Is Cold

Jan. 03, 2024
How to Solve Maytag Dishwasher Showing Error F9E1

Jan. 03, 2024
When Is a Microwave Unsafe to Use? (Warning Signs to Look For)

Dec. 11, 2023
How to Fix a Squeaky Dryer (Step-by-Step)

Dec. 11, 2023
How To Remove Ink From Your Dryer

Dec. 11, 2023
How To Fix an LG Microwave Not Heating

Nov. 06, 2023
How To Fix a Maytag Washer Not Spinning

Nov. 06, 2023
KitchenAid Refrigerator Not Making Ice? Here’s Why

Nov. 06, 2023
Whirlpool Microwave Door Error: How to Fix It

Oct. 02, 2023
13 Things to Never Put in the Dishwasher

Oct. 02, 2023
Can You Put Glass in the Microwave?
512 - 819 - 0670Give us a call!