

April 14, 2019
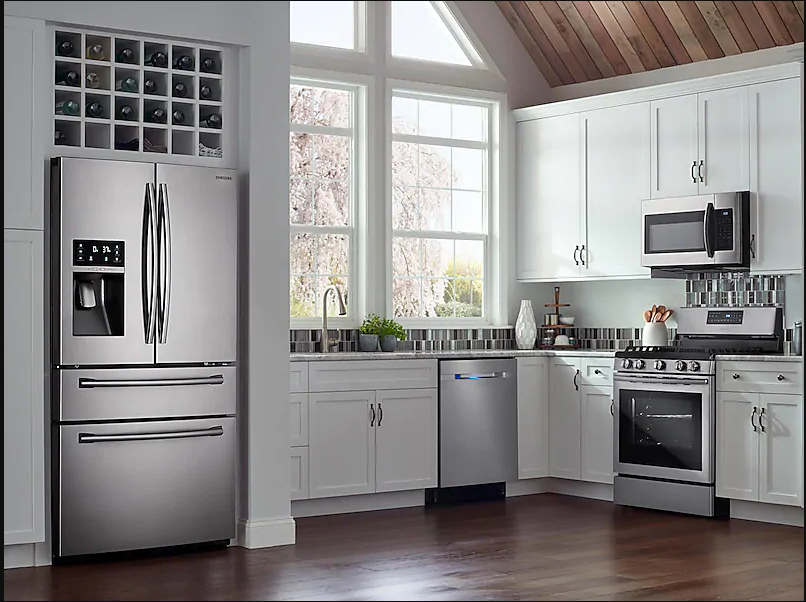
Refrigerator Repair
If your Samsung refrigerator should be making both crushed and cubed ice but is locked onto one option, check the solenoid. This part controls whether the machine dispenses cubed or crushed ice based on which button is pressed. You can replace your Samsung refrigerator’s ice dispenser solenoid yourself by following these steps. Order part #DA74-40151G and then:
1. Unplug the refrigerator.
You should always unplug an appliance before making any repairs. Replacing your solenoid will involve disassembling the ice maker and unplugging wires, so unplug your refrigerator first.
2. Access the shelf with the ice dispenser motor.
Open the freezer door and remove the ice bin by lifting up and sliding out
After that, remove the top shelf that lives under the ice machine. To do so, unscrew the two Philips screws at the front corners under the shelf. Then pop the shelf up and free of the tabs holding it in place. Carefully pull it slightly forward and set it on a lower shelf at an angle. The motor on the rear left corner will be heavy. Unplug the wire harness in the back left corner by freeing the locking tab of the harness with all the wires so you can remove the shelf completely
Set the shelf on a covered work surface
3. Remove the ice dispenser solenoid.
First, orient the shelf so the box is on top. Use a flathead screwdriver to pry it open by unlocking the two tabs remove the back cover. Look inside and loosen the screw holding the green grounding wire
4. Prepare the new ice dispenser solenoid.
Remove the foam insulation from the old solenoid for reuse. Also, peel away the rubber pad from the opposite side. Stick it to the bottom of the new solenoid. Then place or glue the foam square over the side with the circular cutout. Secure the yoke assembly in a vice grip tool. Orient the part so the white plastic tabs are safely outside of the vice and won’t get damaged. Once it’s secure, use a punch hammer and a pair of pliers to remove the pin on the center part that holds the metal tube, or plunger, inside the yoke. The yoke and the pin will be reused
Slide the new metal plunger into the old plastic yoke. Orient the hole in the yoke with the hole in the plunger. Then drive the metal pin into the aligned holes. Carefully hammer it in so the pin edges are flush with the edges of the yoke
5. Install the solenoid and yoke back into the assembly.
Slide the yoke into the guides at the rear of the shelf’s box. The extending plastic pins on either side will fit down in the guide so the yoke can rotate but not fall out. Next, install the solenoid. Plug in the two-pronged wire harness and slide the yoke’s plunger into the circular hole of the solenoid. At this point, the solenoid should be oriented with the circular hole facing downwards and with the wire harness on the right side
Hold the solenoid in place against the back panel of the box. While you’re still holding it in place, reach around to the exterior of the box and secure the solenoid with the two washers and screws you removed earlier
6. Reassemble the shelf.
Reattach the cover. First, orient it so the cover matches the edges of the box. Pull the gray foam insulation around the wires into the circular cutout. This stops the wires from getting cut by the plastic edges of the cutout. Also, make sure the wires are pushed inside the box so they don’t get pinched. Then snap the cover into place and listen to make sure the four tabs click shut
7. Reassemble the ice maker.
Pick up the ice maker from where you set it aside and orient it so the wires are at the rear. Lean it above the top shelf and plug in the white harness in the socket in the ceiling cutout. Next, make sure the rear of the ice maker aligns with the two interlocking brackets in the back. Then push it into place and make sure the front two tabs click into place. Secure it in place with the screws in the front lip of the ice mark
Go to Appliance Express for more tips and repair procedures. Our technicians can also help repair appliances with tricky malfunctions.

Apr. 09, 2024
GE Washer Not Spinning? Here’s The Fix!

Apr. 09, 2024
How to Restore Power to Your GE Dishwasher

Apr. 09, 2024
How To Reset Your GE Washer Top Loader

Mar. 06, 2024
Understanding Whirlpool Washer Error Codes

Mar. 06, 2024
JennAir Ice Maker Not Working? Here’s What to Do

Mar. 06, 2024
What to Do If Your LG Fridge Isn’t Cooling

Feb. 05, 2024
Propane vs. Natural Gas Stove: What’s Best?

Feb. 05, 2024
How Hot Does a Dryer Get?

Feb. 05, 2024
LG Dryer Flow Sense: Everything You Need to Know

Jan. 03, 2024
What to Do When Your Freezer Is Not Freezing but the Fridge Is Cold

Jan. 03, 2024
How to Solve Maytag Dishwasher Showing Error F9E1

Jan. 03, 2024
When Is a Microwave Unsafe to Use? (Warning Signs to Look For)

Dec. 11, 2023
How to Fix a Squeaky Dryer (Step-by-Step)

Dec. 11, 2023
How To Remove Ink From Your Dryer

Dec. 11, 2023
How To Fix an LG Microwave Not Heating

Nov. 06, 2023
How To Fix a Maytag Washer Not Spinning

Nov. 06, 2023
KitchenAid Refrigerator Not Making Ice? Here’s Why

Nov. 06, 2023
Whirlpool Microwave Door Error: How to Fix It

Oct. 02, 2023
13 Things to Never Put in the Dishwasher

Oct. 02, 2023
Can You Put Glass in the Microwave?
512 - 819 - 0670Give us a call!