October 1, 2018
Refrigerator Repair
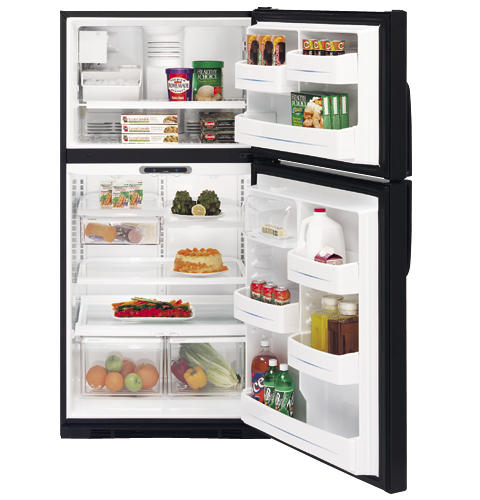
The defrost heater in your GE refrigerator model GTS19ZCMBB is a component of your appliance’s defrost system. During a defrost cycle, the heater melts ice off your refrigerator’s evaporator coils. If the part burns out, the evaporator coil will frost over causing the temperature in your freezer and fresh food compartment to rise. To swap out a faulty defrost heater for a new one, follow the repair guide provided below.
How to Replace the Defrost Heater in Your Refrigerator
Before starting a repair, unplug your appliance to avoid electrocution. Always wear protective gear, such as safety goggles and work gloves.
-
Open your freezer door and take out the ice bucket. Remove the two screws at the bottom of the freezer air duct, which is located on the compartment’s rear wall. Slide the air duct up to disengage the locking tabs and take the part out of your freezer. Beneath the air duct, there is a foam duct, gently lift it up and out of your appliance.
-
With a Phillips screwdriver, unthread the screws securing the ice maker to the freezer. Once the screws are out, open the locking tabs on the sides of the ice maker’s power plug and disconnect the plug.
-
Carefully grab the evaporator fan blade and pull it off the motor shaft. Take out the screws securing the freezer’s back panel and pull the panel out of your appliance.
-
Using needle nose pliers, grab the locking tabs on the ends of the defrost heater and pull the tabs down to unlock them. Next, remove the defrost strap and the mounting bracket, which are both located in the middle of the heater. Then, pull down the defrost heater and disconnect the wires from both ends of the component. Now you can remove the faulty heater from your freezer.
-
It’s time to install the new defrost heater. Start by reconnecting the wires and inserting the heater onto its mounting brackets. With your needle nose pliers, close the locking tabs to secure the heater. In the middle of the defrost heater, reattach the defrost strap and the mounting bracket.
-
Put the rear panel back on, and reinstall the screws. Then, reattach the ice maker, and plug it in. Slide the evaporator fan blade onto the motor shaft. Use your finger to rotate the blade to ensure it is spinning freely. Reinsert the foam duct and the air duct vent. Finally, put the ice bucket back in and close the freezer door.
-
Plug-in your refrigerator and keep an eye on the appliance’s temperature to ensure the repair fixed the problem.
If your refrigerator is still struggling to maintain a consistent temperature, please contact us today and we’ll be happy to assist you.

Apr. 09, 2024
GE Washer Not Spinning? Here’s The Fix!

Apr. 09, 2024
How to Restore Power to Your GE Dishwasher

Apr. 09, 2024
How To Reset Your GE Washer Top Loader

Mar. 06, 2024
Understanding Whirlpool Washer Error Codes

Mar. 06, 2024
JennAir Ice Maker Not Working? Here’s What to Do

Mar. 06, 2024
What to Do If Your LG Fridge Isn’t Cooling

Feb. 05, 2024
Propane vs. Natural Gas Stove: What’s Best?

Feb. 05, 2024
How Hot Does a Dryer Get?

Feb. 05, 2024
LG Dryer Flow Sense: Everything You Need to Know

Jan. 03, 2024
What to Do When Your Freezer Is Not Freezing but the Fridge Is Cold

Jan. 03, 2024
How to Solve Maytag Dishwasher Showing Error F9E1

Jan. 03, 2024
When Is a Microwave Unsafe to Use? (Warning Signs to Look For)

Dec. 11, 2023
How to Fix a Squeaky Dryer (Step-by-Step)

Dec. 11, 2023
How To Remove Ink From Your Dryer

Dec. 11, 2023
How To Fix an LG Microwave Not Heating

Nov. 06, 2023
How To Fix a Maytag Washer Not Spinning

Nov. 06, 2023
KitchenAid Refrigerator Not Making Ice? Here’s Why

Nov. 06, 2023
Whirlpool Microwave Door Error: How to Fix It

Oct. 02, 2023
13 Things to Never Put in the Dishwasher

Oct. 02, 2023
Can You Put Glass in the Microwave?
512 - 819 - 0670Give us a call!

