

November 2, 2022
Oven Repair
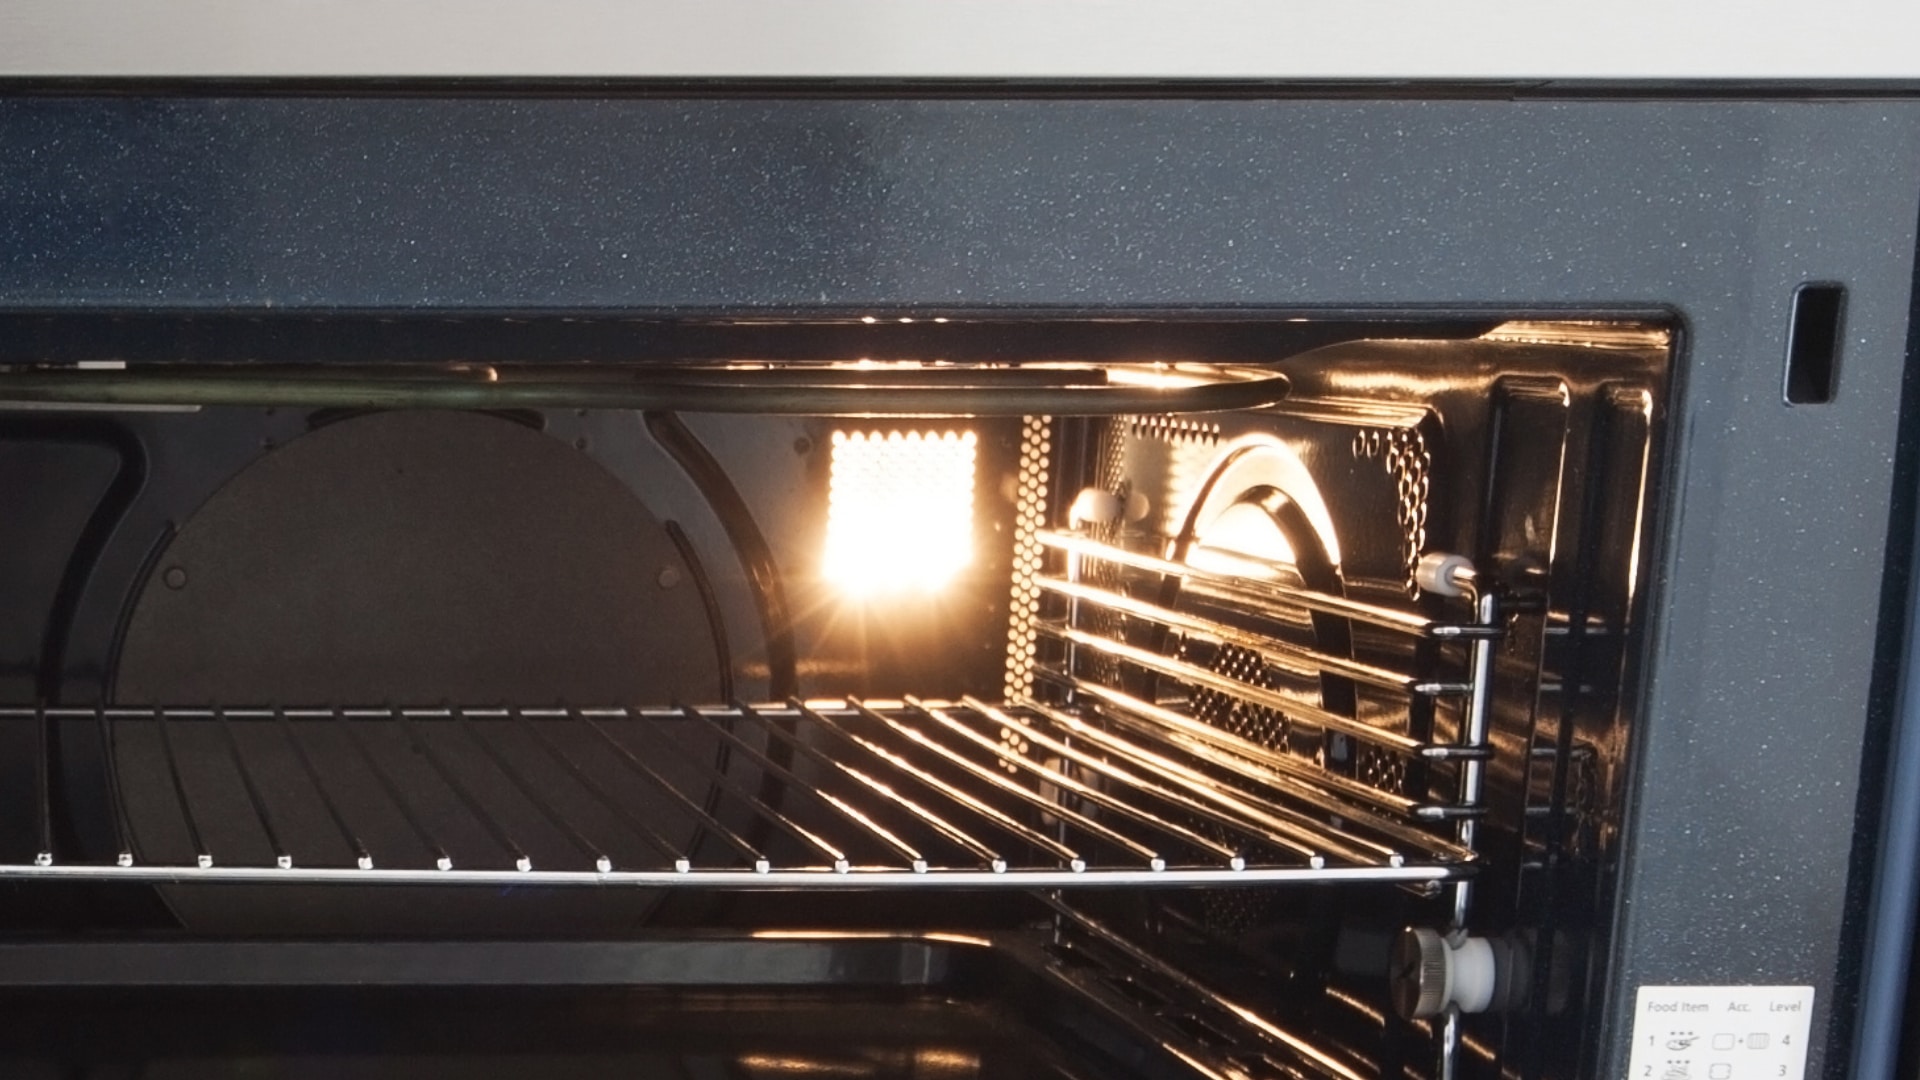
Although you can still use an oven when the light is not working, it makes cooking a far more inconvenient experience. Without a working bulb, you can’t check on the progress of your food without opening the door. Opening the door causes heat to escape and can disrupt the cooking process, which is not ideal. Read on to find out how you can quickly and easily repair your broken oven light.
Before you get started, make sure you have all the necessary tools on hand to replace your oven light. There is nothing more frustrating than getting partway through a project and realizing you are missing a vital piece of equipment!
You will need:
- A replacement bulb
- A screwdriver
- Your oven manual
Diagnosing the Problem
First, make sure that the oven light is definitely the problem. Check that your oven is connected to the power source and that it is still heating up as normal. If other oven functions are not working, you may be dealing with a bigger electrical issue. If everything except the light is working fine, then move on to the next step.
Finding the Right Replacement Bulb
Most modern ovens use a standard 40-watt incandescent appliance bulb (A15), but it is important to know for sure what sort of bulb your oven takes before you begin.
You should be able to find out what type of bulb you need by consulting your oven manual. If you can’t locate the manual, you can always try googling the make and model of your oven online and you should be able to find a copy of the manual.
You can buy a replacement bulb online or from a hardware store.
Removing the Broken Oven Light
The first step before doing any repair work on your oven is always to ensure it is turned off. It is also a good idea to make sure it has totally cooled to room temperature, as a hot oven will be unpleasant and difficult to work with.
Next, remove all the racks and trays from your oven so it is easy to access the bulb. Then you will need to locate the bulb within your oven. They are often found at the top back panel of the oven, on either the right or left side.
Once you have located the bulb, here’s how to remove it:
- Remove the clear bulb cover. In some cases they can simply be pulled off, but sometimes they are screwed down or attached with metal clips. If yours is screwed down, use your screwdriver to remove the screws and put them somewhere safe to use again later.
- If you can’t see any screws but you are struggling to remove the bulb cover, it may be stuck down with some built up grime from cooking. In this case, try spraying around the bulb cover with some detergent mixed with water, and leaving it for a couple of minutes so that it can dissolve the grease. You should then find the cover comes off easily.
- Once the cover is removed, gently take out the light bulb. Some bulbs can be pulled out and some need to be unscrewed. You can try both methods as long as you are careful, it should be obvious pretty quickly which type of bulb you are dealing with.
- Take care in case the bulb is cracked or broken. Put the lightbulb in some old newspaper or similar so it can be safely thrown away.
- If you need to get information on the type of bulb in order to purchase a replacement, make sure you get a close look at it. The wattage and other information should be printed on the glass. If still unsure, you can take the old bulb to a hardware store and they will be able to help you find the correct replacement.
Installing the New Light
Once the old bulb is removed, put the new one in. Then, before you put the cover back on, turn your oven back on and test if the new bulb is working. If it is, then you can replace the cover right away. If it is not working, then it could indicate either a fault with the new bulb or a deeper electrical issue with your oven. You will need to either contact an electrician or take another look at your user’s manual in order to figure out what the problem might be.
Once the bulb is working and the bulb cover is back on, replace any shelves or racks that you removed. Your oven will now be working perfectly once again!
Please note:
When you are working on removing and replacing your oven light, make sure you are not putting too much weight on the open door. Leaning on the open oven door can damage the hinges and prevent the oven from closing properly in the future.

Apr. 09, 2024
GE Washer Not Spinning? Here’s The Fix!

Apr. 09, 2024
How to Restore Power to Your GE Dishwasher

Apr. 09, 2024
How To Reset Your GE Washer Top Loader

Mar. 06, 2024
Understanding Whirlpool Washer Error Codes

Mar. 06, 2024
JennAir Ice Maker Not Working? Here’s What to Do

Mar. 06, 2024
What to Do If Your LG Fridge Isn’t Cooling

Feb. 05, 2024
Propane vs. Natural Gas Stove: What’s Best?

Feb. 05, 2024
How Hot Does a Dryer Get?

Feb. 05, 2024
LG Dryer Flow Sense: Everything You Need to Know

Jan. 03, 2024
What to Do When Your Freezer Is Not Freezing but the Fridge Is Cold

Jan. 03, 2024
How to Solve Maytag Dishwasher Showing Error F9E1

Jan. 03, 2024
When Is a Microwave Unsafe to Use? (Warning Signs to Look For)

Dec. 11, 2023
How to Fix a Squeaky Dryer (Step-by-Step)

Dec. 11, 2023
How To Remove Ink From Your Dryer

Dec. 11, 2023
How To Fix an LG Microwave Not Heating

Nov. 06, 2023
How To Fix a Maytag Washer Not Spinning

Nov. 06, 2023
KitchenAid Refrigerator Not Making Ice? Here’s Why

Nov. 06, 2023
Whirlpool Microwave Door Error: How to Fix It

Oct. 02, 2023
13 Things to Never Put in the Dishwasher

Oct. 02, 2023
Can You Put Glass in the Microwave?
512 - 819 - 0670Give us a call!