

May 16, 2019
Microwave Repair
Every appliance in our kitchen is important, but none probably more so than your microwave. You may end up using your microwave multiple times per day for multiple batches of snacks and think nothing of it. However, you don’t realize just how useful that little box is until it isn’t working anymore.
Not all microwave issues need to be about it not working at all. Sometimes, you may find that your microwave heats just fine – if you can get it to turn on, that is. If you have non-responsive controls on your microwave, it can eventually render the whole appliance utterly useless. Even a few broken control buttons are a sign of more problems to come. So you need to address this issue quickly to get your microwave working properly again.
Troubleshooting Non-Functioning Microwave Controls
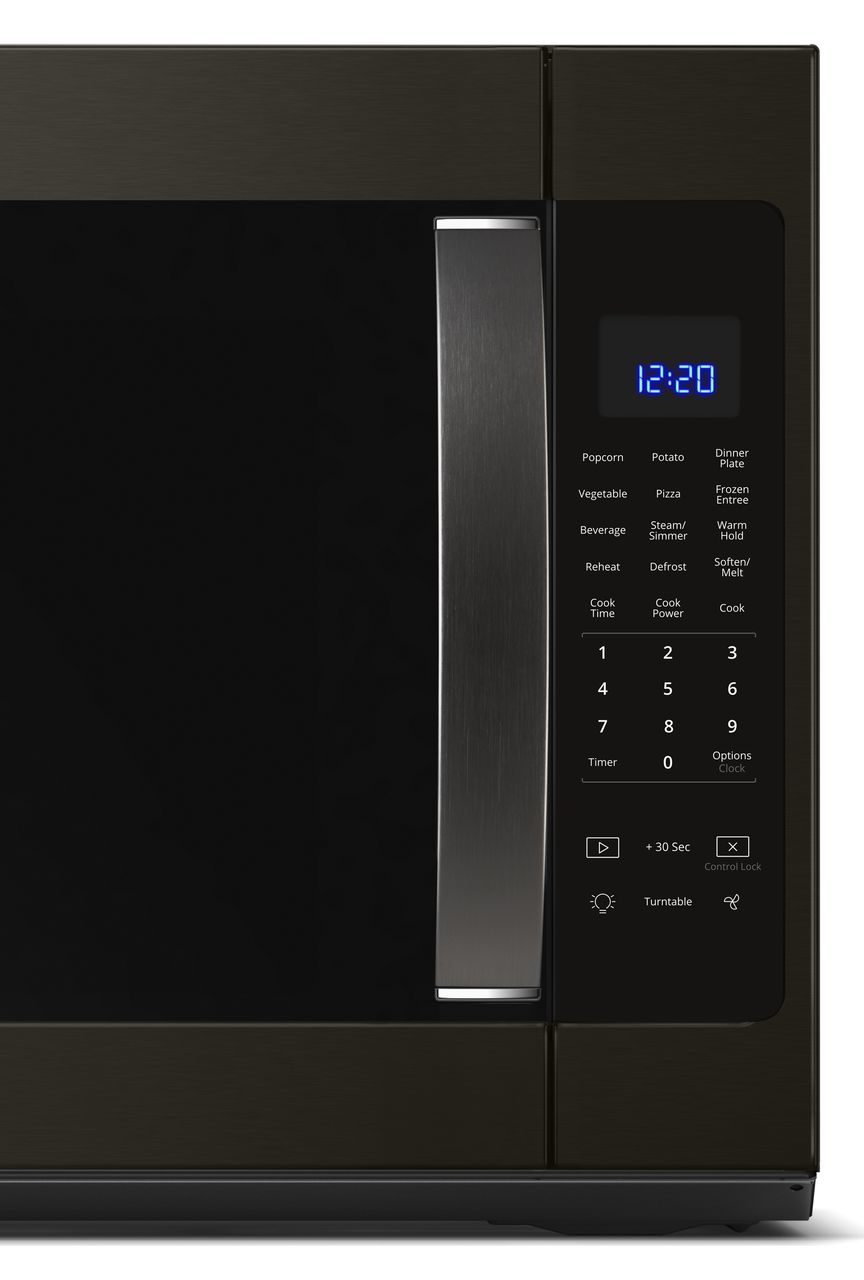
When it comes to microwave buttons that do not work, there can be several causes, all of them stemming from the control panel. There are a number of ways to troubleshoot the issue to narrow down specifically what is wrong, but each repair will require removing the control panel for access.
Be sure to unplug the unit before working on it. We don’t recommend any live voltage troubleshooting without proper training.
Removing the Control Panel
The control panel on your microwave includes the control board and touch panel. Any issue that causes non-responsive buttons will stem from here, so to make this repair easier, it is best to remove it from your microwave. Before beginning to do so, however, be sure to unplug your microwave for your safety. The control panel is held onto the microwave by mounting screws. Unfortunately, how to reach these mounting screws will vary depending on your model. For built-in microwave models that sit above a stove, you will need to first remove the grill located above the microwave door to access the mounting screws on the control panel. For freestanding microwave, you will need to remove the microwave exterior cover via the screws on the back and sliding the cover off the back.
Once you have access to and have removed the mounting screws on the control panel, you will be able to gently remove it. It is important not to tug it off as it is still attached by wires to the control board. Before removing these wire harnesses, it is important to take note of how they are plugged in. The easiest option is to take a picture with your smartphone so you can reattach it later without a serious headache on your hands. After removing the wires, you will need to unscrew the grounding wire to fully attach the panel.
Now that the control panel is removed, you are free to begin any of the following repairs.
Microwave Display
If your microwave isn’t showing any times or any display at all, you may not actually have a problem with the buttons on your microwave. In fact, it may just be that your display is no longer functioning. The testing for this is rather simple. You input time and press the start button. Even if the display is not working, if it is indeed a faulty display screen, your microwave will still run.
Unfortunately, in microwaves, you cannot just simply replace the display by itself. As it is attached to the control board, you will need to replace the entire control board.
Control Board
The control board of your microwave is the brain of your microwave, and as such, if there is something wrong with it, then it will be hard to miss. Among the many issues that can manifest with a faulty control is the buttons not working. When you press a button on your microwave, it is supposed to send electrical signals to the other components through the control board so it works. If the board is gone faulty, then those electrical signals may not get delivered. However, if your microwave is manifesting more issues than just a button not working, it is almost assuredly a control board issues. Once the control board starts to go out, it will manifest many different kinds of issues throughout your microwave.
Touch Pad Membrane
From the control panel, you can disconnect the control board by removing the mounting screws and disconnecting a ribbon. This ribbon connector will lead you to the touchpad membrane of your microwave. If your microwave doesn’t have any other issues, but certain buttons have a spotty function or no function at all, then it is likely a touchpad issue.
The touchpad membrane consists of soft electrical switches that are sandwiched in mylar. Once pressed, they complete an electrical circuit that gives the control board the information that it needs. However, the layer that creates conductivity can wear down after years of use. Once this happens, the button or buttons will cease to function. You will usually find that this happens most frequently in the “Start” button as it is the button that we use most often. However, any control has the potential to wear down after repeated use.
Once the control board has been removed from the control panel, you will typically find the membrane attached to the inside of the control panel. The membrane can be peeled off, but you may wish to test it with a multimeter first to discover if it really is the fault.
Once the new touchpad membrane has been applied, you can connect it to the control board via the ribbon connector. Once the control board is re-mounted, it can then be reconnected to the wires and mounted back onto your microwave for testing.
Need More Help?
If you have tried these various fixes to repair microwave buttons that don’t work, but you are still having issues, then it may be time to call in a professional hand. When you are not able to troubleshoot and repair appliance issues yourself, contact us so that we can help you get down to the root of the issue and repair it quickly. You depend on your appliances, and Appliance Express can help you get them back in working order in no time.

Apr. 09, 2024
GE Washer Not Spinning? Here’s The Fix!

Apr. 09, 2024
How to Restore Power to Your GE Dishwasher

Apr. 09, 2024
How To Reset Your GE Washer Top Loader

Mar. 06, 2024
Understanding Whirlpool Washer Error Codes

Mar. 06, 2024
JennAir Ice Maker Not Working? Here’s What to Do

Mar. 06, 2024
What to Do If Your LG Fridge Isn’t Cooling

Feb. 05, 2024
Propane vs. Natural Gas Stove: What’s Best?

Feb. 05, 2024
How Hot Does a Dryer Get?

Feb. 05, 2024
LG Dryer Flow Sense: Everything You Need to Know

Jan. 03, 2024
What to Do When Your Freezer Is Not Freezing but the Fridge Is Cold

Jan. 03, 2024
How to Solve Maytag Dishwasher Showing Error F9E1

Jan. 03, 2024
When Is a Microwave Unsafe to Use? (Warning Signs to Look For)

Dec. 11, 2023
How to Fix a Squeaky Dryer (Step-by-Step)

Dec. 11, 2023
How To Remove Ink From Your Dryer

Dec. 11, 2023
How To Fix an LG Microwave Not Heating

Nov. 06, 2023
How To Fix a Maytag Washer Not Spinning

Nov. 06, 2023
KitchenAid Refrigerator Not Making Ice? Here’s Why

Nov. 06, 2023
Whirlpool Microwave Door Error: How to Fix It

Oct. 02, 2023
13 Things to Never Put in the Dishwasher

Oct. 02, 2023
Can You Put Glass in the Microwave?
512 - 819 - 0670Give us a call!