

January 22, 2021
Microwave Repair
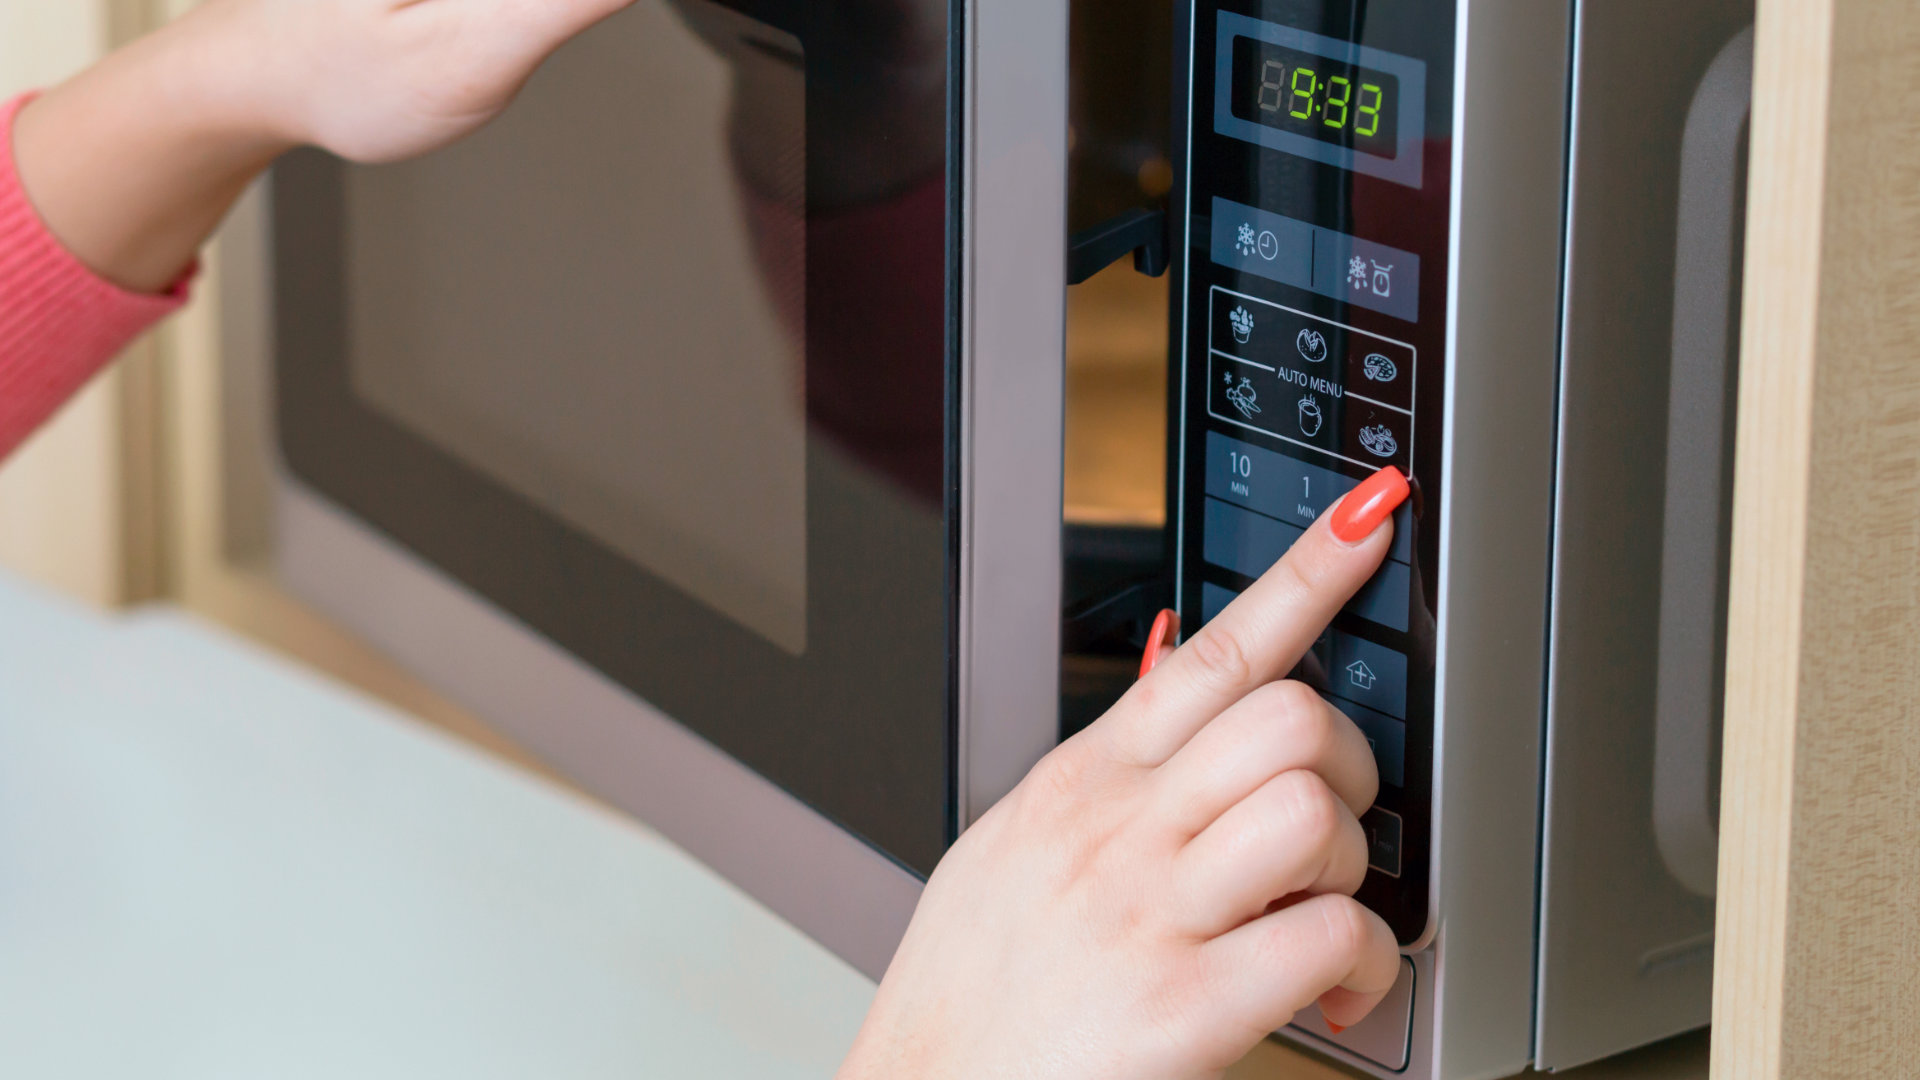
Has your microwave touchpad stopped working, or have certain buttons stopped responding? This is usually caused by an aged or damaged touchpad membrane. The membrane is a very light set of contacts that respond when the over-buttons are pressed on the microwave control surface. If these contacts wear out, burn out, or are displaced, then they can’t activate when you push.
Fortunately, the touchpad membrane is something anyone confident, careful, and precise can replace inside the microwave control panel. Here’s what to do:
Gather Your Supplies
Start by putting together the supplies you need.
Order the Replacement Touchpad
Find the brand, model number, and serial number of your microwave by locating the sticker indicating these facts. This sticker can be found out-of-sight on the bottom, back, or inside of the microwave cabinet.
When you find the model number, you can look up the correct replacement membrane to order. When the membrane arrives, your repair can commence.
Additional Tools Needed
- Flat Screwdriver
- Cross Screwdriver
- Multimeter
- Work Gloves
Remove Power from the Microwave
The first and most important safety step is to make sure no electricity is running through the microwave. This way, you can’t get a shock and your microwave can’t short out. Just be careful. Microwaves have a high-voltage capacitor that retains electric charge after the unit is unplugged.
- Unplug the Power Cable
- Start by removing the power cable from the wall socket. This will prevent new electricity from getting into the microwave unity.
- Let the Microwave Sit for 2 Days
- The safest way to discharge the microwave capacitor is to wait for 2-3 days while the electricity fades. If you’re in a hurry, there’s an alternative way to discharge the capacitor that we’ll talk about along the way.
Open the Cabinet
- Remove the Front Grill
- If your microwave has a grate, grill, or vent along the upper front of the unit, remove it. The grill will be attached with plastic clips rather than screws. Release the clips and remove the grill.
- Extract the Back Mounting Screws
- Turn your microwave around and remove the mounting screws from the back panel. They should ring the outside of the pack panel like a perimeter, while avoiding certain key functional areas.
- Unwrap the Cabinet Panels
- Gently un-fit the microwave cabinet housing out from the back of the microwave and pull it up. You will find the cabinet is actually a 3-sided panel that unfolds off the top of the microwave around the sides.
Discharge the Capacitor
If you did not wait the two days to discharge your microwave naturally, you must stop now to make sure that the high-voltage capacitor is safe. Otherwise, you could get seriously hurt by accidentally touching the capacitor later on.
Discharging a microwave capacitor can be done in two ways. The first is to short the capacitor very carefully releasing a lot of electricity at once – by laying two connected metal objects over the positive and negative leads. The other option is to carefully connect a lightbulb to the capacitor and allow it to run down.
Remove the Front Control Panel
Now remove the front control panel so that you can eventually access the touchpad membrane.
- Remove the Mounting Screws
- Find the mounting screws inside the cabinet and behind the vent, if you had a vent to remove. Extract any screws that look like they might be securing the front touchpad control panel.
- Release the Clips
- Control panels for microwaves are fit tightly into the plastic so there is very little seam. These are often connected by clips in addition to screws. If your control panel is clipped on, use the slotted screwdriver before continuing. Work the screwdriver all the way around the seam.
- Take a Photo of the Wires
- When the control panel comes away, you will find it still attached with a bundle of wires. Reconnecting these wires can be complicated so take a photo of the bundle before disconnecting it.
- Detach the Wire Harness
- Now you can pull the wires free from their slots and harnesses respectively.
- Unscrew the Ground Wire
- When all the rest of the wires are loose, use your screwdriver to unscrew the ground wire connection and loosen the control panel fully.
Remove the Control Board
In order to reach the membrane, you will need to remove the control board -the central brain of your microwave. Handle it with care.
- Extract the Mounting Screws
- Identify the control board – it will look like a computer chip – and the mounting screws that hold it in place. Remove those mounting screws.
- Disconnect the Ribbon Wires
- As you pull away from the control board you will see several wires that form a ribbon ending in a wire harness. Disconnect the two halves of the wire harness to let the control board free.
Replace the Touchpad Membrane
The touchpad membrane should now be visible. It is a sticky signal membrane stuck to the backside of the panel buttons.
- Unpeel the Previous Membrane
- Start by carefully unpeeling the previous touchpad membrane and taking note of how it was connected. Discard the old membrane when it is detached.
- Stick On the New Membrane
- Now very precisely lay the new membrane on in the place of the old membrane. Press it gently and make sure all the edges are lined up without ripples or bubbles.
Reassemble Your Microwave
Finally, you are ready to put your microwave back together and test the success of your repair.
- Return the Control Board
- Start by putting the control board back into place. Reconnect the ribbon wires, then resecure the mounting screws for the control board.
- Reinstall the Control Panel
- Reattach the wires for the control panel using your phone photo, then secure the ground wire. Push the control panel back into place until you hear the clips click. Then reattach the mounting screws if there were any.
- Wrap the Cabinet
- Grab the three-sided cabinet and fit it back over the top and sides of the microwave. Slide the edges into place so they are obscured, then return the mounting screws in the back panel.
- Return the Vent
- If there was an upper vent cover, return this to the top of your microwave.
- Plug in the Microwave
- Lastly, plug your microwave back in to restore power. The capacitor does not need time to charge up again.
Test Your Success
Congratulations. You have just replaced the touchpad membrane of your microwave. Try turning it on and microwaving something to discover if the repair was a success. Contact us today for more advice or for professional appliance repair services.

Apr. 09, 2024
GE Washer Not Spinning? Here’s The Fix!

Apr. 09, 2024
How to Restore Power to Your GE Dishwasher

Apr. 09, 2024
How To Reset Your GE Washer Top Loader

Mar. 06, 2024
Understanding Whirlpool Washer Error Codes

Mar. 06, 2024
JennAir Ice Maker Not Working? Here’s What to Do

Mar. 06, 2024
What to Do If Your LG Fridge Isn’t Cooling

Feb. 05, 2024
Propane vs. Natural Gas Stove: What’s Best?

Feb. 05, 2024
How Hot Does a Dryer Get?

Feb. 05, 2024
LG Dryer Flow Sense: Everything You Need to Know

Jan. 03, 2024
What to Do When Your Freezer Is Not Freezing but the Fridge Is Cold

Jan. 03, 2024
How to Solve Maytag Dishwasher Showing Error F9E1

Jan. 03, 2024
When Is a Microwave Unsafe to Use? (Warning Signs to Look For)

Dec. 11, 2023
How to Fix a Squeaky Dryer (Step-by-Step)

Dec. 11, 2023
How To Remove Ink From Your Dryer

Dec. 11, 2023
How To Fix an LG Microwave Not Heating

Nov. 06, 2023
How To Fix a Maytag Washer Not Spinning

Nov. 06, 2023
KitchenAid Refrigerator Not Making Ice? Here’s Why

Nov. 06, 2023
Whirlpool Microwave Door Error: How to Fix It

Oct. 02, 2023
13 Things to Never Put in the Dishwasher

Oct. 02, 2023
Can You Put Glass in the Microwave?
512 - 819 - 0670Give us a call!