

January 6, 2020
Dryer Repair
There are a few different types of dryer controls depending on the make, model, and year your dryer was produced. While many modern devices have buttons that determine the dryer’ s cycle and settings, older models tend to have a twist-knob timer. Dryers last a long time so many homes still have their older model dryers and sometimes the timers wear out much faster than the rest of the dryer.
If your dryer knob is malfunctioning, it can be replaced. All you need is the appropriate replacement timer and a careful hand with instructions.
Gather Your Gear
For this repair, you will need about three different types of driver, work gloves, and of course the correct replacement part. You can find the part number for your dryer’s timer by looking in the manual or looking up your dryer’s make and model.
- Replacement Dryer Timer
- 1/4 Inch Nut Driver
- Slot Screw Driver
- Phillips Screw Driver
- Work Gloves
Safety First
Before you begin this repair, it’s important to note that the repair involves electrical components. For this reason, you will need to switch off the power to your dryer. You can do this by unplugging the outlet in the back or by switching off the breaker that powers your dryer.
Next, you will need to pull your dryer away from the wall so that you have room to work behind it. You can pull your dryer fully out or simply turn it to the side iv you have space.
Remove the Control Knob
Take a moment to remove your dryer’s timer control knob. This is the part you usually twist to tell the dryer how long to run and on what cycle. Place it on top of the dryer. It isn’t important right now, but the post it’s on is connected to the piece you are replacing.
Open the Control Panel Back Cover
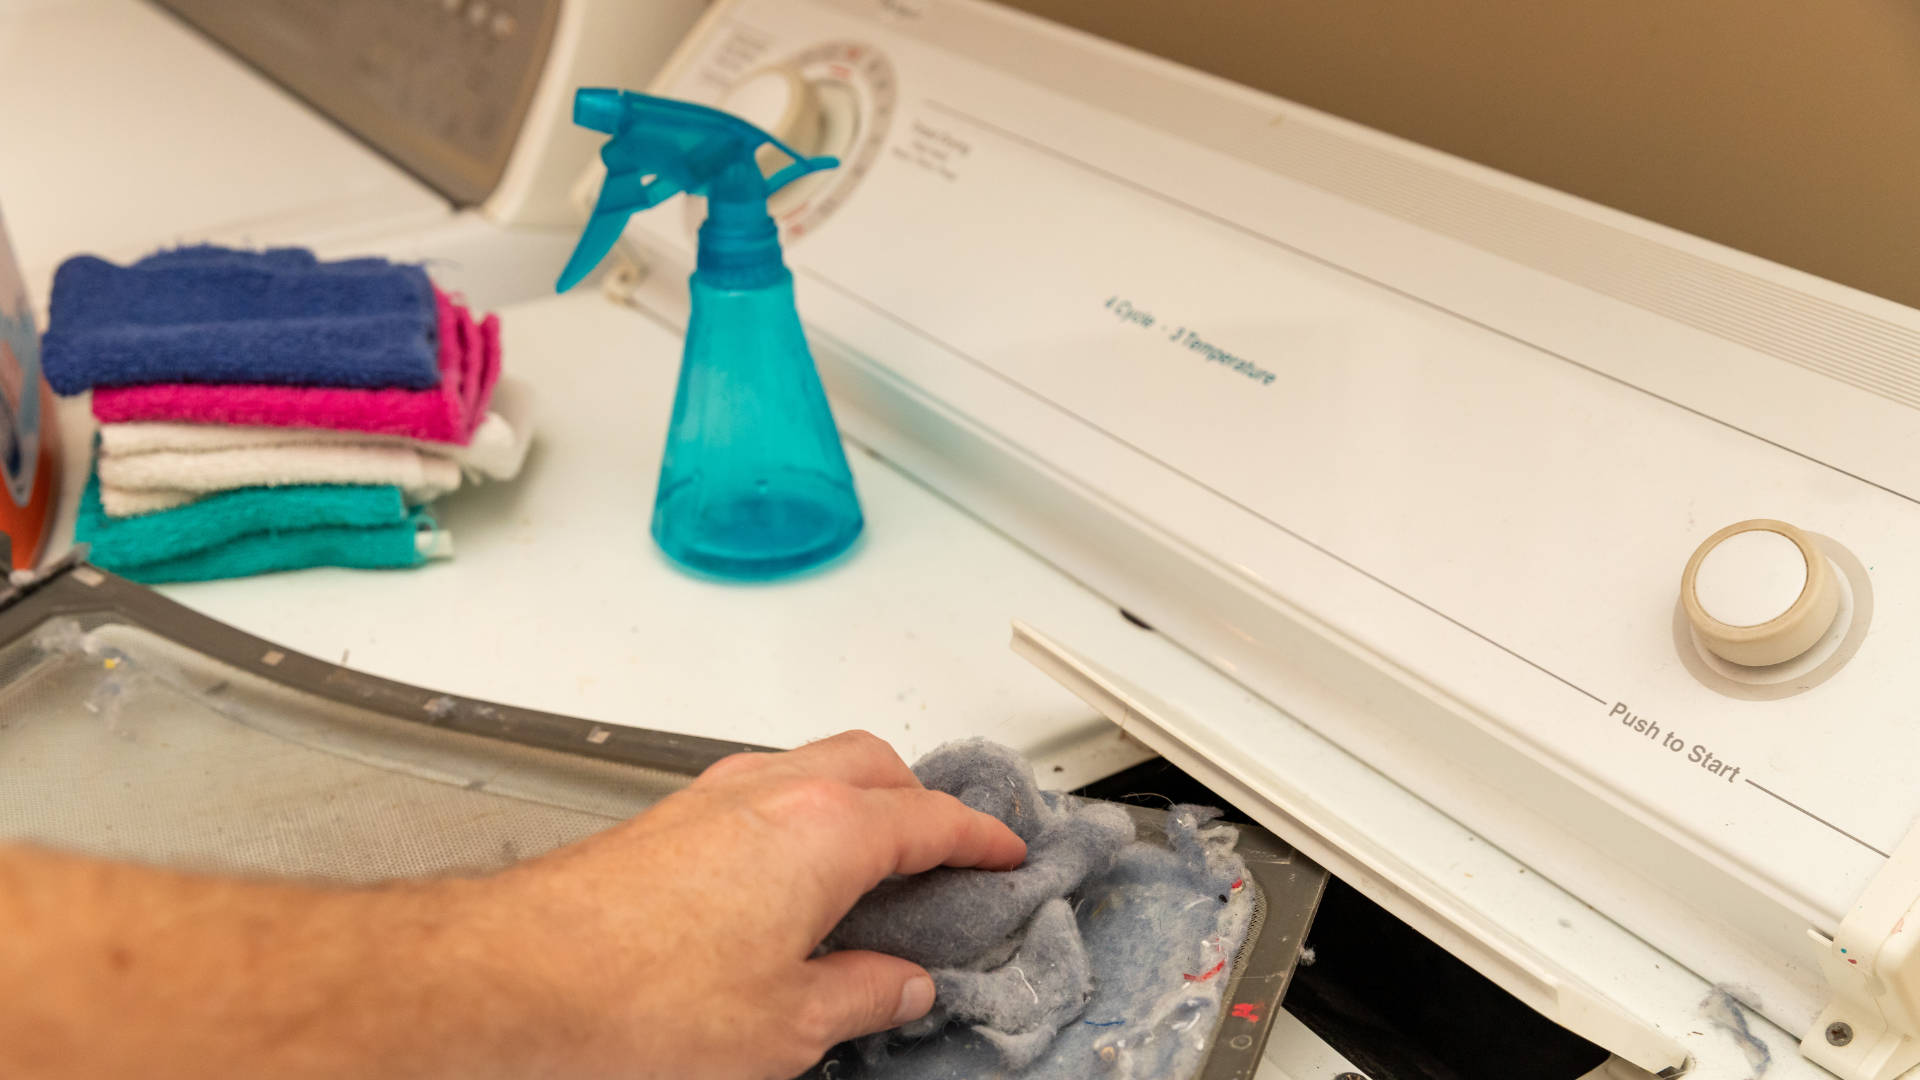
Now walk around to the back of the dryer unit and locate the control panel back cover. This is a long rectangular piece of metal that backs the dryer control panel. Use your 1/4 inch nut driver to remove the screws around the perimeter and set them aside. Very carefully and wearing your work gloves remove the back panel. The edges can be sharp as they are not intended to be handled in normal use.
Behind the panel, you will see a row of components, each with wires connecting and bolted into the front of your dryer control panel.
Uninstall the Broken Dryer Timer
Your next step is to locate the specific component you need, the dryer timer which is easy to find when compared to your replacement part. You can also trace it from the front of the dryer fo find exactly the place where the post for the dryer control panel will be.
Once you have found the drive, a smart move is to snap a picture with your phone or use electrical tape in various colors to mark which wire goes where. Unlike other components, the dryer timer is fairly complex and had a couple of different connections and may be difficult to install correctly later. Disconnect the wires from their mounting points. Then use your screwdriver to unmount the dryer timer from the inside of the housing. There should only be one to three screws in this task. Remove them and set them aside for use later. You can now remove your old dryer timer and throw it away.
Install the New Dryer Timer
Make sure your new dryer timer is completely clear of packaging and then align it in the spot where the old-timer was mounted, threading the post through the provided hole. Make sure it is upright and then bolt it in with the mounting screws you just set aside. Fasten the screws securely, but do not over-tighten.
Next, you will need to reconnect the wires exactly as they were found. Check your phone diagram or rely on your tape markings to help you get each one into the correct place. In other repairs, you may have connected the wires before mounting but for the timer, it is easier to mount and then connect the wires.
Reattach the Control Panel Back Cover
You have just completed the dryer timer installation. now it’s time to close your dryer back up and prepare to run a test. Grab your control panel back cover and lift it into place, aligning it into the grooves available. You should see the screw holes line up.
Return the nut driver screws that fasten the dryer back panel. Again, you will want to fasten securely but do not over-tighten these mounting screws.
Return the Control Knob
As you wrap up this task, don’t forget to put the control panel knob on the new timer’s post which you will be able to see from the front. Be sure the knob is on upright and is ready for testing.
You can also now push your dryer back into place.
Test Your Success
It’s time to test the success of your repair. With your dryer back in place, reconnect the power plug to the outlet and/or flip the breaker switch back on to restore power. Run your dryer on a low heat setting or a quick timed dry to see what happens. Pay attention to whether the dryer timer turns, the sounds the dryer makes, and when it buzzes to announce completion. If all went correctly, your dryer should now be working fine with a functional new dryer panel installed into the back.
You are now safe to return drying clothes as part of your usual routine. Dryers are a fantastic addition to any home and with this repair under your belt, you should be able to keep your dryer in top working condition. Whether you use your dryer once a week or constantly all week long, being able to fix the timer on an old dryer is incredibly useful. For more information on how to handle old dryer repairs, new dryer repairs, or any other appliance maintenance task just check out the archive of blogs or contact us today!

Apr. 09, 2024
GE Washer Not Spinning? Here’s The Fix!

Apr. 09, 2024
How to Restore Power to Your GE Dishwasher

Apr. 09, 2024
How To Reset Your GE Washer Top Loader

Mar. 06, 2024
Understanding Whirlpool Washer Error Codes

Mar. 06, 2024
JennAir Ice Maker Not Working? Here’s What to Do

Mar. 06, 2024
What to Do If Your LG Fridge Isn’t Cooling

Feb. 05, 2024
Propane vs. Natural Gas Stove: What’s Best?

Feb. 05, 2024
How Hot Does a Dryer Get?

Feb. 05, 2024
LG Dryer Flow Sense: Everything You Need to Know

Jan. 03, 2024
What to Do When Your Freezer Is Not Freezing but the Fridge Is Cold

Jan. 03, 2024
How to Solve Maytag Dishwasher Showing Error F9E1

Jan. 03, 2024
When Is a Microwave Unsafe to Use? (Warning Signs to Look For)

Dec. 11, 2023
How to Fix a Squeaky Dryer (Step-by-Step)

Dec. 11, 2023
How To Remove Ink From Your Dryer

Dec. 11, 2023
How To Fix an LG Microwave Not Heating

Nov. 06, 2023
How To Fix a Maytag Washer Not Spinning

Nov. 06, 2023
KitchenAid Refrigerator Not Making Ice? Here’s Why

Nov. 06, 2023
Whirlpool Microwave Door Error: How to Fix It

Oct. 02, 2023
13 Things to Never Put in the Dishwasher

Oct. 02, 2023
Can You Put Glass in the Microwave?
512 - 819 - 0670Give us a call!