

October 15, 2018
Dryer Repair
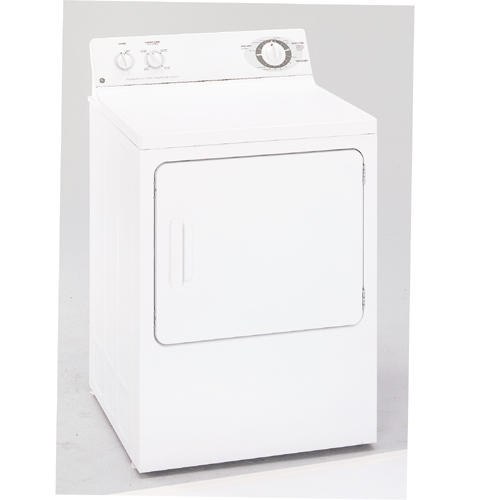
There is a good chance a worn idler pulley in your GE electric dryer model DBXR453EAAA is behind the squealing noise your appliance is currently making. The pulley is located between the drum and motor pulley, and its job is to create tension on the dryer belt, which helps rotate the dryer drum. Due to the high speed, the idler pulley spins at, the small hole found in the center of it can wear down after years of operation, meaning it will begin to squeal as it rotates. Unfortunately, if the pulley isn’t replaced that unsettling sound can get worse and eventually turn into a thumping or grinding noise. Replacing the idler pulley is not difficult and should only take you a few hours on Sunday afternoon.
How to Replace the Idler Pulley in Your GE Electric Dryer
Before repairing your appliance, put on a pair of work gloves and safety goggles. Once your hands and eyes are protected, unplug your dryer and get started on replacing its idler pulley.
-
To begin your repair, unthread the screws on the back of the control panel. Lift the control panel up and unhook the tabs connecting the control panel to the top of the dryer.
-
Move to the front of your appliance and open the dryer door. Remove the screws found inside the door frame. Once the screws are out, lift the main top up and off your dryer.
-
Take out the screws located on the inside frame of the front panel. Tilt the front panel towards you to disconnect it from the dryer. Carefully slide the panel to the left and lean it against the side of your appliance.
-
Bend down and remove the screws connecting the support panel to the dryer frame. The idler pulley is found underneath the drum on the right side of your appliance. As you are reaching under the drum, grab the idler pulley and push down to take the dryer belt off the pulley and the motor shaft. Stand back up, and use the belt to slowly guide the drum out of the dryer. Place the drum off to the side before continuing.
-
Using a pair of pliers, disconnect the retaining nut that keeps the pulley from slipping off the idler arm. Pull the pulley off the arm and get rid of it.
-
Before installing the new idler pulley onto the idler arm, wipe the arm off. Once the arm is clean, slide on the new pulley and reattach the retaining nut to secure the pulley. Give the pulley a good spin to make sure it rotates freely.
-
Now it’s time to reassemble your dryer. Start by reinstalling the drum and threading the dryer belt onto the motor shaft and idler pulley. Spin the drum around a few times to ensure the belt is properly aligned.
-
Reattach the screws securing the support panel to the dryer frame. Lift up the front panel and reconnect it to the dryer frame with the screws you removed earlier.
-
Place the main top back on the dryer and insert the control panel tabs into the slots on the top of the panel. Open the dryer door and reattach the screws that hold the top panel to the dryer.
-
Move to the back of the dryer and rethread the screws to secure the control panel to the dryer.
-
With the new idler pulley installed, plug-in your appliance and test it out to see if the squealing noise has disappeared.
If you have more questions about your dryer or you would like to schedule a repair, please contact us today and we’ll be happy to help you.

Apr. 09, 2024
GE Washer Not Spinning? Here’s The Fix!

Apr. 09, 2024
How to Restore Power to Your GE Dishwasher

Apr. 09, 2024
How To Reset Your GE Washer Top Loader

Mar. 06, 2024
Understanding Whirlpool Washer Error Codes

Mar. 06, 2024
JennAir Ice Maker Not Working? Here’s What to Do

Mar. 06, 2024
What to Do If Your LG Fridge Isn’t Cooling

Feb. 05, 2024
Propane vs. Natural Gas Stove: What’s Best?

Feb. 05, 2024
How Hot Does a Dryer Get?

Feb. 05, 2024
LG Dryer Flow Sense: Everything You Need to Know

Jan. 03, 2024
What to Do When Your Freezer Is Not Freezing but the Fridge Is Cold

Jan. 03, 2024
How to Solve Maytag Dishwasher Showing Error F9E1

Jan. 03, 2024
When Is a Microwave Unsafe to Use? (Warning Signs to Look For)

Dec. 11, 2023
How to Fix a Squeaky Dryer (Step-by-Step)

Dec. 11, 2023
How To Remove Ink From Your Dryer

Dec. 11, 2023
How To Fix an LG Microwave Not Heating

Nov. 06, 2023
How To Fix a Maytag Washer Not Spinning

Nov. 06, 2023
KitchenAid Refrigerator Not Making Ice? Here’s Why

Nov. 06, 2023
Whirlpool Microwave Door Error: How to Fix It

Oct. 02, 2023
13 Things to Never Put in the Dishwasher

Oct. 02, 2023
Can You Put Glass in the Microwave?
512 - 819 - 0670Give us a call!