

August 13, 2018
Dryer Repair
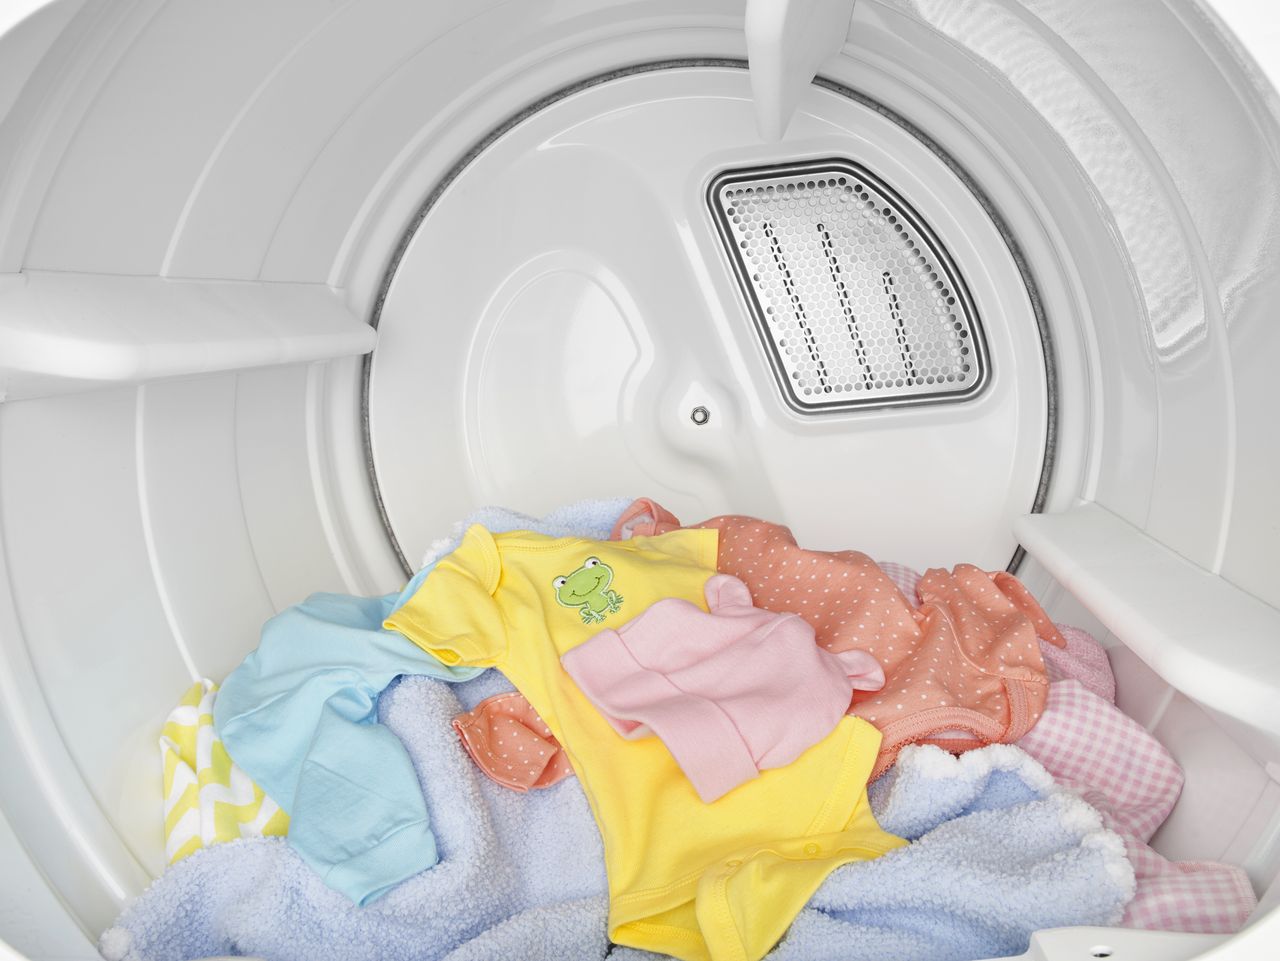
If your dryer seems like it’s heating at one temperature and that temperature has been charring your clothes, there is a high probability that the heating element has shorted out and needs to be replaced.
It might seem odd that the cause of an overheated dryer would be a malfunctioning heating element. This particular dryer repair could entail a thermostat, a clogged vent, the blower wheel, or a felt seal, but many times it turns out to be the heating element.
The purpose of the heating element is to send warm air to the dryer drum. When the element shorts out, the result is a continuous flow of heat in spite of the dryer reaching the proper temperature.
Tools Needed
- Putty knife
- ¼ inch socket
- ¼ inch nut driver
- Multimeter
How to Gain Access to the Heating Element
- Slide the putty knife between the top of the lower panel and the bottom of the top panel.
- Release two tabs by prying in a downward fashion located about 4-inches from each side.
- Remove the lint screen.
- Remove ¼ inch screws that secure the blower duct in place.
- Set the multimeter to ohms to check continuity.
- Remove the two wires that connect to the heating element located to the left of the blower duct.
- With your multimeter place one probe on either terminal and ground the other probe.
- If the meter shows continuity from either terminal, the element has shorted out and will need to be replaced.
How to Remove and Replace the Heating Element
- Remove the two connecting wires from the heating element (this should have been completed in the last section).
- With the ¼ inch nut driver, remove the bracket that protects the heating element. Remember to remove a screw hidden from view, located mid-way, under the bracket.
- The last screw to remove is located just behind the two terminals.
- Remove the bracket and set aside.
- Slide the old heating element out of its cavity and prepare to slide the new one in place.
- Follow these detailed instructions in reverse order to seal up the dryer.
If you live in the central Texas area and would like to speak with a live person you can call us or simply contact us through our convenient online site.

Apr. 09, 2024
GE Washer Not Spinning? Here’s The Fix!

Apr. 09, 2024
How to Restore Power to Your GE Dishwasher

Apr. 09, 2024
How To Reset Your GE Washer Top Loader

Mar. 06, 2024
Understanding Whirlpool Washer Error Codes

Mar. 06, 2024
JennAir Ice Maker Not Working? Here’s What to Do

Mar. 06, 2024
What to Do If Your LG Fridge Isn’t Cooling

Feb. 05, 2024
Propane vs. Natural Gas Stove: What’s Best?

Feb. 05, 2024
How Hot Does a Dryer Get?

Feb. 05, 2024
LG Dryer Flow Sense: Everything You Need to Know

Jan. 03, 2024
What to Do When Your Freezer Is Not Freezing but the Fridge Is Cold

Jan. 03, 2024
How to Solve Maytag Dishwasher Showing Error F9E1

Jan. 03, 2024
When Is a Microwave Unsafe to Use? (Warning Signs to Look For)

Dec. 11, 2023
How to Fix a Squeaky Dryer (Step-by-Step)

Dec. 11, 2023
How To Remove Ink From Your Dryer

Dec. 11, 2023
How To Fix an LG Microwave Not Heating

Nov. 06, 2023
How To Fix a Maytag Washer Not Spinning

Nov. 06, 2023
KitchenAid Refrigerator Not Making Ice? Here’s Why

Nov. 06, 2023
Whirlpool Microwave Door Error: How to Fix It

Oct. 02, 2023
13 Things to Never Put in the Dishwasher

Oct. 02, 2023
Can You Put Glass in the Microwave?
512 - 819 - 0670Give us a call!