August 2, 2017
Appliance Repair
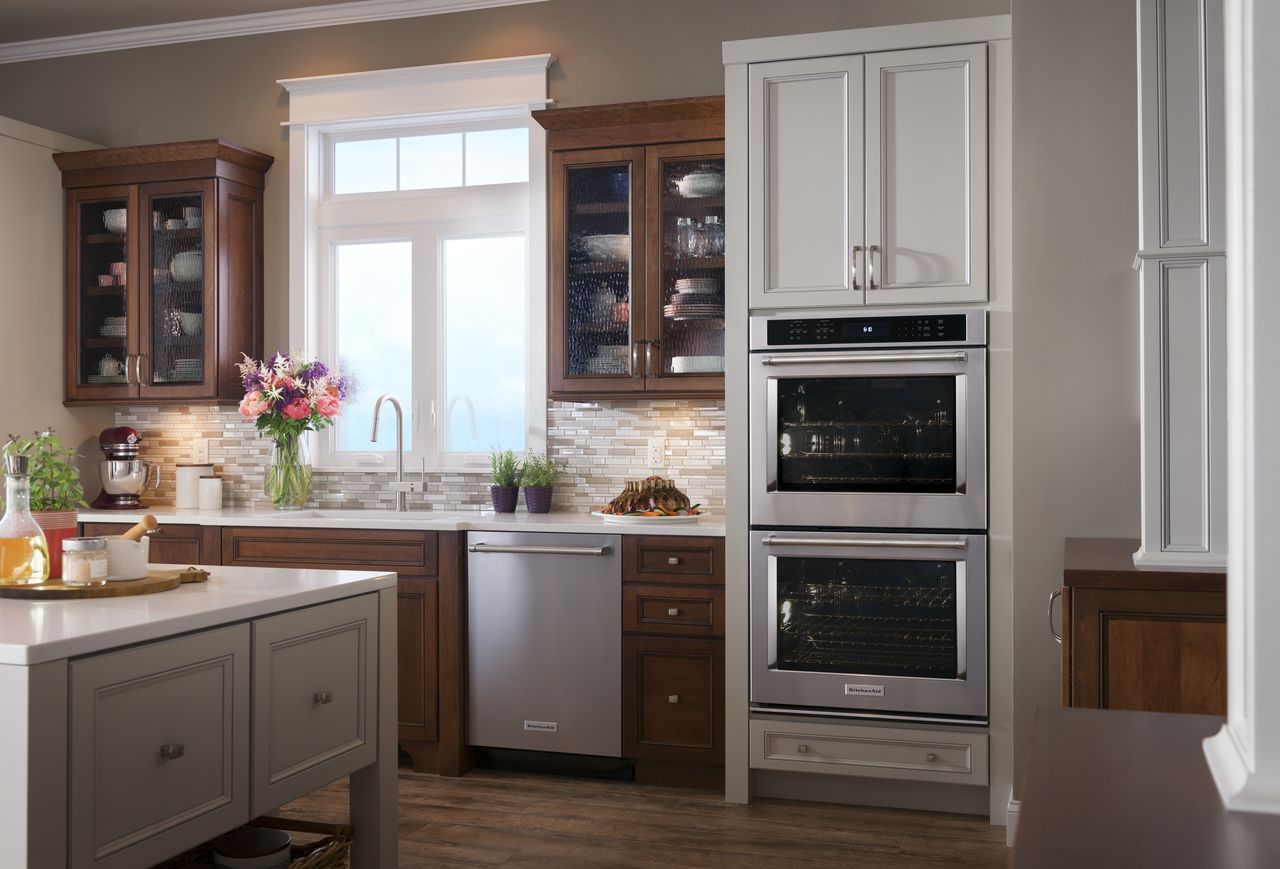
It can be difficult to diagnose different malfunctions with your ovens, especially if you use a setting or functionality rarely or for the first time. This can even occasionally happen after you have put select models in self-cleaning. If your KitchenAid or Whirlpool oven has no lights and won’t open, here are the first steps you should take to diagnose the underlying issue and solve the problem.
- Check the fuse box. Before you start working on any appliance you can’t unplug, make sure the fuses are turned off. Starting with the fuse box is good with any appliance repair project and not only for safety reasons: some fuses trip without a visible sign of being tripped, so flip it on and off to see if the problem is solved. Also, newer models of appliances may just need a complete shutdown and reboot so the electrical components can discharge. If you’re not completely certain that the power has been shut off, you can test the oven’s wires at a later step with a volt usage tester to see if they have live current.
- Open the door: Bend a wire coat hanger to access the hook locking the oven door. Typically, the hook’s point will swing to the right, so insert your wire from the right to push the mechanism open so you can see inside. This step is crucial not only so you can make any repairs to the inside or so you can rescue anything left inside the oven but so you can read the sticker with make and model information. This information is crucial if you have to order parts or if you call an electrician for potential diagnoses and solutions.
- Remove the trim and outer casing: Unscrew and snap off the outer trim that’s covering the screws holding the oven in place. Once it’s removed, you can unscrew the round head screws to loosen the oven and pull it away from the wall. To get the door out of the way, locate the two hooks acting as hinges and rotate them up towards you; then swing the door up and pull it towards you when it’s ajar, and the whole door will swing free so you can put it to the side. If you can, have a second person help you move the heavy appliance.
- Remove the paneling: Take off the top and rear paneling, which is secured just by Phillips head screws. Somewhere under the top panel, you’ll find a circuit drawing with the fuses you should test first. The over shutdown thermal fuse is one of the more likely pieces to blow. To be sure, test the fuse’s resistance with a multimeter.
- How to test the fuse: Locate and remove the fuse; it has to be entirely removed for accurate testing. The way this fuse operates is, when the environment is far too hot, it creates high resistance to protect your oven and essentially breaks or opens the circuit. But at room temperature, the circuit should be closed and functioning. If the resistance reads as very high or immeasurable, this is your broken part. If you have a KitchenAid Superba oven (KEBC208KSS02) with the same malfunction, you will need an oven shutdown thermal fuse with a part number of 4452223. Whenever you order a new replacement fuse, diode, or electrical component, be sure to test it before you install it. With this particular part, you can’t test its reaction to high temperatures, but read its resistance with your multimeter to be sure the resistance is low at room temperature.
- Carefully install your new fuse: Because this is a safety device that measures the temperature of a high heat source, it’s very important that this is installed correctly. If you’re not comfortable installing this new fuse just yet, be sure to contact an electrician.
- Now the difficult part: What? Did you think we already covered the difficult part? A fuse doesn’t typically fail at random, it is typically just a symptom. So the difficult part is determining what caused the fuse to fail because it’s very likely that it will happen again until you solve what is causing the fuse to fail. Is the oven getting too hot? Is there an installation issue?
Installing fuses and safety devices always needs a little extra care and precision. If you want to learn more about diagnosing and replacing blown fuses, contact Appliance Express here for more information.

Apr. 09, 2024
GE Washer Not Spinning? Here’s The Fix!

Apr. 09, 2024
How to Restore Power to Your GE Dishwasher

Apr. 09, 2024
How To Reset Your GE Washer Top Loader

Mar. 06, 2024
Understanding Whirlpool Washer Error Codes

Mar. 06, 2024
JennAir Ice Maker Not Working? Here’s What to Do

Mar. 06, 2024
What to Do If Your LG Fridge Isn’t Cooling

Feb. 05, 2024
Propane vs. Natural Gas Stove: What’s Best?

Feb. 05, 2024
How Hot Does a Dryer Get?

Feb. 05, 2024
LG Dryer Flow Sense: Everything You Need to Know

Jan. 03, 2024
What to Do When Your Freezer Is Not Freezing but the Fridge Is Cold

Jan. 03, 2024
How to Solve Maytag Dishwasher Showing Error F9E1

Jan. 03, 2024
When Is a Microwave Unsafe to Use? (Warning Signs to Look For)

Dec. 11, 2023
How to Fix a Squeaky Dryer (Step-by-Step)

Dec. 11, 2023
How To Remove Ink From Your Dryer

Dec. 11, 2023
How To Fix an LG Microwave Not Heating

Nov. 06, 2023
How To Fix a Maytag Washer Not Spinning

Nov. 06, 2023
KitchenAid Refrigerator Not Making Ice? Here’s Why

Nov. 06, 2023
Whirlpool Microwave Door Error: How to Fix It

Oct. 02, 2023
13 Things to Never Put in the Dishwasher

Oct. 02, 2023
Can You Put Glass in the Microwave?
512 - 819 - 0670Give us a call!

